Page 1
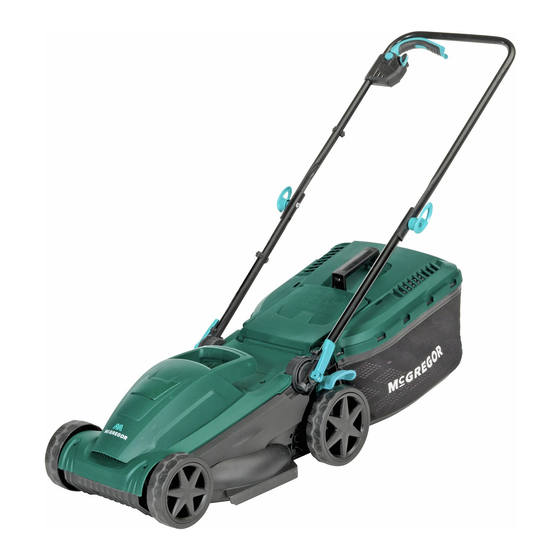
ORIGINAL INSTRUCTION MANUAL McGregor 1400W/1600W/1900W Electric Rotary Mower 7496428 (Model: MER1434) 7603314 (Model: MER1737) 7436653 (Model: MER1940) Important - Please read these instructions fully before starting assembly AFTER SALES SUPPORT These instructions contain important information that will help 0345 605 2063 you get the best from your mower, ensuring it is assembled correctly and safely.
Operation and Maintenance Safety .......................11 Intended Use ............................12 Service ..............................12 In the Box ............................13-15 Parts 7496428 (Model: MER1434) ......................13 Parts 7603314 (Model: MER1737) ......................14 Parts 7436653 (Model: MER1940) ......................15 Assemble............................16-18 Step 1 - Handle Assemble ........................16 Step 2 - Grass Collection Bag Assemble ....................
Safety Information Important - Please read these instructions fully before starting assembly Warnings Symbols The following warning symbols appear throughout this manual and indicate the appropriate safety measures you should take when assembling and operating the mower. Take extra care, beware of hazards. Read instruction manual.
Page 4
Safety Information Important - Please read these instructions fully before starting assembly Warnings Symbols (continued) Wait until all moving parts have stopped completely before touching them. The blade may continue to rotate after the machine is switched off, a rotating blade can cause injury.
Safety Information Important - Please read these instructions fully before starting assembly General Safety Note! Only supply power to the equipment through circuit protected by an RCD with a maximum trip current of 30 mA. • Use only plugs or connectors approved for outdoor usage.
Page 6
Safety Information Important - Please read these instructions fully before starting assembly General Safety • This appliance can be used by children aged from 8 years and above and persons with reduced physical, sensory or mental capabilities or lack of experience and knowledge if they have been given supervision or instruction concerning use of the appliance in a safe way and understand the hazards involved.
Safety Information Important - Please read these instructions fully before starting assembly Personal Safety (continued) • Always check the mower for signs of damage before each usage. • Always disconnect the mains lead from the electrical supply before carrying out any inspection, servicing or maintenance work.
Page 8
Safety Information Important - Please read these instructions fully before starting assembly Personal Safety (continued) • Never run the mower in enclosed or poorly ventilated vapours or gases nearby. • Switch off the motor and disconnect the mains lead before clearing blockages in the grass ejection area and before you inspect it if the mower has struck a foreign body.
Page 9
Safety Information Important - Please read these instructions fully before starting assembly Personal Safety (continued) • Make sure you keep your feet at a safe distance from the mower blade at all times! Do not stand near the • The safety distance from the moving blade produced by the push handle must be maintained at all times.
Page 10
Safety Information Important - Please read these instructions fully before starting assembly Personal Safety (continued) and screws are tight and that the mower is in a safe condition for use. • Do not leave the mower out in the rain. The lawn must not be wet or very damp.
Safety Information Important - Please read these instructions fully before starting assembly Operating and Maintenance Safety CAUTION! Read all safety requirements and instructions. Any errors made in following the safety requirements serious injury. Keep all safety regulations and instructions in a safe place for future use.
Safety Information Important - Please read these instructions fully before starting assembly Intended Use This lawnmower is designed for domestic use only: • This electric lawnmower is intended for mowing lawns in domestic and hobby gardens. • This product is not to be used in wet weather conditions and may not be used to mow wet or unusually high grass, e.
In the Box Parts 7496428 (Model: MER1434) Lock-off safety Wing knob Quick release Motor housing button lever Grass collection Front wheels Switch levers bag top Grass collection Rear wheels bag handle Grass collection Cable strain-relief Switch box housing Cutting height...
Assemble Step 1 - Handle Assembly • direction and then locking them into position by folding the levers snug against the handle support. These levers should be folded in towards the bar using moderate force to lock them in position. If they feel too tight when you fold them, turn them anti-clockwise to loosen them and then attempt to fold them again.
Assemble Step 2 - Grass Collection Bag Assemble Clip the metal hook Clip the plastic retainers into relative slots onto the metal frame Insert the handle into the slots on the top of the grass collection bag, Clip the plastic retainers •...
Assemble Step 3 - The Grass Collection Bag is, remove by squeezing the lever on the mulch plug post and lift it out of the mower. • Place the grass collection bag on the mounting bracket provided at the back of the lawnmower. Customer Helpline 0345 605 2063...
Step 1 - Setting the Cutting Heights longer grass, cut the grass in 2 or more passes by lowering the cutting height gradually at each pass. These techniques will help to a avoid over-stressing your grass. 7496428 / 7603314 7436653 Cutting adjustment...
Operate Step 1 - On/Off Operation To switch on, press the safety lock-off button on the handle, then activate the start/stop switch • lever. Release the lock-off button. To switch off, release the start/stop switch lever. • After switching off the equipment, the blade may continue to turn for several seconds. Do not •...
Operate Step 3 - Grass Collection Bag Full Indicator • • Step 4 - Empty Grass Collection Bag • automatically closes to the rear discharge position when you remove the grass collector. Customer Helpline 0345 605 2063...
Operate Step 5 - Using as a Mulcher ( if applicable) • • The mulching plug retains the cut grass inside the deck and cuts this grass several more times nutrient for the lawn. Customer Helpline 0345 605 2063...
Maintenance and Repair Storing The handles can be folded for easy storage. Loosen (turn anti-clockwise) the two wing knobs on the upper handle assembly to allow for • folding. Unfold the quick release levers on the lower handle section and turn anti-clockwise to loosen. •...
Maintenance and Repair Blade Maintenance If the blade is blunt, it can be sharpened in a specialised workshop. If the blade is damaged or showing signs of imbalance, it must be replaced. Carry out the following steps to change the blade: Turn the mower over and rest it carefully on its side .
Technical Date Recycling and Disposal Recycle unwanted materials instead of disposing of them as waste. All tools, hoses and packaging should be sorted, taken to the local recycling centre and disposed of in an environmentally safe way. delivered in rigid packaging to avoid damage during transportation. The packaging and the machine itself are manufactured from recyclable materials and should be disposed of accordingly.
Troubleshooting General Troubleshooting WARNING! Only perform the steps described within these instructions! Always turn off the machine and remove the plug before making any adjustment. The following table provides solutions to common problems encountered with the mower. Fault Possible Cause Solution Mower does not start No power at mains socket...
Getting Help Customer Helpline Our dedicated UK based customer helpline is open to assist you with assembly, parts queries and Our experts are here to get you back enjoying your garden in no time. Calling our service does not affect your statutory rights. After sales helpline number: 0345 605 2063 Guarantee Dear Customer,...
Need help?
Do you have a question about the 7496428 and is the answer not in the manual?
Questions and answers