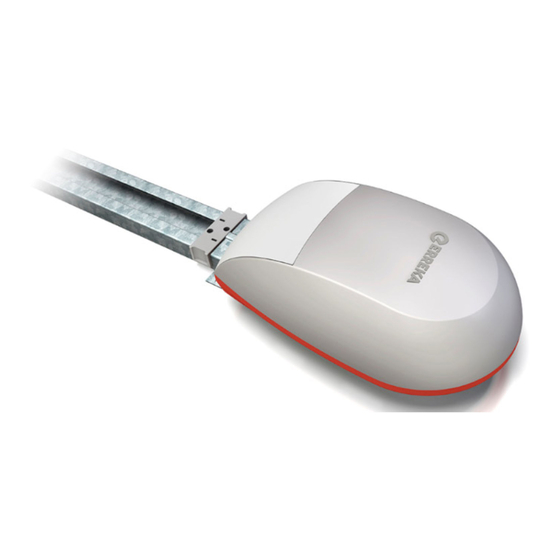
Erreka NAOS Quick Installation And Programming Manual
Hide thumbs
Also See for NAOS:
- Quick installation and programming manual (36 pages) ,
- Installation manual (166 pages) ,
- Quick installation and programming manual (45 pages)
Advertisement
Quick Links
NAOS
Quick installation and programming guide
This quick guide is a summary of the complete installation manual. The manual contains safety warnings and
other explanations which must be taken into account. You can download the installation manual in the
WARNING
"Downloads" section of the Erreka website:
http://www.erreka-automation.com
Unlocking
Manual operation unlocking: pull the knob or cable
(1) until the release lever (2) is vertical.
Motorised operation locking: place the lever in
horizontal position (3). Locking will take place when the
operator starts up.
Elements of the complete installation
3
D260C
Assembly levels
Level H: the track should remain 10
cm above the highest point of the
door (see detail H ).
Total length (operator + guide) and
effective travel:
– track ref. ANA01; pos J :
3502 mm / 2741 mm
– track ref. ANA01; pos K :
3452mm / 2,691mm
– track ref. ANA02; pos J :
4602mm / 3,841mm
– track ref. ANA02; pos K :
4552mm / 3,791mm
Electrical wiring
A: Main power supply
B: Closing photocells
C: Pushbutton/wall key
D: LUMI flashing light
I260B
Electrical connections
Disconnect the power supply before connecting
or disconnecting any component.
A.T., S and STOP devices must be voltage-free in
order to prevent any damage to the control board.
A.T.
Wall key or button
S
Closing safety device (closing photocell)
AUX
Power supply for peripherals (24 Vdc)
STOP
Emergency shutdown
LAMP Warning light (24 Vdc)
Battery connection using sp+ and sp- wire
connectors (inside the frame). Charger CHG01 is
required (included in kit ADO01 with 12V 1.2Ah
batteries).
English
P260M
11
Advertisement

Summary of Contents for Erreka NAOS
-
Page 1: Electrical Connections
This quick guide is a summary of the complete installation manual. The manual contains safety warnings and other explanations which must be taken into account. You can download the installation manual in the WARNING "Downloads" section of the Erreka website: http://www.erreka-automation.com Elements of the complete installation... - Page 2 Assembly 2 Position the overhead strips (3) and front support (4). 1 Secure the track (1) in the operator (2). This can be Bear in mind assembly level H (see “assembly levels” placed in two different positions (0º/180º); choose the on the previous page).
- Page 3 6 Install the central support (9). 7 Open the door and install the opening stopper (10) until it comes up against the carriage (11). Use two self-drilling, self-tapping screws. THE OPENING STOPPER MUST BE CORRECTLY INSTALLED (10), as the carriage must come up against it when programming the travel.
- Page 4 STEP Close the door through to the Store door closing stopper using |+ / |- closed position Press SET to save the position STEP When it stops, press SET to Press SET to open the door Learn forces confirm. (opening and closing) Press SET again to close.
-
Page 5: End Of Programming
Select the slowdown distance by STEP pressing |+ / |- : Slowdown 1: 50 mm (in the track); distance in 2: 100 mm; closing Press SET to confirm 3: 250mm; 4: 500mm Select the value by pressing |+ / |- : STEP 0: alternative shutdown + Mode in...


Need help?
Do you have a question about the NAOS and is the answer not in the manual?
Questions and answers