
Related Manuals for Serta Mid-Back Air


Summary of Contents for Serta Mid-Back Air
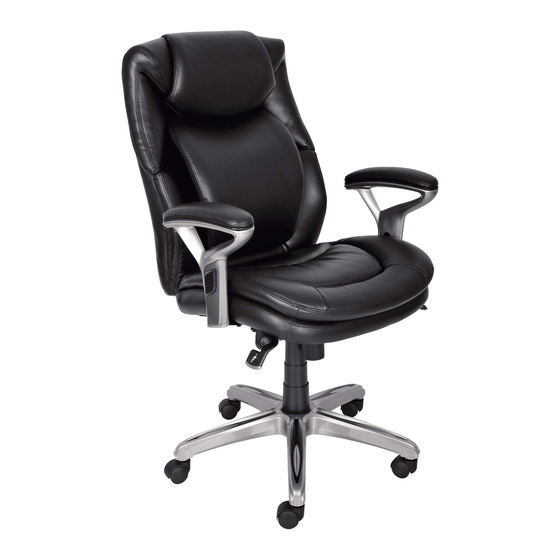
- Page 1 Mid-Back Air™ Chair Silla Gerencia Aire Assembly Instructions Instrucciones de Ensamblaje Model/ Modelo: 44103...
- Page 2 Parts/Partes Casters Star Base Gas Lift with Telescoping Cover Seat Plate Ruedas Base en forma de estrella Elevador neumático y cubierta Mecanismo del asiento telescópica Quantity/cantidad: 5 Quantity/cantidad: 1 Quantity/cantidad: 1 Quantity/cantidad: 1 Left Arm Right Arm Seat Cushion Back Cushion Brazo izquierdo Brazo derecho Cojín del asiento...
- Page 3 1-1/4” Small Screws 1-7/8” Big Screws 1” Big Screws Tornillos pequeños de 32mm Tornillos grandes de Tornillos grandes de Quantity/cantidad: 12 48mm 25mm Quantity/cantidad: 2 Quantity/cantidad: 2 1-1/4” Big Screws Allen Key Tornillos grandes de 32mm Llave allen Quantity/cantidad: 4 Quantity/cantidad: 1 Step 1 Step 2...
- Page 4 Step 3 Step 4 Attach Seat Plate (D) to the bottom of the Seat Cushion Align Handles (D1 & D2) of Seat Plate (D) over pre-drilled (F) (with the front of the seat plate facing the front of seat holes on the left and right on the underside of Seat Cushion cushion).
- Page 5 FRONT FRONT FRONT FRONT Step 5 Step 6 Attach the Arms (E1 & E2) to the bottom of the Align Back Cushion (G) with Seat Cushion (F) by positioning Seat Cushion (F) by using 1-1/4” Small Screws (J) the back support plate over the Seat Plate (D) with 1-1/4” in the arm holes with the Allen Key (L).
- Page 6 Step 7 Step 8 Position the assembled chair upright with the Seat Plate *Note: Remove the Packing Material (Y) placed between the (D) facing down. Insert the Gas Lift with Telescoping Cover back cushion and the air frame. (C) into the center hole of the Seat Plate (D) and press down until fully engaged.
-
Page 7: Operating Instructions
Operating Instructions Instrucciones de Uso Function Instruction - 1 To Adjust Seat Height: While seated, lean forward and reach under the right side of the chair to find the handle. Lift the handle and raise your body up slightly to allow the chair to rise to the desired height. - Page 8 Function Instruction - 3 To Operate Tilt Lockout: While seated, reach under the left side of the chair to find the handle. Push down the handle and lean back to allow the chair to tilt backwards. To lock the chair in the upright or vertical position, sit upright and pull the handle to the up position.
- Page 9 Function Instruction - 5 About the breathability of the Air Lumbar Cushion: While seated, the open-air contours of the cushion which is designed to breathe and flex, can dynamically provide continuous support by connecting with your body’s natural movement. The air cushion conforms to the curve of your spinal cord and is intended to relieve your back from stress.
-
Page 10: Limited Warranty
Limited Warranty True Innovations seating products are warranted against defects in material and workmanship while owned by the “Original Purchaser”. The term “Original Purchaser” is defined as that party or entity which purchases True Innovations furniture from an authorized True Innovations retailer as shown by the original sales receipt. This warranty does not apply to “as is” or previously owned seating products. - Page 11 Garantía Limitada Los productos de True Innovations seating están garantizados contra defectos de material y mano de obra mientras está en posesión de su “Comprador Original”. El término “Comprador Original” se define como el individuo o entidad que compra el mueble de True Innovations de un distribuidor autorizado así...
Need help?
Do you have a question about the Mid-Back Air and is the answer not in the manual?
Questions and answers
Can I buy replacements for the two arm rests? How much would they cost me?