
Related Manuals for Midea FP-90LST060GMTL-N


Summary of Contents for Midea FP-90LST060GMTL-N
- Page 1 Http://global.midea.com.cn Service Manual Single Tub Washing Machine Note: Before serving the unit,please read this at first, Always contact wih your service center if meet problem.
-
Page 2: Table Of Contents
TABLE OF CONTENES 1.SAFETY PRECAUTION 1. Safety precaution Be sure to comply with the following to prevent damage to body and property of you and 2. Introduction of product others: 2.1 Name of parts 3.Trouble shooting The sign stands for “pay attention” , and the picture of specific items needs attention shows in 3.1 Malfuction and solution 3.11. -
Page 3: Safety Precaution
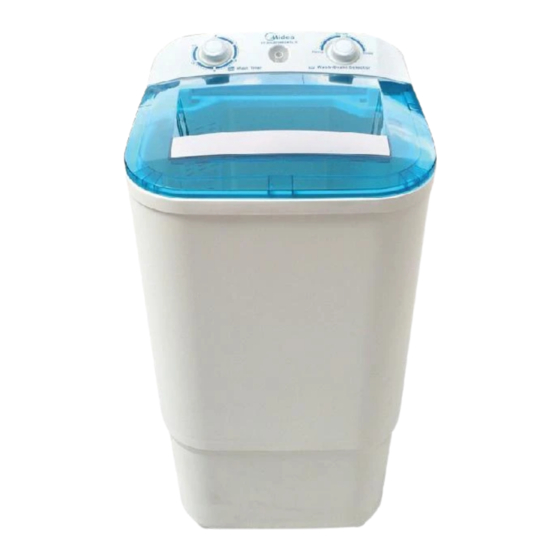
SAFETY PRECAUTION 2. INTRODUCTION OF PRODUCTS 3.TROUBLE SHOOTING 3.1 Malfuction and solution 2.1 Name of parts Symptom Possible reason Solution Control panel Wash cover a. Laundry is much more than rated a. Reduce the laundry till the Drain hose washing capacity. pulsator can rotate normally. -
Page 4: Trouble Shooting
3.TROUBLE SHOOTING 3.TROUBLE SHOOTING 3.2 Fault tree Symptom Possible reason Solution 1. Can not wash (motor does not rotate) a. There is things like coins, buttons a. Dismantle the pulsator and take Can not wash under the pulsator. out the things. b. -
Page 5: No Drain Or Unsmooth Drain
3.TROUBLE SHOOTING 4.DISMANTLING WAYS OF MAIN PARTS 3. No drain or unsmooth drain Operation step Picture Can not drain 1. Remove the knobs for lower drain function only a.Take out the knobs directly because knobs are inserted Whether the drain into the control panel. -
Page 6: Remove The Pulsator
4.DISMANTLING WAYS OF MAIN PARTS 4.DISMANTLING WAYS OF MAIN PARTS Operation step Operation step Picture Picture 8. Remove the base 4. Remove the pulsator . Press the V-belt at the part near Screw off the pulsator screw. the pulley. Then take down the b. -
Page 7: Electronic Components
5.ELECTRONIC COMPONENTS 5.ELECTRONIC COMPONENTS Operation step Operation step Picture Picture 1. Self-test method of wash b. Check whether the motor timer and wash-drain resistance is normal in the selection switch condition of no water Turn the wash timer to work condition: condition. -
Page 8: Circuit Diagram
6.CIRCUIT DIAGRAM 7.EXPLORED VIEW & LIST OF PARTS Circuit diagram Black Brown Wash timer Fuse Yellow Yellow Yellow Brown Yellow Green /Green Wash motor Yellow Light blue Circuit diagram Control Panel Assembly Twin-tub Assembly Above Circuit Diagram is only for reference, and the standard Circuit Diagram is according to the rating label of complete machine. - Page 9 7.EXPLORED VIEW & LIST OF PARTS 7.EXPLORED VIEW & LIST OF PARTS 2.14 1.19 2.13 2.3.2 2.3.1 1.17 2.12 1.16 1.15 1.11 2.3.1 Overflow Cover 2.3.2 Lint Filter Back Cover Drain Pipe Retarder kit Drain Valve Kit Bottom Valve Anti-vibration Ring 2.1O Rubber Washer 2.11...
- Page 10 7.EXPLORED VIEW & LIST OF PARTS 4.4.1 4.4.2 V-belt Small Pulley Wash Motor Specific Screw for Wash Motor 4.4.1 Specific Washer 4.4.2 Rubber (upper) 4.4.3 Rubber (lower) Base Wire 4.1O 4.11 4.12 4.13 4.14 -17- -18-...
Need help?
Do you have a question about the FP-90LST060GMTL-N and is the answer not in the manual?
Questions and answers