
Related Manuals for Abus TVAC10031


Summary of Contents for Abus TVAC10031
- Page 1 TVAC10031 TVAC10060 User manual Version 05/2015 Original English user manual. Keep for future use.
- Page 2 The ABUS Security-Center GmbH assumes no liability for technical and typographical faults and reserves the right to make at any time modifications to the product or user manual without a previous announcement.
- Page 3 The warranty will expire for damage due to non-compliance with these operating instructions. ABUS will not be liable for any consequential loss! ABUS will not accept liability for damage to property or personal injury caused by incorrect handling or non-compliance with the safety-instructions.
- Page 4 Warnings Follow all safety and operating advises before starting-up the device! 1. Follow these directions in order to avoid damage of the power cord or plug: Do not modify or process the power cord or plug arbitrarily. • Do not bend or twist the power cord. •...
-
Page 5: Table Of Contents
Table of contents 1. Intended use ......................... 6 2. Scope of delivery ......................6 3. Features and functions ....................6 4. Physical descriptions ....................7 5. Mounting ........................8 5.1 Power supply ........................8 5.2 Ventilation ......................... 8 5.3 Wall Mount ........................8 6. -
Page 6: Intended Use
HD+ 960p pictures in 16:9 formats. Thanks to its 3 different connections it can be connected flexibly to ABUS DVR, NVR and computers at the same its 3 different connections it can be connected flexibly to ABUS DVR, NVR and computers at the same... -
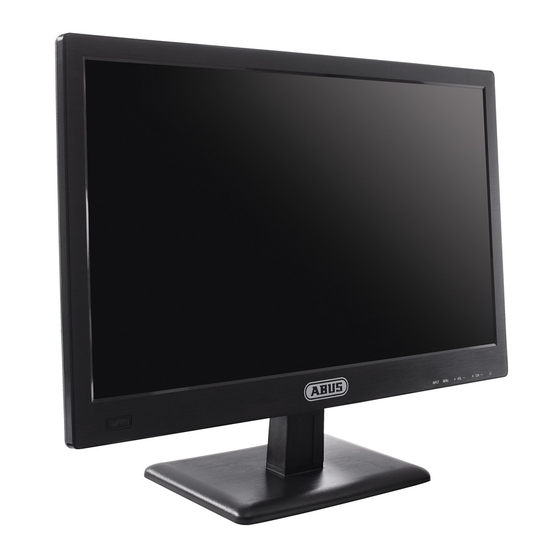
Page 7: Physical Descriptions
4. Physical descriptions Power supply DC 12 V / 3 A, Only use the power supply unit provided for operating the monitor! HDMI input Port for multi-media data DVI input Port for multi-media data VGA input PC and DVR signal input PC in 3.5 mm jack, audio signal input coupled with the VGA input PC out... -
Page 8: Mounting
For mounting the monitor at a wall please use a VESA compatible wall mount. At the backside of the monitor there are squarely arranged assembly holes (Middle distance 75 mm). These are compatible with the ABUS TVAC10500 wall mount. Please also pay attention to the installation manual of the wall mount. -
Page 9: Button Description
6. Button description Button Description Select one of the different input signals: • VGA AUTO • HDMI • DVI Show the OSD (on-screen display) • MENU Exit a menu item and the menu • Increase the volume during operation • VOL + Increase the value in the OSD •... -
Page 10: Selecting The Input Signal
7. Selecting the input signal To select the input signal, press the AUTO button. The selected input will be displayed on the upper left of the screen. Press the Source button repeatedly until you reach the required input and confirm the entry with the VOL + or VOL - button. -
Page 11: On-Screen Menu
8. On-screen menu To call up the on-screen display, please press the “Menu” button. To adjust the settings, you have the following screen menus at your disposal. Picture Picture settings Position Setting of position Color Setting of Color temperature /color values OSD settings Setup General settings... -
Page 12: Picture
8.1 Picture To make settings for the picture display, press the MENU button and then press the SOURCE button to select the first menu item. The selected menu item is shown by a frame. The sub-menu item is highlighted in yellow. You can navigate between sub-menu items using the SOURCE button. -
Page 13: Position
8.2 Position This menu item lets you make settings for the display size and position. Available in Menu item Description mode: Phase Takt H.Position Manual setting of the horizontal picture position V.Position Manual setting of the vertical picture position... -
Page 14: Color
8.3 Color Here you can setup the color temperature / color values of the display. To change the color red/green/blue separatly please choose „User“ in the menu item „Color Temperature“ Menu item Description Available in mode: Color Temperature Setting of color temperatur in „K“ or user-defined HDMI, DVI, VGA settings Manual setting of red component... -
Page 15: Osd
8.4 OSD This menu item lets you make settings for the OSD display. Menu item Description Horizontale Manuel setting of the horizontal OSD position Vertikal Manuel setting of the vertical OSD position Transparenz Setting oft he transparency of the OSD OSD Time out Setting specifying how long the menu remains on the screen (value from 5 to 60 seconds) -
Page 16: Setup
8.5 Setup Here you can setup the general settings of the device. Menu item Description Selection of the language for the OSD. Language Mute the audio interface on/off Mute Input Selection of input source Digital Contrast ratio (DCR) on / off Display Size Setting of picture size and ratio Reset... -
Page 17: Maintenance And Cleaning
9. Maintenance and cleaning Maintenance and cleaning Maintenance and cleaning Maintenance and cleaning 9.1 Maintenance 9.1 Maintenance Regularly check the product's physical state, e.g. check for damage of the housing. Regularly check the product's physical state, e.g. check for damage of the housing. Regularly check the product's physical state, e.g. -
Page 18: Technical Data
11. Technical data Model number TVAC10031 TVAC10060 Monitor type LED monitor Screen diagonal 19,5 23,5 Resolution 1600x900 1920x1080 Pixel pitch 0.2715 (H) x 0.2715 (V) mm Picture format 16:9 Comb filter Signal recognition Automatic Contrast ratio 1.000:1 Brightness 300 cd/m Color gradations 16.7 million...
Need help?
Do you have a question about the TVAC10031 and is the answer not in the manual?
Questions and answers