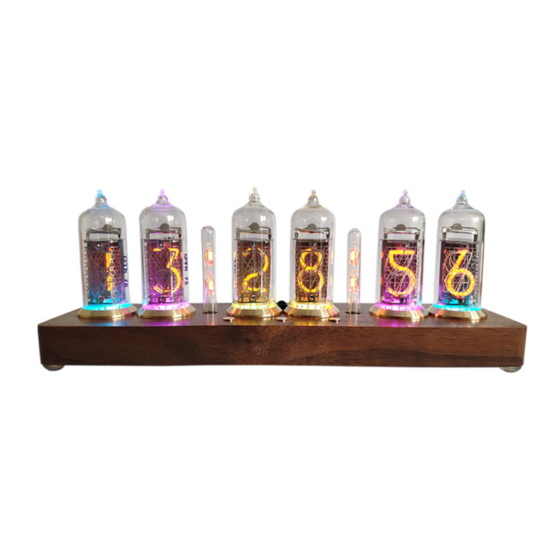
Nixie Clock IN-14 Product Manual
Desktop clock
Hide thumbs
Also See for IN-14:
- Construction manual (29 pages) ,
- Instructions manual (8 pages) ,
- Quick setup manual (14 pages)
Table of Contents
Advertisement
Quick Links
Advertisement
Table of Contents

Summary of Contents for Nixie Clock IN-14
- Page 1 IN-14/IN-8-2/Z573M/IN-8 Nixie Desktop Clock Product manual Version 1.9 2018...
- Page 2 Thank you for purchasing a nixieshop.com clock! Please read the following manual carefully to ensure you get the most out of your Nixie Clock. Unboxing All nixieshop.com clocks are shipped as carefully as possible to ensure safe delivery to you. In the unlikely event that the clock does arrive damaged, or if you have any questions at all about using the product, please contact me on petro.vodopyan@gmail.com.
- Page 3 Powering up On the rear panel of the clock there are two sockets. The left pictured one is used for powering the Nixie clock. The right one is used for the PIR motion sensor (optional): Plugging in and turning on the power, the clock will perform a brief self-test to confirm it’s operational. The digits on the clock will scroll through from 0-9, then the clock will beep once.
- Page 4 Menu The menu items below are listed in the order that they will appear when going through them. LED RGB Values The clock has one RGB LED under each nixie tube. All colors are adjustable and can be set to a custom brightness. 1.


Need help?
Do you have a question about the IN-14 and is the answer not in the manual?
Questions and answers