Table of Contents
Advertisement
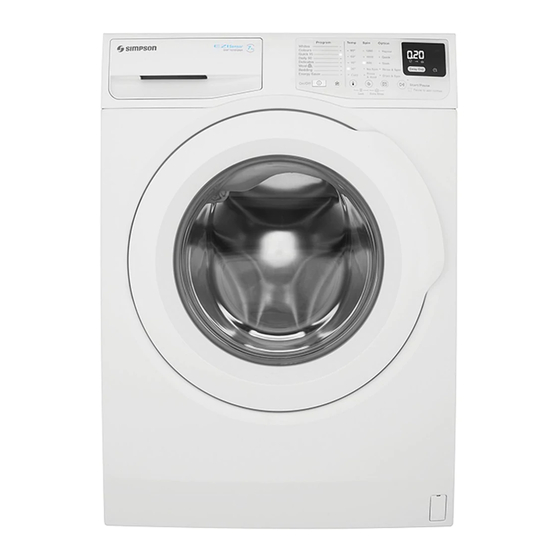
SWF8025DQWA
SWF7025EQWA
.................................................... .................................................
WASHING MACHINE
REGISTER YOUR FRONT
LOAD WASHER/DRYER
WITH YOUR SMARTPHONE
1
Locate the label
on the inside of
your product door
Easy register with your smartphone
Photogragh the camera icon,
1.
including the 4 dots
Then text it to
2.
(Australia only)
2
Photograph the
camera icon, including
the 4 dots ( )
3
Text to 0488 446 622
(Australia only)
© 2017 Electrolux Home Products Pty Ltd. EST_PhotoRegister_Fabric_70x70_Oct17
USER MANUAL
( ).
0488 446 622
00000000000
00000000000
Advertisement
Table of Contents


Need help?
Do you have a question about the SWF8025DQWA and is the answer not in the manual?
Questions and answers
Temp & Spin together is not functioning. E40 appears. Need the Temp to appear on the touchpad. Help Help
The Temp & Spin function may not be working because the child lock is activated. When this function is enabled, pressing any touchpad will cause the lock symbol to flash on the display along with a buzzer sound. To deactivate the child lock and restore functionality, press the “Temp” and “Spin” touchpads at the same time until the unlock symbol appears on the display with a sound. This function remains enabled even after the appliance is switched off, so it must be manually deactivated.
This answer is automatically generated
Ezi Set inverter SWF8025DQWA Softener not getting to clothes The filler compartment is clean and water inlet and pressure is ok
The Simpson Ezi Set Inverter SWF8025DQWA softener may not be reaching the clothes due to the following reasons:
1. Blocked Dispenser – The detergent/softener dispenser may be clogged, preventing the softener from dispensing properly.
2. Incorrect Use – Ensure the softener is placed in the correct compartment of the dispenser.
3. Water Flow Issues – Low water pressure or a blocked inlet hose may prevent proper dispensing.
4. Overloading – Overloading the machine can obstruct the softener from evenly reaching clothes.
5. Incorrect Wash Program – Some programs may not use softener; verify the selected program allows softener use.
6. Faulty Dispenser Mechanism – If the dispenser drawer is damaged or not operating correctly, the softener may not be released.
Check and clean the dispenser, ensure proper loading, and verify the selected program to resolve the issue.
This answer is automatically generated
How to remove door seal for cleaning
Where is the lint filter??