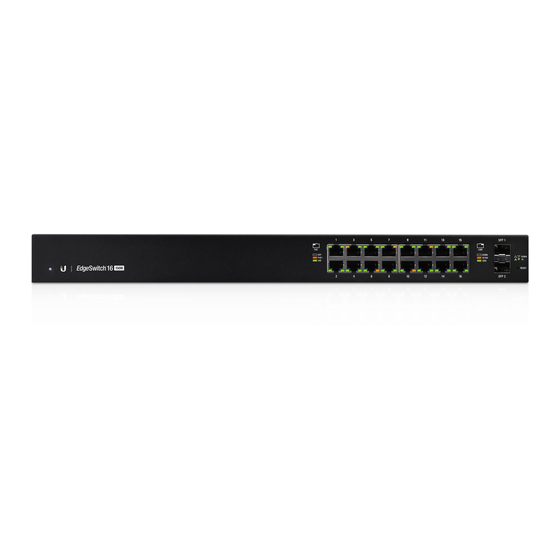
Ubiquiti EdgeSwitch ES-16-150W Quick Start Manual
Managed poe+ gigabit switch
with sfp
Hide thumbs
Also See for EdgeSwitch ES-16-150W:
- Quick start manual (12 pages) ,
- Quick start manual (25 pages)
Table of Contents
Advertisement
Advertisement
Table of Contents

Related Manuals for Ubiquiti EdgeSwitch ES-16-150W


Summary of Contents for Ubiquiti EdgeSwitch ES-16-150W
- Page 1 Managed PoE+ Gigabit Switch with SFP Model: ES-16-150W...
-
Page 2: Package Contents
Introduction Thank you for purchasing the Ubiquiti Networks® EdgeSwitch®. This Quick Start Guide is designed to guide you through the installation and also includes the warranty terms. Package Contents EdgeSwitch ES-16-150W Power Cord Mount Brackets Bracket Screws (Qty. 2) (Qty. 8) -
Page 3: Installation Requirements
We recommend that you protect your networks from harmful outdoor environments and destructive ESD events with industrial-grade, shielded Ethernet cable from Ubiquiti Networks. For more details, visit www.ubnt.com/toughcable WARNING: To reduce the risk of fire or electric shock, do not expose the switch to rain or moisture. - Page 4 We recommend that you update the EdgeSwitch to the latest firmware. State Status Flashing White Bootup in progress. Ready for use, not connected to Ubiquiti® White Network Management System (UNMS ™ Blue Ready for use, connected to UNMS.
- Page 5 RJ45: RJ45: Speed/Link/Activity SFP: Speed/Link/Activity RJ45 LEDs State Status No PoE Amber IEEE 802.3af/802.3at Green 24V Passive No Link Amber Link Established at 10/100 Mbps Speed/ Amber Link Activity at 10/100 Mbps Link/ Flashing Activity Green Link Established at 1000 Mbps (1 Gbps) Green Link Activity at 1000 Mbps (1 Gbps) Flashing...
-
Page 6: Front Panel Button
Front Panel Button Reset Button Description There are two methods to reset the EdgeSwitch to factory defaults: Runtime Reset (Recommended) The EdgeSwitch should be running after bootup is complete, and the System LED is white. Press and hold the Reset button. The EdgeSwitch will reboot, and the System LED becomes blue after three seconds. -
Page 7: Hardware Installation
Back Panel Console Port Console Port Description RJ45 serial console port for Command Line Interface (CLI) management. Use an RJ45-to-DB9, serial console cable, also known as a rollover cable, to connect the Console port to your computer. Then configure the following settings as needed: Console •... -
Page 8: Rack Mounting
Rack Mounting 1. Attach the Mount Brackets to the EdgeSwitch using the eight Bracket Screws, positioning the brackets as shown below. 2. Attach the EdgeSwitch to the rack using the four Mounting Screws. (If the rack has square slots, then use the Cage Nuts with the Mounting Screws.) -
Page 9: Wall Mounting
Wall Mounting 1. Attach the Mount Brackets to the EdgeSwitch using the eight Bracket Screws, positioning the brackets as shown below. 2. Secure the EdgePower to the wall using the appropriate fasteners and anchors (not included) for the wall. -
Page 10: Connecting Power
Connecting Power 1. Connect the Power Cord to the Power port of the EdgeSwitch. 2. Plug the Power Cord into a power outlet. -
Page 11: Connecting Ethernet
Connecting Ethernet 1. Connect an Ethernet cable from your computer or host system to any Ethernet port on the EdgeSwitch. 2. Connect Ethernet cables from your devices to the other Ethernet ports on the EdgeSwitch. - Page 12 Using SFP Ports To use an SFP port: 1. Remove the protective plug covering the SFP port. 2. Plug a compatible fiber module into the SFP port. 3. Connect the fiber optic cable to the fiber module. Then connect the other end of the cable to another fiber device. For information about compatible fiber SFP modules, visit: www.ubnt.com/download/edgemax...
-
Page 13: Accessing The Configuration Interface
Accessing the Configuration Interface By default, the EdgeSwitch will try to get its IP address automatically using DHCP. If that fails, then it will use the default fallback IP address, 192.168.1.2. Proceed to the appropriate section, DHCP or “Fallback IP Address”: DHCP Use one of the following methods: •... - Page 14 For more information, refer to the EdgeSwitch documentation, which is available at www.ubnt.com/download/edgemax You can also manage your device using the Ubiquiti Network Management System. UNMS lets you configure, monitor, upgrade, and back up your devices using a single application.
- Page 15 4. The login screen will appear. Enter ubnt in the Username and Password fields. Click Sign In. 5. The EdgeSwitch Configuration Interface will appear. Click the Settings icon.
- Page 16 6. Change the IP Address to a unique IP address. Click Apply. Note: If you change the IP settings, then the session will be cut off, and you will need to reconnect to the EdgeSwitch using the new IP address. Customize additional settings as needed.
-
Page 17: Specifications
Specifications ES-16-150W Dimensions 443 x 43 x 221 mm (17.44 x 1.69 x 8.70") Weight 2.80 kg (6.17 lb) With Mount Brackets 2.89 kg (6.37 lb) Total Non-Blocking Line Rate 18 Gbps Max. Power Consumption 150W Power Method 100-240VAC/50-60 Hz, Universal Input Power Supply AC/DC, Internal, 150W DC Shock and Vibration... -
Page 18: Safety Notices
Safety Notices Read, follow, and keep these instructions. Heed all warnings. Only use attachments/accessories specified by the manufacturer. WARNING: Failure to provide proper ventilation may cause fire hazard. Keep at least 20mm of clearance next to the ventilation holes for adequate airflow. WARNING: To reduce the risk of fire or electric shock, do not expose this product to rain or moisture. -
Page 19: Limited Warranty
Limited Warranty www.ubnt.com/support/warranty/ The limited warranty requires the use of arbitration to resolve disputes on an individual basis, and, where applicable, specify arbitration instead of jury trials or class actions. Compliance Changes or modifications not expressly approved by the party responsible for compliance could void the user’s authority to operate the equipment. -
Page 20: Rohs/Weee Compliance Statement
CE Marking CE marking on this product represents the product is in compliance with all directives that are applicable to it. RoHS/WEEE Compliance Statement English European Directive 2012/19/EU requires that the equipment bearing this symbol on the product and/or its packaging must not be disposed of with unsorted municipal waste. - Page 21 Español La Directiva 2012/19/UE exige que los equipos que lleven este símbolo en el propio aparato y/o en su embalaje no deben eliminarse junto con otros residuos urbanos no seleccionados. El símbolo indica que el producto en cuestión debe separarse de los residuos domésticos convencionales con vistas a su eliminación.
-
Page 22: Declaration Of Conformity
Az EU-megfelelőségi nyilatkozat teljes szövege elérhető a következő internetes címen: www.ubnt.com/compliance Íslenska [Icelandic] Hér, UBIQUITI NETWORKS, því yfir að þetta ES-16-150W tæki er í samræmi við grunnkröfur og önnur viðeigandi ákvæði tilskipana 2014/30/ESB, 2014/35/ESB. Fullur texti ESB samræmisyfirlýsing er að finna á eftirfarandi netfangi: www.ubnt.com/compliance... -
Page 23: Online Resources
2014/30/UE, 2014/35/UE. Il testo completo della dichiarazione di conformità UE è disponibile al seguente indirizzo Internet: www.ubnt.com/compliance Latviešu valoda [Latvian] Ar šo, UBIQUITI NETWORKS, deklarē, ka ES-16-150W ierīce, ir saskaņā ar būtiskajām prasībām un citiem attiecīgiem noteikumiem Direktīvās 2014/30/ES, 2014/35/ES. Pilns ES atbilstības deklarācijas teksts ir pieejams šādā interneta vietnē: www.ubnt.com/compliance Lietuvių... - Page 24 Networks, the Ubiquiti U logo, the Ubiquiti beam logo, EdgeMAX, EdgeOS, EdgeSwitch, TOUGHCable, and UNMS are trademarks or registered trademarks of Ubiquiti Networks, Inc. in the United States and in other countries. All other trademarks are the property of their respective owners.
Need help?
Do you have a question about the EdgeSwitch ES-16-150W and is the answer not in the manual?
Questions and answers