Download Print this page
Cisco ASA 5506-X Easy Setup Manual

Cisco ASA 5506-X Easy Setup Manual

Asa with firepower services
Hide thumbs Also See for ASA 5506-X:

Advertisement

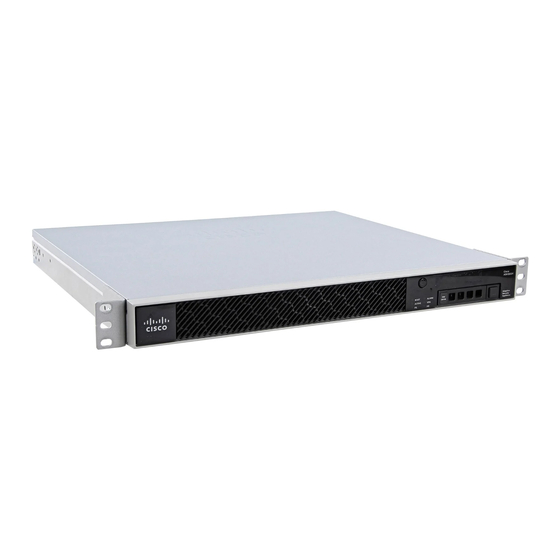
Cisco ASA with FirePOWER Services
Easy Setup Guide
You can easily set up your ASA
in this step-by-step guide.
Connecting PC to ASA
1
I n s t a l l i n g A S D M
2
Configuring ASA
3

Advertisement

loading

Summary of Contents for Cisco ASA 5506-X

  • Page 1 Cisco ASA with FirePOWER Services Easy Setup Guide You can easily set up your ASA in this step-by-step guide. Connecting PC to ASA I n s t a l l i n g A S D M Configuring ASA...
  • Page 2: Before You Begin

    WAN device. Before you begin the installation, make sure that you have the following equipment: Wait until the port LEDs on the ASA Chassis AC Power Cable (& Supply with ASA 5506-X) ASA and your WAN device are ● ●...
  • Page 3 Depending on your environ- To configure the ASA, use the Cisco Adaptive Security Device Manager (ASDM). ment, the authentication dialog Follow these steps to download the Cisco ASDM from the ASA and install it to your box appears. Launch a Web browser PC and enter the IP address “...
  • Page 4 If you want to change the default installation folder, click [Change] and enter or choose the desired installation folder. Caution Your PC must meet the following requirements to run Cisco ASDM. Microsoft Windows 7, 8: ● - Microsoft Internet Explorer Click [Install].
  • Page 5 After launching ASDM, use the Startup Wizard to perform initial configuration. Launching ASDM Click [Startup Wizard] from the [Wizards] menu bar. Now you can launch the Cisco ASDM with the Cisco ASDM Launcher. Click [OK.] Leave the username and pass- word fields empty. The Security warning appears.
  • Page 6 “ ” select [Use DHCP] in most cas- es. If you use the ASA instead “ ” the existing router, follow the configuration of the router. Click [Next]. Cisco ASA with FirePOWER Services Easy Setup Guide...
  • Page 7 (NAT)] to share several ex- Default Gateway. ternal IP address for devices on the inside interface. For example, the 192.168.1.1 “ ” works with the default configu- Click [Next]. ration. Click [Next]. Cisco ASA with FirePOWER Services Easy Setup Guide...
  • Page 8 Wizard. To send your changes cable to the Ethernet port to the ASA, click [Finish]. If you of your switch. want to modify any of the data, click [Back]. Switch Cisco ASA with FirePOWER Services Easy Setup Guide...
  • Page 9 Install Licenses Click [Licenses]. Now you can access to the ASA FirePOWER module with the Cisco ASDM. Re - launch the Cisco ASDM and install the licenses. The Control and Protection licens - es are provided by default and the Product Authorization Key (PAK) is included on a printout in your box.
  • Page 10 Configuring ASA Paste the license activa- tion key into [License] box. Click [Verify License]. Click [Submit License]. If you have additional li- censes, click [Add New License] and repeat the steps ❺ ❼ Cisco ASA with FirePOWER Services Easy Setup Guide...
  • Page 11 450 Mbps © 2016 Cisco and/or its affiliates. All rights reserved. Cisco and the Cisco logo are trademarks or registered trademarks of Cisco and/or its affiliates in the U.S. and other countries. To view a list of Cisco trademarks, go to this URL: www.cisco.com/go/trademarks. Third-party trademarks mentioned are the property of their respective owners. The use of the...