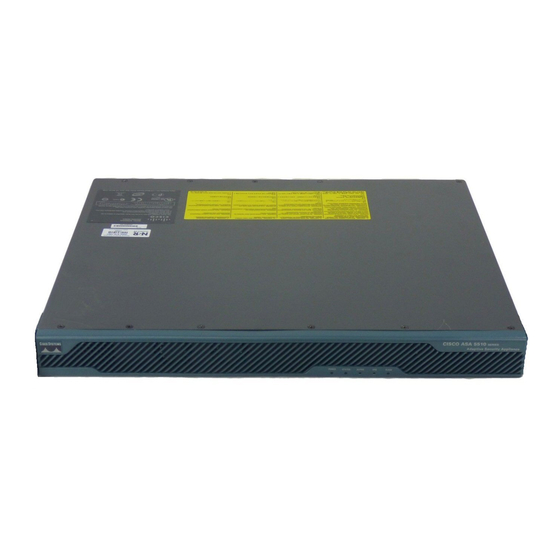
Cisco ASA Series Mount And Connect
Hide thumbs
Also See for ASA Series:
- Cli configuration manual (2164 pages) ,
- Configuration manual (429 pages) ,
- Getting started (31 pages)
Table of Contents
Advertisement
Mount and Connect
Note
Do not remove the rubber feet included with the ASA because they are needed for proper cooling for all
mounting orientations.
This chapter describes how to rack-mount the ASA, and how to connect the cords and cables. It contains the
following sections:
•
•
•
•
•
•
Desktop Mount the ASA
You can mount the ASA on a desktop by placing it on a desk in a horizontal position. Make sure there are no
blockages or obstructions within one inch of the top of the ASA or within .5 inch of the sides and back, so
that nothing interferes with cooling. Do not remove the rubber feet included with the ASA. They are also
needed for proper cooling.
Caution
Do not stack the ASA chassis on top of another ASA chassis. If you stack the units, they will overheat, which
causes the units to power cycle.
Desktop Mount the ASA, on page 1
Wall Mount the ASA, on page 2
Rack Mount the ASA, on page 3
Install the ASA 5506H-X in a DIN Rail, on page 4
Connect Cables, Turn on Power, and Verify Connectivity, on page 6
Connect to a Console Terminal or PC, on page 8
Mount and Connect
1
Advertisement
Table of Contents

Related Manuals for Cisco ASA Series


Summary of Contents for Cisco ASA Series
- Page 1 Mount and Connect Note Do not remove the rubber feet included with the ASA because they are needed for proper cooling for all mounting orientations. This chapter describes how to rack-mount the ASA, and how to connect the cords and cables. It contains the following sections: •...
- Page 2 Choose a location on the desired wall for the ASA. Step 2 Use the two Cisco-provided screws and anchors from the optional wall-mount kit. If you are mounting the ASA onto something other than drywall, such as wood or sheet metal, anchors may not be required.
-
Page 3: Rack Mount The Asa
Mount and Connect Rack Mount the ASA You can only mount the chassis with the front panel oriented toward either the ceiling or the floor. Wall mounting in other orientation is not supported. What to do next You can now install the cables and power cord, as described in Connect Cables, Turn on Power, and Verify Connectivity, on page Rack Mount the ASA... - Page 4 Mount and Connect Install the ASA 5506H-X in a DIN Rail Figure 3: ASA 5506H-X in the Rack-Mount Shelf Step 5 Carefully turn the tray right-side up and slide it into the rack-mounted shelf. What to do next You can now install the cables and power cord, as described in Connect Cables, Turn on Power, and Verify Connectivity, on page Install the ASA 5506H-X in a DIN Rail...
- Page 5 Mount and Connect Install the ASA 5506H-X in a DIN Rail Figure 4: Attaching the DIN Rail Bracket to the ASA 5506H-X Step 2 Locate the plastic tab on the end of the DIN rail bracket that extends past the chassis. Press the tab in and slide the plastic latch piece out while the tab is pressed down to put it into the locked position.
-
Page 6: Connect Cables, Turn On Power, And Verify Connectivity
Mount and Connect Connect Cables, Turn on Power, and Verify Connectivity Figure 5: ASA 5506H-X Installed with the DIN Rail The chassis is now installed in the DIN rail. What to do next Connect Cables, Turn on Power, and Verify Connectivity, on page 6 to finish setting up your ASA. - Page 7 Mount and Connect Connect Cables, Turn on Power, and Verify Connectivity You can configure any of the Gigabit Ethernet interfaces to be a management-only interface using the management-only command. However, you cannot disable management-only mode on the Management 1/1 interface. The following figure shows how to connect the network cables.
-
Page 8: Connect To A Console Terminal Or Pc
ASA. Your ASA ships with either ASA or Firepower Threat Defense software preinstalled. To reimage your device, Note Reimage the Cisco ASA or Firepower Threat Defense Device. Connect to a Console Terminal or PC The serial ports provide administrative access to the ASA either with a console terminal or a PC. To configure the ASA through the CLI, you must establish a connection between the ASA console port and either a terminal or a PC. - Page 9 Mount and Connect Connect to the Console Port with Microsoft Windows Step 3 Connect a USB 5-pin Mini USB Type B to the USB console port as shown in the following figure. Figure 8: ASA 5506-X and ASA 5506W-X Console Port Connection Mini USB Type B console port Mini USB Type B to USB Type A console cable...
- Page 10 Mount and Connect Connect to the Console Port with Microsoft Windows Figure 9: ASA 5506H-X Console Port Connection Mini USB Type B console port Mini USB Type B to USB Type A console cable USB Type A Step 4 Connect the end of the cable with the DB-9 connector (or USB Type A) to the terminal or PC. If your terminal or PC has a console port that does not accommodate a DB-9 connector, you must provide an appropriate adapter for that port.
-
Page 11: Connect To The Console Port With Mac Os
Mount and Connect Connect to the Console Port with Mac OS X • no flow control Connect to the Console Port with Mac OS X Follow these steps to connect a Mac OS X system USB port to the console using the built-in OS X Terminal utility, or alternatively you can use a separate terminal emulator application. - Page 12 Mount and Connect Connect to the Console Port with Linux Mount and Connect...
Need help?
Do you have a question about the ASA Series and is the answer not in the manual?
Questions and answers