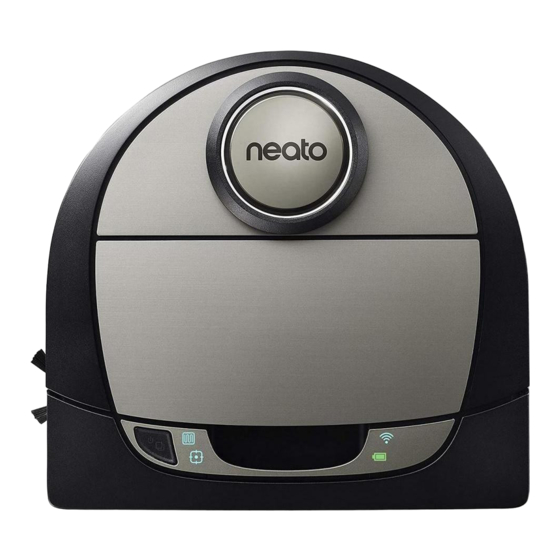
Neato Robotics Botvac D7 Connected Start Here Manual
Hide thumbs
Also See for Botvac D7 Connected:
- Manual (96 pages) ,
- User manual (48 pages) ,
- Important information manual (12 pages)
Advertisement
Available languages
Available languages
Quick Links
Advertisement

Subscribe to Our Youtube Channel
Summary of Contents for Neato Robotics Botvac D7 Connected
- Page 1 QUICK START Start Here | Commencez ici | Comience aquí | Comincia qui | Jetzt loslegen...
- Page 3 Connecting Your Robot REMOVE FILMS AND STICKERS INITIAL ROBOT CHARGING IMPORTANT: Remove all protective films and shipping material from Place the rounded side the robot and charge base. If they are not removed, your Neato robot of your Neato robot will not operate correctly.
- Page 4 Pairing Issues - Try Again Start Using Your Robot During pairing the WI-FI LED will change based on connection status: Use the Neato app to start using your robot, or press the Start Button on the robot. WI-FI LED LED COLOR WHAT IT MEANS Robot is in Pairing Mode Soft Glowing Blue...
- Page 5 Connexion du robot RETIRER LES FILMS PROTECTEURS ET AUTOCOLLANTS PREMIER CHARGEMENT DU ROBOT IMPORTANT : retirez tous les films et autres éléments de protection du Placez le côté arrondi robot et de la base de charge. Si vous ne le faites pas, votre robot Neato de votre robot Neato ne fonctionnera pas correctement.
- Page 6 Problèmes d’association ? Renouvelez l’opération Première utilisation de votre robot Durant l’association, le voyant du Wi-Fi change en fonction de l’état de la Utilisez l’application Neato pour commencer à utiliser connexion : votre robot ou appuyez sur le bouton de démarrage du robot. VOYANT DU WI-FI COULEUR DU VOYANT SIGNIFICATION...
- Page 7 Conexión de su robot QUITE LAS PELÍCULAS Y PEGATINAS CARGA INICIAL DEL ROBOT IMPORTANTE: Quite todas las películas protectoras y materiales de Coloque el lado redondo transporte del robot y de la base de carga. De lo contrario, el robot Neato del robot Neato en los no funcionará...
- Page 8 Problemas de emparejamiento - Intentar nuevamente Empiece a usar su robot Durante el emparejamiento, el LED Wi-Fi cambiará en función del estado Use la app Neato para poner en marcha el robot de conexión: o pulse el botón Inicio del aparato. LED WI-FI COLOR DEL LED SIGNIFICADO...
- Page 9 Collegamento del robot RIMUOVERE PELLICOLE E ADESIVI CARICA INIZIALE DEL ROBOT IMPORTANTE: Rimuovere tutte le pellicole protettive e il materiale da Posizionare la parte curva imballaggio dal robot e dalla base di ricarica. Se non verranno rimossi, del robot Neato contro i il robot Neato non funzionerà...
- Page 10 Problemi di associazione – Riprovare Primo utilizzo del robot Durante l'associazione, il LED WI-FI cambierà in funzione dello stato Usate l'app Neato per cominciare a usare il robot, della connessione: oppure premete il pulsante di accensione sul robot stesso. LED WI-FI COLORE DEL LED SIGNIFICATO Il robot è...
- Page 11 Ihren Roboter verbinden FOLIEN UND AUFKLEBER ENTFERNEN ROBOTER ERSTMALS AUFLADEN WICHTIG: Entfernen Sie alle Schutzfolien und Verpackungsmaterialien Drücken Sie die abgerundete des Roboters und der Ladestation. Solange diese nicht entfernt sind, Seite Ihres Neato-Roboters funktioniert Ihr Neato-Roboter nicht einwandfrei. gegen die Metallkontakte der Ladestation bis die Kontakte vollständig hineingedrückt sind.
- Page 12 Kopplungsprobleme – Versuchen Sie es erneut Inbetriebnahme Ihres Roboters Während der Kopplung verändert sich die WLAN-LED entsprechend Verwenden Sie die Neato-App, um den Roboter des Verbindungsstatus: zu starten oder drücken Sie die Start-Taste an Ihrem Roboter. WLAN-LED LED-FARBE BEDEUTUNG Roboter befindet sich im Kopplungsmodus Sanft leuchtendes Blau START-TASTE, HAUSREINIGUNG und...
- Page 14 Neato Robotics, Inc. 8100 Jarvis Avenue, Newark, CA 94560 USA NeatoRobotics.com 515-0057 Rev 2...


Need help?
Do you have a question about the Botvac D7 Connected and is the answer not in the manual?
Questions and answers