Sign In
Upload
Download
Table of Contents
Contents
Add to my manuals
Delete from my manuals
Share
URL of this page:
HTML Link:
Bookmark this page
Add
Manual will be automatically added to "My Manuals"
Print this page
×
Bookmark added
×
Added to my manuals
Manuals
Brands
Omega Manuals
Thermometer
HH911T
User manual
Omega HH911T User Manual
Thermocouple thermometer
Hide thumbs
1
2
Table Of Contents
3
4
5
6
7
8
9
10
11
12
13
14
15
16
17
18
19
20
21
22
23
24
25
26
27
28
29
30
31
32
33
34
35
36
37
page
of
37
Go
/
37
Contents
Table of Contents
Troubleshooting
Bookmarks
Table of Contents
Table of Contents
Instrument Description
Specifications
Optional Accessories and Ordering Information
Omega Family of Thermometers
2 Preparation for Use
General Information
Feature Overview
Safety Notices and Information
Unpacking and Inspection
Battery Installation and Replacement
Making Your First Temperature Measurement
3 Operating Instructions
Keypad Functions
LCD Display
Setup Menu
View Modes and Statistics
Auto-Power off
Backlight and Backlight Timeout
Hold Function
Trend Indicators
Battery Indicator
Probe Offset
Open Wire Detection On/Off
Clear Function
Invalid Measurement Indications
Resolution and Rounding Functions (Serial Number 2148 and Later)
4 Service Information
Inspection and Cleaning
Calibration
Verification Procedure
Alignment Procedure
Troubleshooting
Diagnostic Routines and Error Codes
Memory Sterilization
Required Equipment
Expanded Instrument Uncertainties
Advertisement
Quick Links
1
Specifications
2
Keypad Functions
3
Setup Menu
4
Calibration
Download this manual
User's Guide
TM
Shop online at
omega.com
e-mail: info@omega.com
For latest product manuals:
www.omegamanual.info
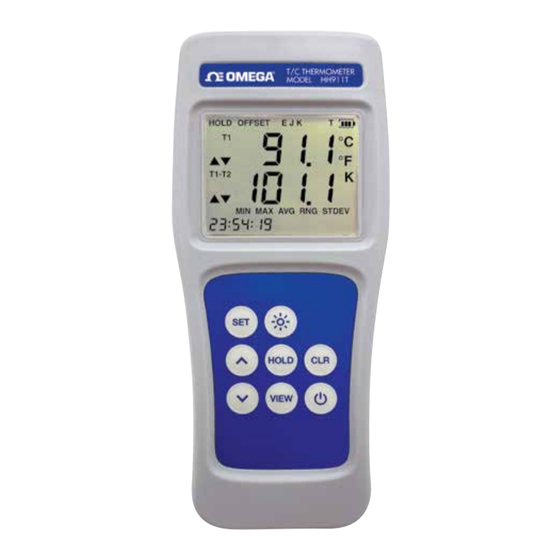
HH911T, HH912T
Thermocouple Thermometer
Table of
Contents
Previous
Page
Next
Page
1
2
3
4
5
Advertisement
Table of Contents
Need help?
Do you have a question about the HH911T and is the answer not in the manual?
Ask a question
Questions and answers
Related Manuals for Omega HH911T
Thermometer Omega HH931T User Manual
Data thermometer (49 pages)
Thermometer Omega HH912T User Manual
Thermocouple thermometer (37 pages)
Thermometer Omega HH503 User Manual
Digital thermometer (16 pages)
Thermometer Omega HH370 User Manual
Rtd thermometer (20 pages)
Thermometer Omega HH501AJ User Manual
Omegadigital thermometer user manual (12 pages)
Thermometer Omega HH501AT Owner's Manual
Omega digital thermometer owner's manual (12 pages)
Thermometer Omega HH501AK User Manual
Omega products thermometer user manual (14 pages)
Thermometer Omega HH505 Product Manual
Omega engineering, inc. digital thermometer product manual (15 pages)
Thermometer Omega HH506 Owner's Manual
Omega digital thermometer owner's manual (16 pages)
Thermometer Omega HH507 Operating Instructions Manual
Omega engineering, inc. digital thermometer brochure (15 pages)
Thermometer Omega HH508 Owner's Manual
Omega digital thermometer owner's manual (21 pages)
Thermometer Omega HHTFO User Manual
Fiber optic thermometer systems (34 pages)
Thermometer Omega HH376 User Manual
Data logger, rtd thermometer (16 pages)
Thermometer Omega HH-2000 SERIES Operating Instructions Manual
Logging thermometer (16 pages)
Thermometer Omega HH66R User Manual
Type k/j/t/e/r/s/n (34 pages)
Thermometer Omega HH81A Instruction Manual
(8 pages)
This manual is also suitable for:
Hh912t
Table of Contents
Print
Rename the bookmark
Delete bookmark?
Delete from my manuals?
Login
Sign In
OR
Sign in with Facebook
Sign in with Google
Upload manual
Upload from disk
Upload from URL


Need help?
Do you have a question about the HH911T and is the answer not in the manual?
Questions and answers