Advertisement
Advertisement
Table of Contents

Related Manuals for Omega HH508


Summary of Contents for Omega HH508
- Page 1 OMEGA...
- Page 2 It is the policy of OMEGA to comply with all worldwide safety and EMC/EMI regulations that apply. OMEGA is constantly pursuing certification of its products to the European New Approach Directives. OMEGA will add the CE mark to every appropriate device upon certification. The information contained in this document is believed to be correct but OMEGA Engineering, Inc.
-
Page 3: Safety Information
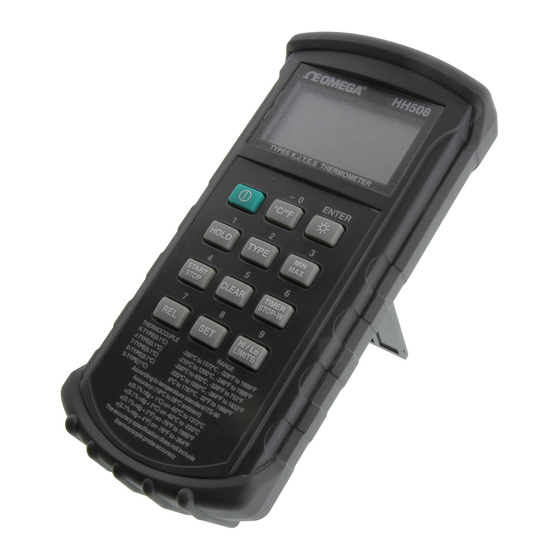
This instrument is a 3½ digit, compact-sized portable digital thermometer designed to use external K/J/T/E/S type thermocouples as temperature sensor. Temperature indication follows Reference Temperature/Voltage Tables (N.I.S.T. Monograph 175 Revised to ITS-90) for K/J/T/E/S type thermo- couples. SAFETY INFORMATION It is recommended that you read the safety and operation instructions before using the thermometer. -
Page 4: Specifications
ENVIRONMENTAL Ambient Operating Ranges: 0°C to 50°C (32°F to 122°F) <80% R.H. Storage Temperature: -20°C to 60°C (-4°F to 140°F) <70% R.H. GENERAL Display: 3½ digit liquid crystal display (LCD) with a maximum reading of 1999. Polarity: Automatic, positive implied, negative polarity indication. Overrange: -OL is displayed. - Page 5 ELECTRICAL Temperature Scale: Celsius or Fahrenheit user-selectable. Measurement Range: Thermocouple Range K-TYPE(0.1°C) -200°C to 1372°C, -328°F to 1999°F J-TYPE(0.1°C) -210°C to 1200°C, -346°F to 1999°F T-TYPE(0.1°C) -200°C to 400°C, -328°F to 752°F E-TYPE(0.1°C) -220°C to 1000°C, -364°F to 1832°F S-TYPE(1°C) Auto range: 0.1°C/1°C, 0.1°F/1°F.
-
Page 6: Operating Instructions
OPERATING INSTRUCTIONS Power Switch key turns the thermometer on or off. In the MIN MAX record mode can not power off, must leave MIN MAX record mode then power off. °C °F Selecting the Temperature Scale Readings is displayed in either degrees Celsius(°C) or degrees Fahrenheit(°F). - Page 7 The input selection indicates which input is selected for display; T1 thermocouple, T2 thermocouple or the difference between the two thermo- couples (T1-T2), when the thermometer is turned on, when the thermom- eter is turned on, it is set to the input selected that was in use when the thermometer was last turned off.
- Page 8 TIMER STOP-WATCH Mode (for HH501AR / HH501AS) 7 8 9 Press TIMER STOP-W key to enter stop-watch mode stop-watch is displayed. Press START/STOP key to toggle stop-watch starts and stops (Time goes up to 19 minutes & 59.9 seconds). Press CLEAR key to display 0.1 second, then press again to zero the stop-watch.
- Page 9 SET mode (Relative value set and Hi/Lo Limits value set) 1. Press SET key to enter Relative valuse SET mode (Press ENTER key can escape relative valuse set mode), REL set mode. _ = = =.= is displayed (the ".=" is displayed when you set up the fourth umber). Relative value is entered via overlay numbers, when you want to get negative values push (- 0) key for end of numbers, then press overlay ENTER key, stored the relative value, enter Hi/Lo Limits value set mode.
- Page 10 Hi/Lo LIMITS mode Press Hi/Lo LIMITS key to enter the Hi/Lo Limits comparative mode, "LIMIT" is displayed. In the this mode the automatic power-off feature is disabled and other funtion key are disabled, when input temperature value exceed Hi. The beeper emits a continuity pulse tone and "Hi" is displayed, and when input temperature value exceed Lo value.
-
Page 11: Operator Maintenance
OPERATOR MAINTENANCE WARNING To avoid possible electrical shock, disconnect the thermocouple connectors from the thermometer before removing the cover. Battery Replacement Power is supplied by a 9 volt "transistor" battery. (NEDA 1604, IEC 6F22). The " " appears on the LCD display when replacement is needed. To replace the battery, remove the two screws from the back of the meter and lift off the battery cover. - Page 12 RS-232 Operation Using Quick BASIC The following example shows how to send command instruction and receive data responses over the RS-232 interface using Quick BASIC. The program example is set up on "COM1". E$ = "A" ST1: CLOSE #1 OPEN "COM1:1200,E,7,1,DS,RS" FOR OUTPUT AS #1 PRINT #1, E$;...
- Page 13 IF C$ = "-" THEN DEC = DEC * -1 END IF B$ = MID$(A$, 10, 6) DEC1 = 0 N = 6 FOR I = 0 TO 5 C$ = MID$(B$, N, 1) N = N - 1 D = INSTR(F$, C$) - 1 DEC1 = DEC1 + (16 ^ I) * D NEXT DEC1 = DEC1 / 1000...
- Page 14 RS-232 Transmit and Receive Comammand Summary 1. Control letter should use Capital Letter. Baud rate: 1200 Parity check: EVEN Data bits: 7 Stop bits: 1 "A" Activate data transmission "B" Stop data transmission "C" °C/°F Key "D" " " Key "E"...
-
Page 15: Output Data Formats
OUTPUT DATA FORMATS The data format consists of 32 bytes. byte H H H H H H T1 present status S: Negative sign or positive sign H: Hexadecimal digits D: Numeric digits A: Capital Letter or "-" sign CR: Carriage return character nl: newline character T1 polarity T2 polarity... - Page 16 16 — none — "-" 17 — MSD (H)ours 18 — LSD 19 — MSD (M)inutes 20 — LSD 21 — MSD (S)econds 22 — LSD 23 — Record mode 24 — REL & HOLD mode 25 — none 26 — LIMITS mode 27 —...
- Page 17 508BR 1. Install the RSR232C cable between computer "COM1" and Thermometer RS232C port. 2. Turn on Thermometer. 3. Utilize the Quick BASIC for inputting programs. 4. Use the capital control letter and input "A" letter from the keyboard to start sending messages to computer.
-
Page 18: Calibration Procedure
5. Don't push any key and the meter will turn off automatically after 10 seconds. 6. After adjustment set the jumper back to J3 position. 7. Turn on the meter then input 0°C (K-type). The display reading reads 0°C if the calibration procedure is right. HH508BR/HH508/HH509/HH509R... - Page 19 OMEGA ENGINEERING, INC. warrants this unit to be free of defects in materials and workmanship for a period of 13 months from date of purchase. OMEGA Warranty adds an additional one (1) month grace period to the normal one (1) year product warranty to cover handling and shipping time.
-
Page 20: Data Acquisition
Where Do I Find Everything I Need for Process Measurement and Control? TEMPERATURE PRESSURE/STRAIN AND FORCE FLOW/LEVEL pH/CONDUCTIVITY M-3203/0799 OMEGA...Of Course! DATA ACQUISITION HEATERS ENVIRONMENTAL MONITORING AND CONTROL...
Need help?
Do you have a question about the HH508 and is the answer not in the manual?
Questions and answers