Table of Contents
Advertisement
Quick Links
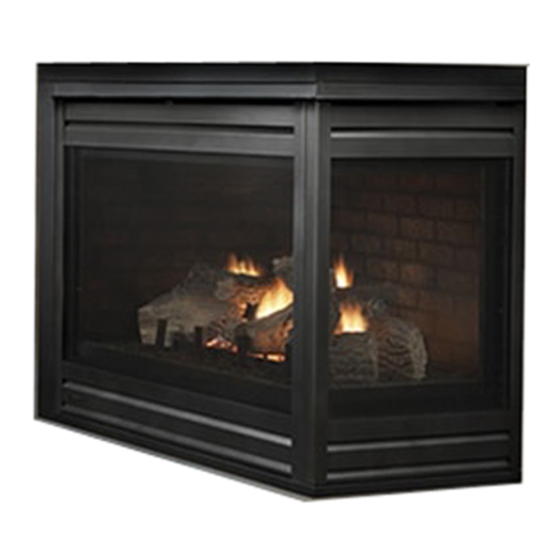
Log Set Assembly: LOGS-MSR
Models: PIER-HV, ST-HV, LCOR-HV, RCOR-HV
ST-36TR, PIER-36TR, TWILIGHT-II-B, TWILIGHT-II-C
PIER-HV, ST-HV, RCOR-HV, ST-36TR, PIER-36TR, TWILIGHT-II-B, TWILIGHT-II-C
(See page 4 for LCOR-HV)
4
3
5
2
CAUTION:
Logs are fragile! Carefully remove the logs
from the packaging. Remove the cardboard support from
inside of fireplace.
INDENT
INDENT
STEP 2.
LOG #1 (SRV2005-701): Use the indent on the bottom side of the log to position the large end of the log onto
the grate bar as shown. Slide the log back until the indent engages the grate tine as shown above. Position the thin end of
log #1 one inch from port pattern as shown.
GRATE BAR CUTOUT
STEP 3.
LOG #2 (SRV2005-700): Position log #2 on the left grate bar and the pilot assembly. Use the cut out notches
on the log to position it as shown.
1
Hearth & Home Technologies • LOGS-MSR Installation Instructions • 2005-937 Rev. H • 6/18
1
6
BOTTOM VIEW
BACK VIEW
PILOT
ASSEMBLY
CUTOUT
LOG PLACEMENT
PILOT ASSEMBLY
STEP 1.
Before positioning the logs, refer to the installation
manual for electric ember set-up and ember placement.
1-inch
2
INSTRUCTIONS
GRATE TINE (HIDDEN)
1
GRATE
BAR
1
Advertisement
Table of Contents

Summary of Contents for Hearth & Home PIER-HV
- Page 1 Log Set Assembly: LOGS-MSR LOG PLACEMENT Models: PIER-HV, ST-HV, LCOR-HV, RCOR-HV INSTRUCTIONS ST-36TR, PIER-36TR, TWILIGHT-II-B, TWILIGHT-II-C PIER-HV, ST-HV, RCOR-HV, ST-36TR, PIER-36TR, TWILIGHT-II-B, TWILIGHT-II-C (See page 4 for LCOR-HV) PILOT ASSEMBLY CAUTION: STEP 1. Logs are fragile! Carefully remove the logs Before positioning the logs, refer to the installation manual for electric ember set-up and ember placement.
- Page 2 STEP 4. LOG #3 (SRV2005-702): Position log #3 as shown by leaning it against log # 2 and resting the other end on the peak of the burner. DO NOT cover any port holes. 3/4 IN. SHARP NOTCH STEP 5. LOG #4 (SRV2005-703): Locate the sharp notch on log #4 against the grate tine as shown.
- Page 3 FLAT AREA Notch STEP 7. LOG #6 (SRV2005-705): Locate the notch on log #6 and place it against the front right grate tine. Set the other end of the log so it rests on the flat area of log #1. The orientation of log #6 in relation to the grate tine is shown below.
- Page 4 Log Set Assembly: LOGS-MSR LOG PLACEMENT Models: PIER-HV, ST-HV, LCOR-HV, RCOR-HV INSTRUCTIONS ST-36TR, PIER-36TR, TWILIGHT-II-B, TWILIGHT-II-C LCOR-HV PILOT ASSEMBLY CAUTION: STEP 1. Logs are fragile! Carefully remove the logs Before positioning the logs, refer to the installation manual for electric ember set-up and ember placement.
- Page 5 STEP 4 . LOG #3 (SRV2005-702): Position log #3 as shown by leaning it against log # 2 and resting the other end on the peak of the burner. DO NOT cover any port holes. 3/4 IN. SHARP NOTCH GRATE TINE STEP 5.
- Page 6 FLAT AREA GRATE TINE NOTCH STEP 7. LOG #6 (SRV2005-705): Locate the notch on log #6 and place it against the back left grate tine. Set the other end of the log so it rests on the flat area of log #1. The completed log assembly is shown below. Log Assembly Installed.


Need help?
Do you have a question about the PIER-HV and is the answer not in the manual?
Questions and answers