Table of Contents
Advertisement
Quick Links
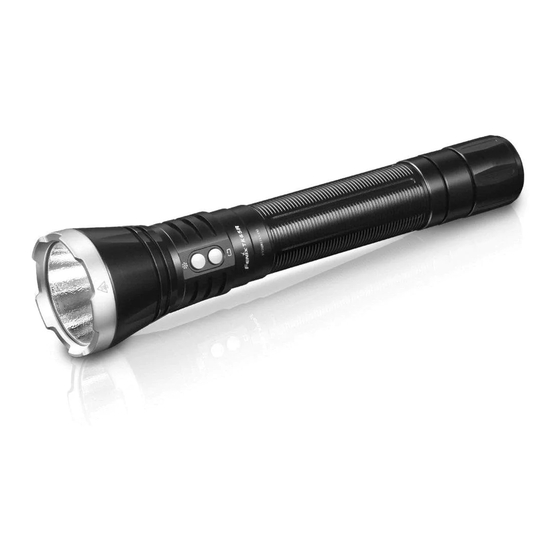
Fenix TK65R Flashlight
1. Catapult action belt clip
2. Quick-release button
Technical Parameters
General Mode
Flash Mode
ANSI/PLATO
FL1
Turbo
High
Med
Low
Eco
Strobe
SOS
3,200
1,000
400
150
30
3,200
400
Output
Lumens
Lumens
Lumens
Lumens
Lumens
Lumens
Lumens
13h
Runtime
1h 45min
4h 55min
35h 45min
113h
/
/
10min
Advertisement
Table of Contents

Subscribe to Our Youtube Channel
Related Manuals for Fenix TK65R


Summary of Contents for Fenix TK65R
- Page 1 Fenix TK65R Flashlight 1. Catapult action belt clip 2. Quick-release button Technical Parameters General Mode Flash Mode ANSI/PLATO Turbo High Strobe 3,200 1,000 3,200 Output Lumens Lumens Lumens Lumens Lumens Lumens Lumens Runtime 1h 45min 4h 55min 35h 45min 113h...
- Page 2 340 cd Impact Resistance Waterproof IP68, underwater 2m Note: The abovementioned parameters (lab-tested by Fenix using 7.2V/5000mAh Li-ion battery pack) may vary between flashlights, batteries and environments. Cree XHP70 LED with a lifespan of 50,000 hours Built-in 7.2V/5000mAh Li-ion battery pack ...
- Page 3 Micro USB charging cable USB adaptor Catapult action belt clip Operation Switches ① Master switch: controls on/off and output selection in General mode ② Auxiliary switch: controls on/off and output selection in Flash mode ON: With the light switched off, press and hold the Master switch for 0.5 seconds to enter General mode, press and hold the auxiliary switch for 0.5 seconds to enter Flash mode.
- Page 4 Intelligent Memory Circuit The light memorizes the last selected brightness level on General mode. When turned on again the previously used brightness level will be recalled. Intelligent Overheat Protection The light will accumulate a lot of heat when used on Turbo output level for extended periods. When a temperature of 65°C or above is reached, the light will automatically step down by a few lumens to reduce temperature.
- Page 5 Note: 1. Once charging is completed, be sure to close the anti-dust cover. 2. Recharge a stored light every four months to maintain optimum performance of the battery. ⑥Battery Replacement Unscrew the tail cap to insert the battery (no need to check the polarity), then screw the tail cap back on.
Need help?
Do you have a question about the TK65R and is the answer not in the manual?
Questions and answers