Table of Contents
Advertisement
Quick Links
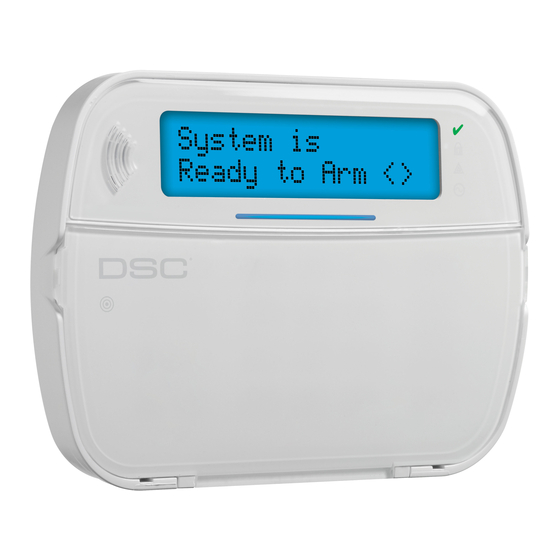
HS2LCDWF v1.0
Installation Instructions/Instructions d'Installation/Instrucciones de instalación/
Instruções de Instalação
English, Français, Español, Português
NOTE: Refer to the System Installation Manual for information on limitations regarding product use and function, and information on the limitations as to liability of the manu-
facturer.
NOTE: These instructions shall be used with the appropriate Control Panel Installation Manual with which this equipment is intended to be used. Operating Instructions shall
be made available to the user.
NOTE: This Installation Sheet applies to the following models: HS2LCDWF, HS2LCDWFP, and HS2LCDWFPV.
NOTE: Do not dispose of the waste battery as unsorted municipal waste. Consult your local rules and/or laws regarding recycling of this battery; it will help protect the environ-
ment.
Advertisement
Table of Contents

Subscribe to Our Youtube Channel
Summary of Contents for DSC HS2LCDWF v1.0
- Page 1 HS2LCDWF v1.0 Installation Instructions/Instructions d’Installation/Instrucciones de instalación/ Instruções de Instalação English, Français, Español, Português NOTE: Refer to the System Installation Manual for information on limitations regarding product use and function, and information on the limitations as to liability of the manu- facturer.
-
Page 2: Specifications
Wall Mounting Plate snap the keypad down onto the desk stand. NOTE: DSC recommends that the keypad be powered by 1. Locate the screw holes (4) at each corner of the the AC adaptor and the batteries for EN installations. -
Page 3: Language Programming
programming the rest of your security system, please 6. Once all options are configured, the system CAUTION: Do not mix old batteries with new ones. refer to your system’s Installation Manual. prompts to enroll the next device. Language Programming 7. Repeat the process described above until all wire- Mounting less devices are enrolled. -
Page 4: Programming Labels
3. Place the adaptor plug in the housing indentation, perpendicular to the key- 1. Enter keypad programming and select the label to change. e.g., pad. Insert the adaptor plug firmly into the jack. [*][8][Installer Code][000][001] (to program the label for zone 01). 2. -
Page 5: Enrolling Proximity Tags
Deleting Proximity Tags c) Buzzer Control: There are 15 different buzzer control levels. Use the [<][>] keys to scroll to the desired contrast level. Delete the prox tags from the system when they are lost or no longer needed. Keypad LED Symbols 1. -
Page 6: Keypad Function Keys
Keypad Function Keys [861]-[876] Keypad Programming Sections Please see your system installation manual for more details on the function key [000] Address of Partition options below. Upon selecting [000], a 2-digit entry is required to assign the keypad to a partition. [00] - Null [16] - Quick Exit [37]-[50] For Future Use... - Page 7 In no event shall DSC be liable for any direct, indirect or...
- Page 8 DSC. You may not remove any proprietary notices, marks or labels from the Software Product. You shall institute reasonable measures to the following measures: (i) Re-orient the receiving antenna;...
- Page 9 Label Library Words Aborted Breezeway Detector Fence Interior Menu Porch Sliding Building Dining Fire Intrusion Monoxide Power Smoke Access Disarmed First Invalid Mother’s Press Son’s Active Bypass Door Floor Motion Program Sound Activity Bypassed Down Force Progress South Alarm Cabinet Download Foyer Kids...


Need help?
Do you have a question about the HS2LCDWF v1.0 and is the answer not in the manual?
Questions and answers