Advertisement
Table of Contents
- 1 Table of Contents
- 2 Fill out Program Schedule Sheet
- 3 Select Watering Schedule
- 4 Set the Current Time
- 5 Set the Current Day
- 6 Select the Program (a or B)
- 7 Set Station Watering Days
- 8 (Custom Schedule Only)
- 9 Set Station Run Times
- 10 Set Watering Start Times
- 11 Set Controller to Automatic Operation
- Download this manual
INTRODUCTION
Congratulations on purchasing a Rain Bird ESP solid state controller. This manual describes how to in-
stall, operate, and maintain your controller. Please read these instructions carefully. For your conve-
nience, we have included a Quick Reference Guide below, so you can quickly find instructions for com-
mon tasks.
Quick Reference Guide
If you want to:
¨
Change the time of day............................
¨
Turn the controller off and on
(for example, because of rain)..................
¨
Adjust watering times for all stations
(for example, during a hot or cool period)...
¨
Start the sprinkler system manually..........
¨
Run the test program...............................
¨
Install a new battery................................
¨
Troubleshoot a controller problem.............
Technical Support: 1-800-RAIN BIRD
R R
AIN
AIN
PREFERRED BY PROFESSIONALS WORLDWIDE
page 4
page 8
page 9
page 9
page 10
page 14
page 14
1
B B
IRD
IRD
®
Installation,
Programming,
& Operation
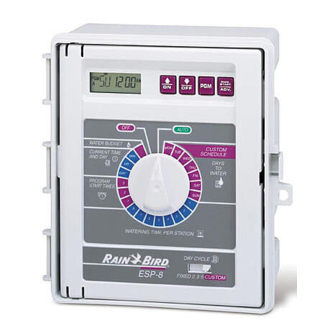
ESP-4
ESP-6
ESP-8
Advertisement
Table of Contents


Need help?
Do you have a question about the ESP-4 and is the answer not in the manual?
Questions and answers
When set on auto there is MV ERR reading. What does it mean and how do I get rid of it.
The "MV ERR" reading on the Rain Bird ESP-4 indicates a fault in the master valve (MV) or pump circuit. This error is usually caused by a short circuit in the wiring.
To resolve it:
1. Identify and repair the fault in the MV or pump wiring.
2. Set the dial to AUTO.
3. Press the ADVANCE button to clear the Alarm LED.
This answer is automatically generated
how many zones?
The Rain Bird ESP-4 controller has four zones (stations), as indicated by its model name "ESP-4."
This answer is automatically generated