Table of Contents
Advertisement
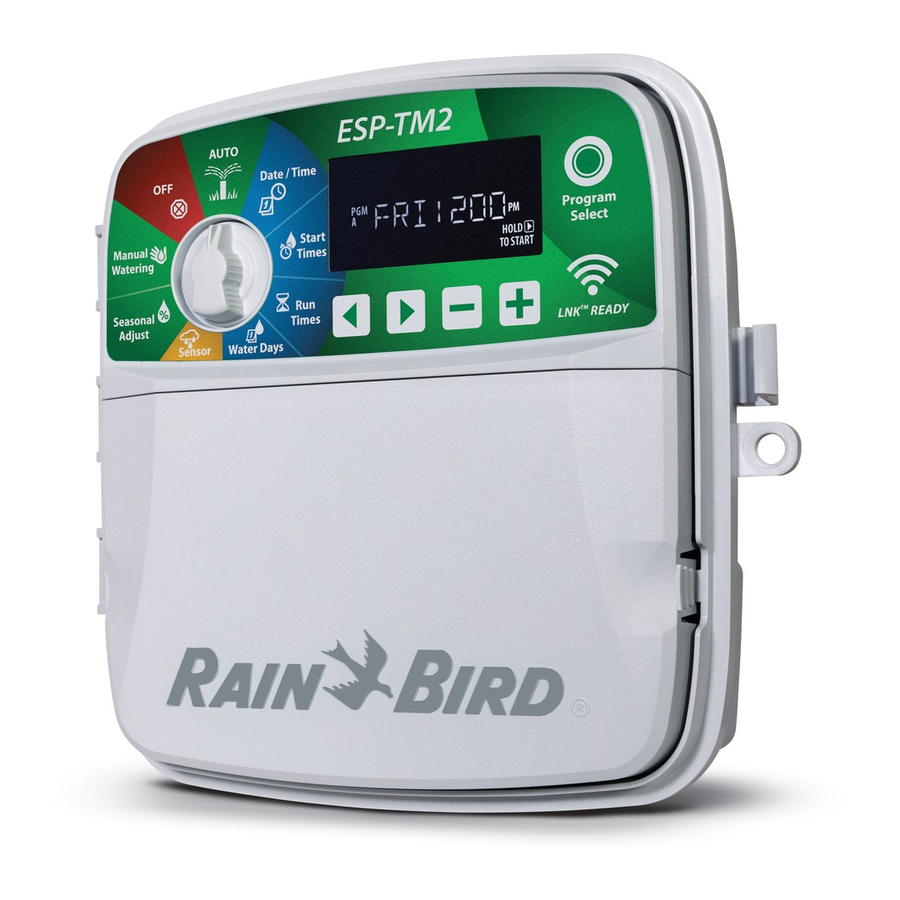
ESP-TM2 Controller User Manual
Introduction .........................................2
Welcome to Rain Bird ............................................. 2
Controller Features ................................................. 2
Installation ...........................................2
Mount Controller ..................................................... 2
Wiring Connections ................................................ 3
Connect Valves ...................................................................3
Connect Master Valve (optional) ..................................3
Connect Pump Start Relay (optional) .........................3
Connect Rain/Freeze Sensor (optional) .....................4
Connect Custom Wiring (optional) .............................4
Controls and Indicators ........................5
Special Features ...................................5
Basic Programming ..............................6
1. Set Date and Time ............................................ 6
2. Set Watering Start Times ................................ 6
3. Set Station Run Times ..................................... 6
4. Set Watering Days ............................................ 6
Custom Days of the Week ...............................................6
Rain+Birdt
STATION
HOUR
MINUTES
1
02 2 0
REMAINING
RUN TIME
Manual Watering Options ....................7
Test All Stations........................................................ 7
Run a Single Station ............................................... 7
Run a Single Program ............................................. 7
Normal Operation ................................7
AUTO RUN ................................................................. 7
OFF .............................................................................. 7
Advanced Programming ......................8
Odd or Even Calendar Days .................................. 8
Cyclic Days ................................................................ 8
Rain Sensor ............................................................... 8
Seasonal Adjust ....................................................... 8
Delay Watering ......................................................... 8
Permanent Days Off................................................ 9
Options ................................................9
Reset Button ............................................................. 9
Remote Accessories ................................................ 9
Troubleshooting .................................10
Watering Issues ......................................................10
Electrical Issues ......................................................10
Advertisement
Table of Contents

Related Manuals for Rain Bird ESP-TM2


Summary of Contents for Rain Bird ESP-TM2
-
Page 1: Table Of Contents
02 2 0 REMAINING RUN TIME Introduction .........2 Manual Watering Options ....7 Welcome to Rain Bird ..........2 Test All Stations............7 Controller Features ..........2 Run a Single Station ..........7 Run a Single Program ..........7 Installation ...........2 Normal Operation ........7... -
Page 2: Introduction
Installation Welcome to Rain Bird Mount Controller Thank you for choosing Rain Bird’s ESP-TM2 controller. In this Drive a mounting screw into the wall, leaving an 1/8 inch manual are step by step instructions for how to install and gap between the screw head and the wall surface (use the operate the ESP-TM2. -
Page 3: Wiring Connections
Wiring Connections Connect Pump Start Relay (optional) The ESP-TM2 can control a pump start relay, to turn the Connect Valves pump on and off as needed. Route all field wires through the opening at the bottom Connect a wire from the pump start relay (PSR) to the of the unit, or through the knock-out in back of the unit. -
Page 4: Connect Rain/Freeze Sensor (Optional)
Connect Rain/Freeze Sensor (optional) Connect Custom Wiring (optional) The ESP-TM2 controller can be set to obey or ignore a rain If desired, the provided 120 volt power cord can be sensor. removed and replaced with a custom wiring. Refer to the Rain Sensor section under Advanced To remove the factory installed power cord and connect Programming. -
Page 5: Controls And Indicators
SET RAIN SENSOR BYPASS SET TO ODD, EVEN OR BY STATION CYCLIC WATERING Tells a station to obey or See Advanced Programming. ignore a rain sensor. ESP-TM2 Controller... -
Page 6: Basic Programming
Turn the dial to RUN TIMES. l Press Program Select to choose the desired Program (if necessary). l Press to select a Station. l Press to set the Run Time for the selected Station. l Press to set additional Station Run Times. ESP-TM2 Controller... -
Page 7: Manual Watering Options
During Manual Watering: The display shows a blinking sprinkler symbol, the active Station Number or Program, and the Remaining Run Time. l To cancel manual watering, turn the dial to OFF for three seconds until the screen shows OFF. ESP-TM2 Controller... -
Page 8: Advanced Programming
When set to BYPASS all programs will ignore the rain sensor. Turn the dial to SENSOR. l Press to select ACTIVE (obey) or BYPASS (ignore). NOTE: See Special Features to set Rain Sensor Bypass by Station. ESP-TM2 Controller... -
Page 9: Permanent Days Off
ON. 9 10 11 12 RESET 24VAC SENS ACCESSORY CONNECT 120 VAC Remote Accessories A 5 pin accessory port is available for Rain Bird approved external devices. 9 10 11 12 RESET 24VAC SENS ACCESSORY CONNECT 120 VAC... -
Page 10: Troubleshooting
An electrical ESP-TM2 Controller “short” (contact) between the valve wires and another power Call Rain Bird toll free Technical Support at 1-800-724-6247 source can damage the controller and create a fire hazard. (USA and Canada only) WARNING: All electrical connections and wiring runs must comply with local building codes. - Page 11 Consult the dealer or an experienced radio/TV technician for help. Changes or modifications not expressly approved by Rain Bird Corporation could void the user’s authority to operate the equipment. This product was FCC certified under test conditions that included the use of shielded I/O cables and connectors between system components. To bin in compliance with FCC regulations, the user must use shielded cables and connectors and install them properly.
Need help?
Do you have a question about the ESP-TM2 and is the answer not in the manual?
Questions and answers
I have 2 of the 8 terminals wired in my controller. How do I add terminals to max out the unit
How to bypass a station
On the wifi ESP-tm2 does the program need to be done on the app or can it be installed on the controller
connecting SMS ( which brand)