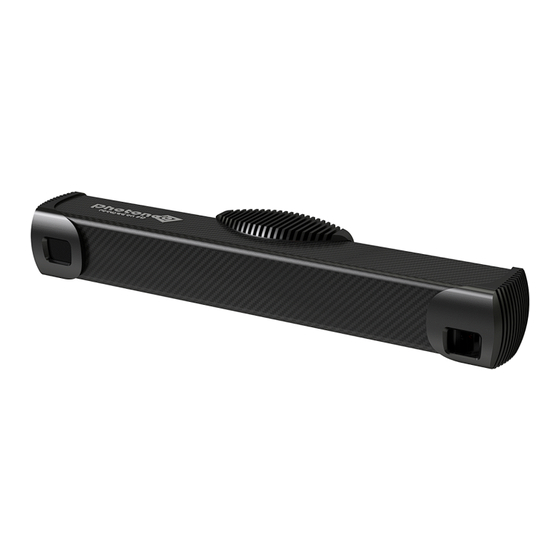
Photoneo PhoXi Instruction Manual
Hide thumbs
Also See for PhoXi:
- User manual and installation instructions (23 pages) ,
- User manual and installation instructions (36 pages)
Table of Contents
Advertisement
Quick Links
PhoXi 3D Scanner
Instruction manual
For PhoXi 3D Scanner and PhoXi Control Application
(Firmware version 1.1.12)
Thank you for purchasing Photoneo PhoXi 3D Scanner!
The Photoneo PhoXi 3D Scanner is a compact yet powerful 3D scanner with unbeatable performance in the
terms of precision, noise and overall efficiency. It can be used for scanning a wide variety of subjects in
various configurations, making it an universal tool for all kind of industrial applications. The scanner is
controlled by a supplied software - PhoXi Control Application - that provides both a GUI and an API.
The contents in this manual are based on firmware version 1.1.4 for this scanner. Visit the Photoneo website
for the latest information.
Please read this instruction manual before use.
Advertisement
Table of Contents

Subscribe to Our Youtube Channel
Summary of Contents for Photoneo PhoXi
-
Page 1: Instruction Manual
The scanner is controlled by a supplied software - PhoXi Control Application - that provides both a GUI and an API. The contents in this manual are based on firmware version 1.1.4 for this scanner. Visit the Photoneo website for the latest information. -
Page 2: Safety Instructions
Safety instructions Photoneo PhoXi 3D Scanner is a Class 3R laser product. Do not deliberately look or stare into the laser beam. Laser protective eyewear is normally not necessary, but recommended. Handle the product carefully and follow all necessary safety instructions. -
Page 3: Assembly And Installation
Download PhoXi Control Application from the Photoneo website https://www.photoneo.com/download/ and install it ● Run the PhoXi Control Application and try to make your first scan ○ after the start, the application list all scanners found in the network ○ doubleclick on the scanner to establish a connection, new window is open ○... -
Page 4: Graphical User Interface
GUI. The API was designed to be a central platform for building custom industry applications for PhoXi 3D Scanners. To facilitate the development process and reduce computing resources, all the computations are performed on the device. -
Page 5: Scanner Window
Listing scanners Network Discovery window list all available scanners on the network. After the application starts, please wait a moment until all scanners are found. In the case your scanner is not listed, please make sure that your scanner is turned on and connected to the network. - Page 6 Saves current point cloud to the file. Supported formats: Standford’s PLY Leica’s PTS Photoneo RAW data format (*.praw) Expanded Photoneo RAW data format (*.prawf) Raw images in tif Use “RecordingOptions” to define which data you want to save. TestSpeed Tests the speed of the connection to the device RecordingOptions Use “Options”...
- Page 7 ● Button - sets the properties of the scanning process. When the checkbox SaveOnSet checked, the settings are written to the scanner memory. Otherwise the settings will be used only for the current session and remain until the scanner is disconnected. ●...
- Page 8 Viewer pane This pane displays the output from the scanner. After the start of the application, hit F5 or the button SoftTrig in main controls to trigger the scan. The output is provided in different formats that can be switched by the tabs at the bottom.
- Page 9 Controls Left mouse button drag Rotate the point cloud around the selected point of focus. By default, selected point of focus is the camera position Mouse wheel or Zoom in/out vertical right mouse button drag Mouse wheel drag or Move the point cloud Hold SHIFT + left mouse drag Hold CTRL + left mouse drag Tilt the point cloud...
- Page 10 Shows the same view as the Depth Map tab, but with the applied grayscaled texture. Introduction The PhoXi API provides all the building blocks for developing your custom application for PhoXi 3D Scanner. The API is provided directly by PhoXi Control Application, so make sure the application is running before using the API.
- Page 11 In Visual Studio, hit F5 to run the example (menu > Debug > Start Debugging) While the example is running, switch back to the PhoXi Control Application - every frame that the camera captures is displayed in the Viewer pane.
-
Page 12: Quick Scanning Guide
Quick scanning guide How to configure the scanner to provide the best quality The quality of the scan depends on multiple factors. The scanner provides a variety of settings to enable an optimal scan; however, even by rearranging the positions of the scene and scanner you can get better results. -
Page 13: Problems And Troubleshooting
The Firewall blocks Bonjour Discovery Service (process mDNSResponder .exe) - Turn off the firewall Problem: I am not able to rotate Point cloud in PhoXi app. You should try to do mouse click and press ‘R’ and then do mouse click and press ‘F’.


Need help?
Do you have a question about the PhoXi and is the answer not in the manual?
Questions and answers