Table of Contents
Advertisement
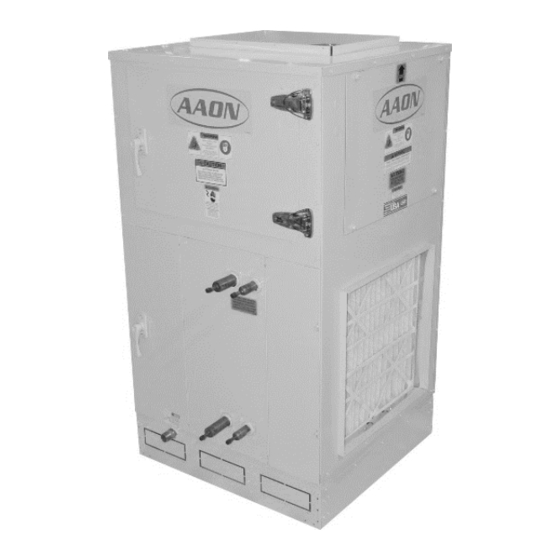
Vertical Indoor Air Handling Units
Installation, Operation
WARNING
QUALIFIED INSTALLER
Improper
installation,
alteration, service or maintenance can
cause property damage, personal
injury or loss of life. Startup and
service must be performed by a
Factory Trained Service Technician. A
copy of this IOM should be kept with
the unit.
& Maintenance
adjustment,
V3 Series
WARNING
If the information in this manual is not
followed exactly, a fire or explosion
may result causing property damage,
personal injury or loss of life.
WARNING
FOR YOUR SAFETY
Do not store or use gasoline or other
flammable vapors and liquids in the
vicinity of this or any other appliance.
Advertisement
Table of Contents


Need help?
Do you have a question about the V3-A and is the answer not in the manual?
Questions and answers