Table of Contents
Advertisement
7" and 10" T3 Series In-Wall Touch Screen
Installation Guide
Supported models
• C4-WALL7-BL
7" T3-7 In-Wall Touch Screen, Black
• C4-WALL7-WH
7" T3-7 In-Wall Touch Screen, White
• C4-WALL10-BL
10" T3-10 In-Wall Touch Screen, Black
• C4-WALL10-WH
10" T3-10 In-Wall Touch Screen, White
Introduction
The Control4® T3-7 (7") and T3-10 (10") In-Wall Touch Screens
offer complete system control in an elegant and compact design.
The touch screens are equipped with a full capacitive screen,
audio and video Intercom (with the built-in camera) using SIP,
and more.
This touch screen works great in either new construction or
retrofit installations. For power and network connectivity, choose
from three options:
• Ethernet with PoE—The Ethernet network connection is
provided through the PoE Injector. No additional wiring is
needed.
• Ethernet with AC—Connect the touch screen to one of the
RJ-45 LAN ports on the gateway/router using the RJ-45
Ethernet cable. AC power is used to power the touch screen.
• WiFi with AC—The internal WiFi will communicate with the
LAN's WAP. If the LAN has a WAP set up, no additional
network wiring is needed. AC power is used to power the
touch screen.
Note: 802.11b is not recommended for Video Intercom.
We recommend using Wireless-N. See "Specifications"
and "Power and Network Installation Options" for more
information.
Box contents
• 7" or 10" T3-7/T3-10 In-Wall Touch Screen
• Power box (to power the touch screen) (005-00065)
• Two screws (to attach the power box)
• Touch Screen removal tool
• Four adhesive-backed foam pads
• Warranty card
1 1
Accessories available for purchase
• PoE. Control4 Power over Ethernet Injector, sold separately
(AC-POE1-B).
• Wall box options (sold separately)—Metal and plastic, for
new construction or retrofit installations.
• 7" and 10" In-Wall Touch Screen Wall Box Kits - New
Construction
• 7" and 10" In-Wall Touch Screens Wall Box, New
Construction, Plastic (C4-NWB57C-P)
• 7" and 10" In-Wall Touch Screens Wall Box, New
Construction, Metal (C4-NWB57C-M)
• 7" and 10" In-Wall Touch Screen Wall Box Kits - Retrofit
• 7" and 10" In-Wall Touch Screens Wall Box, Retrofit,
Plastic (C4-RWB57C-P)
• 7" and 10" In-Wall Touch Screens Wall Box, Retrofit,
Metal (C4-RWB57C-M)
For wall box installation details, see:
• 7" or 10" In-Wall Touch Screen Wall Box Installation
Guide-New Construction
• 7", or 10" In-Wall Touch Screen Wall Box Installation
Guide-Retrofit
Advertisement
Table of Contents

Subscribe to Our Youtube Channel
Related Manuals for Control 4 C4-WALL7-WH


Summary of Contents for Control 4 C4-WALL7-WH
-
Page 1: Installation Guide
• C4-WALL7-BL 7" T3-7 In-Wall Touch Screen, Black • PoE. Control4 Power over Ethernet Injector, sold separately (AC-POE1-B). • C4-WALL7-WH 7" T3-7 In-Wall Touch Screen, White • Wall box options (sold separately)—Metal and plastic, for • C4-WALL10-BL 10" T3-10 In-Wall Touch Screen, Black new construction or retrofit installations. -
Page 2: Specifications
Warning! The touch screen must be protected by an Specifications external circuit breaker or a fuse rated at 6A maximum when used in Europe. C4-WALL7-BL, C4-WALL7-WH, C4-WALL10-BL, Model Numbers AVERTISSEMENT ! Pour réduire le risque du feu ou de C4-WALL10-WH choc électrique, n’exposez pas cet appareil à... -
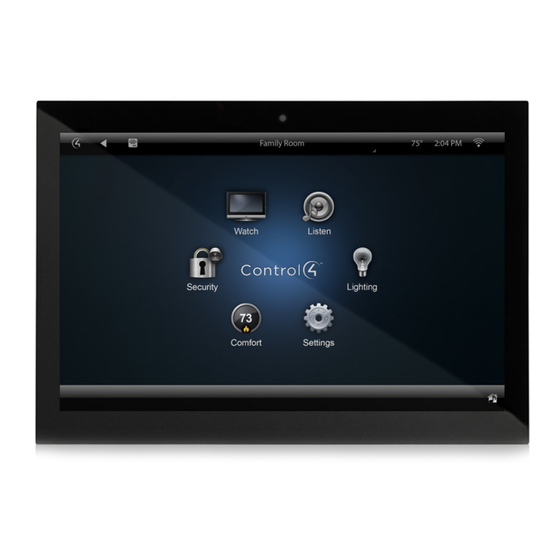
Page 3: Front View
Front view Touch screen placement Figure 1: Front view Place the touch screen in a convenient location at eye level, typically near the entrance of the room, approximately 57 to 61 inches (145 cm to 155 cm) from the floor (Figure 3). Note: Consider the camera on the panel and the height of the people in the home who will use the camera for Video Intercom. - Page 4 Option 1: Ethernet connection with PoE Wireless Network Limitations: Many WiFi Access Points handle Multicasts (WiFi simultaneously sent to multiple PoE supplies DC power on the Ethernet cable using a PoE devices, for example, when the touch screen broadcasts Injector (model #AC-POE1-B) or a third-party PoE solution to video to all stations) by slowing down transmission provide the touch screen with power and a network connection.
- Page 5 Figure 7: Insert Ethernet cable into power box Figure 9: Connect AC power Neutral (N) Line (L) 5 Go to “Attach the power box and touch screen” below. Connecting standard Ethernet 4 Cap the ground wire from the wall if you are using a plastic To connect to a wired network: wall box.
- Page 6 Attach the power box and touch screen Configuration To attach the power box and touch screen: Configure the touch screen for wireless (optional) 1 Align and bend the wires carefully to fit them inside the wall box. To configure the touch screen for wireless: 2 Align slide the power box into the wall box, then secure the 1 After initialization, tap Network.
-
Page 7: Troubleshooting
Add and configure in Composer Pro Troubleshooting After the touch screen is installed and appears on the home Boot up time network, use Composer Pro to add it to the Control4 system and configure it. When the device is booting up, it may take 30 seconds or longer Use the Composer Pro System Design and Connections views to before the Green LED turns on. - Page 8 Removing the touch screen from the wall Additional resources To remove the touch screen: The following resources are available for more support. 1 Hold the removal tool flat against the wall, centered directly • Control4 Knowledgebase and forums beneath the touch screen, then slide it upward between the •...
Need help?
Do you have a question about the C4-WALL7-WH and is the answer not in the manual?
Questions and answers