Garmin AQUAMAP 10x2 Series Installation Instructions Manual
Hide thumbs
Also See for AQUAMAP 10x2 Series:
- Owner's manual (112 pages) ,
- Owner's manual (186 pages) ,
- Installation instructions manual (8 pages)
Advertisement
Quick Links
Download this manual
See also:
Owner's Manual
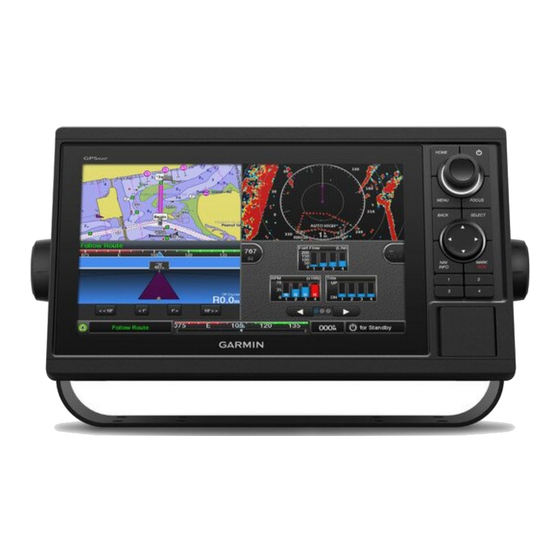
AQUAMAP™ 10x2/12x2 SERIES
Installation Instructions
Important Safety Information
See the Important Safety and Product Information guide in the product box for
product warnings and other important information.
When connecting the power cable, do not remove the in-line fuse holder.
To prevent the possibility of injury or product damage caused by fire or
overheating, the appropriate fuse must be in place as indicated in the product
specifications. In addition, connecting the power cable without the appropriate
fuse in place voids the product warranty.
Always wear safety goggles, ear protection, and a dust mask when drilling,
cutting, or sanding.
When drilling or cutting, always check what is on the opposite side of the
surface.
To obtain the best performance and to avoid damage to your boat, install the
device according to these instructions.
Read all installation instructions before proceeding with the installation. If you
experience difficulty during the installation, contact Garmin
Garmin Support Center
Go to support.garmin.com for help and information, such as product manuals,
frequently asked questions, videos, software updates, and customer support.
Registering Your Device
Help us better support you by completing our online registration today. Keep
the original sales receipt, or a photocopy, in a safe place.
1 Insert a memory card into the card slot on the chartplotter.
2 Wait a few moments.
The chartplotter creates a file named GarminDevice.xml in the Garmin
folder on the memory card.
3 Remove the memory card.
4 Insert the memory card into your computer.
5 On your computer, go to my.garmin.com.
6 Follow the on-screen instructions to download, install, and open the
Garmin Express™ application.
7 Select
Add a Device.
8 While the application searches, select Sign In next to Have marine charts
or devices? near the bottom of the screen.
9 Create or sign in to your Garmin account.
10 Follow the on-screen instructions to set up your vessel.
WARNING
CAUTION
NOTICE
Product Support.
®
11 Select
Add.
The Garmin Express application searches the memory card for the device
information.
12 Select Add Device to register the device.
When registration is complete, the Garmin Express application searches
for additional charts and chart updates for your device.
When you add devices to the chartplotter network, repeat these steps to
register the new devices.
Software Update
You may need to update the device software when you install the device or
add an accessory to the device.
This device supports up to a 32 GB memory card, formatted to FAT32.
Loading the New Software on a Memory Card
The device may contain a software-update memory card. If so, you do not
need to copy the software update onto a memory card. If a software update
memory card is not included, you must copy the software update to a blank
memory card.
1 Insert a memory card into the card slot on the computer.
2 Go to www.garmin.com.cn/products/onthewater.
3 Select AQUAMAP 1000/1200 Series.
4 Select Download.
5 Read and agree to the terms.
6 Select Download.
7 Select Run.
8 Select the drive associated with the memory card, and select Next >
Finish.
Updating the Device Software
Before you can update the software, you must obtain a software-update
memory card or load the latest software onto a memory card.
1 Turn on the chartplotter.
2 After the home screen appears, insert the memory card into the card slot.
NOTE: In order for the software update instructions to appear, the device
must be fully booted before the card is inserted.
3 Follow the on-screen instructions.
4 Wait several minutes while the software update process completes.
5 When prompted, leave the memory card in place and restart the
chartplotter manually.
6 Remove the memory card.
NOTE: If the memory card is removed before the device restarts fully, the
software update is not complete.
Printed in Taiwan
October 2017
190-02217-02_0A
Advertisement

Related Manuals for Garmin AQUAMAP 10x2 Series


Summary of Contents for Garmin AQUAMAP 10x2 Series
- Page 1 11 Select Add. The Garmin Express application searches the memory card for the device information. 12 Select Add Device to register the device. When registration is complete, the Garmin Express application searches for additional charts and chart updates for your device.
- Page 2 In The Box (AQUAMAP 12x2 Series) In The Box (AQUAMAP 10x2 Series) These are the parts you’ll find inside the package. These are the parts you’ll find inside the package. Item Description Item Description AQUAMAP 12x2 series AQUAMAP 10x2 series...
-
Page 3: Mounting Considerations
Dimensions and Ports (AQUAMAP 10x2 Series) Typical System Integration Camera Transducer Monitor NMEA 2000 Network 316.8 mm 68.5 mm 2nd AQUAMAP AQUAMAP Antenna Radar Panoptix Item Usage Tools Needed 8-pin XDCR • Drill Power ◦ Bail mount: drill bits appropriate for the surface and hardware Ground ◦... - Page 4 Bail Mounting the Device 8 After the device fits correctly in the cutout, ensure the mounting holes on the device line up with the larger 6 mm ( in.) holes on the template. NOTICE 9 If the mounting holes on the device do not line up, mark the new hole If you are mounting the bracket on fiberglass with screws, it is recommended locations.
-
Page 5: Port Pin Definitions
22 AWG (.33 mm²) wire. Devices that can receive depth information from a Garmin transducer have a port labeled 8-PIN XDCR. Go to www.garmin.com or contact your local Garmin dealer to determine the appropriate type of transducer for your needs. - Page 6 You can connect one NMEA 0183 device to the internal RX port to input NMEA 2000 network should already be connected to power. Do not connect data to this Garmin device, and you can connect up to three NMEA 0183 the NMEA 2000 power cable to an existing NMEA 2000 network, because devices in parallel to the internal TX port to receive data output by this only one power source should be connected to a NMEA 2000 network.
- Page 7 NMEA 0183 device NMEA 0183 Device Item Garmin Wire Color Garmin Wire Function Wire Function Power supply + Power supply + Black Power supply - / ground Power supply - / ground Blue Gray Not applicable Item Description NMEA 0183 Device Connected with a Single Transmit Wire DC Power supply / battery In this example, the NMEA 0183 device is sending data to the chartplotter.
-
Page 8: Specifications
All models Temperature range -15° to 50°C (5° to 122°F) The Garmin GPSMAP HDMI accessory cable is 4.5 m (15 ft) long. If you need Material Polycarbonate plastic and die-cast a longer cable, you should use an active HDMI cable only. You need an HDMI aluminum coupler to connect the two HDMI cables. - Page 9 Garmin Ltd. or ® ® its subsidiaries, registered in the USA and other countries. These trademarks may not be used without the express permission of Garmin. NMEA 2000 and the NMEA 2000 logo are registered trademarks of the ®...
Need help?
Do you have a question about the AQUAMAP 10x2 Series and is the answer not in the manual?
Questions and answers