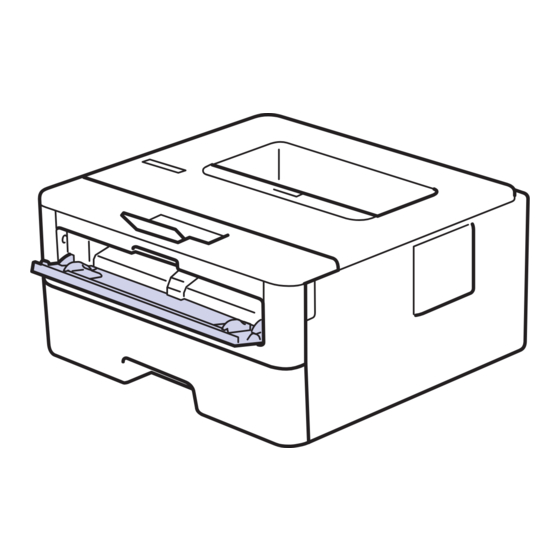
Fuji Xerox DocuPrint P275 dw User Manual
Hide thumbs
Also See for DocuPrint P275 dw:
- Online user's manual (247 pages) ,
- Online user's manual (260 pages)
Advertisement
.
Wifi Setup
Setting up the
DocuPrint P275 dw
printer on a wireless
network
Before you begin
Ensure you have the name of your
wireless network (SSID), wireless
network password, security and
encryption types.
To find the name and type of
security encryption of your wireless
network on your computer (example
Windows 7):
a) Go to the Start Menu. Select
Control Panel and click on
Network and Sharing Centre.
b) Click on Manage Wireless
Networks. Double click on your
preferred wireless network. Note
the SSID. Click on the security tab.
Note the security and encryption
types.
To keep updated with the latest support
videos, please subscribe to the Fuji Xerox
Printers YouTube channel: fujixeroxtv
Connecting to
DocuPrint P275 dw
the Wireless
Network
1
WPS-PBC
(WPS Button)
Wi-Fi Protected Setup (WPS) is a network
security standard that allow users to easily
secure a wireless home network, and connect
wireless client devices (iPad's etc.) to it,
without accessing the router's con guration
screens, and without even knowing the
wireless network's security key/passphrase.
NOTE: A WPS-PBC enabled wireless access point is required.
Please refer to the manual provided with the router.
Before starting WPS-PBC, confirm the position of the WPS
button on the wireless access point or router. Please refer
to the manual provided with the router.
1
Press the [WiFi] button on the control panel.
[Setup Wi-Fi?] will be displayed on the LCD.
2
Press [-] for [Yes].
'Connecting WLAN' will be displayed on the
LCD and the WiFi button will flash green.
3
Press the [WPS] button on your wireless access
point/router.
4
When 'Connected' is displayed, the wireless connection
has been successfully established and the WiFi button
will be lit solid green. Press the [OK] button.
Connected
NOTE: There is a 2 minute time-out to complete the connection
procedure.
http://onlinesupport.fujixerox.com/
2
WPS-PIN
NOTE: A WPS-PIN enabled wireless access
point/router is required.
1
Use the [+] button to select
Network
[Network], and then press
the [OK] button.
Use the [+] button to select
2
WLAN
[WLAN], and then press
the [OK] button.
3
Use the [+] button to select
WLAN Enable
[WLAN Enable], and then
press the [OK] button.
4
Use the [+] button to select
ON
[ON], and then press
the [OK] button.
'Accepted' will be displayed
on the LCD.
Use the [+] button to select
5
WPS w/PIN Code
[WPS w/PIN Code], and
then press the [OK] button.
NOTE: The PIN is displayed, take note of this PIN. You
will need to login to your router to complete the next step.
Please refer to the routers User Guide for instructions.
Complete the WPS-PIN procedure on the wireless access
6
point. There is a 2 minute time-out to complete the
connection procedure.
7
When 'Connected' is displayed the wireless connection
has been successfully established. Press the [OK] button.
The [WiFi] button will be lit solid green.
3
Auto SSID
1
Use the [+] button to select
[Network], and then press
Network
the [OK] button.
2
Use the [+] button to select
WLAN
[WLAN], and then press
the [OK] button.
3
Use the [+] button to select
WLAN Enable
[WLAN Enable], and then
press the [OK] button.
DPP275dw_QSG_P1
Advertisement
Table of Contents

Summary of Contents for Fuji Xerox DocuPrint P275 dw
-
Page 1: Wps Button
WPS w/PIN Code [WPS w/PIN Code], and then press the [OK] button. To keep updated with the latest support videos, please subscribe to the Fuji Xerox Printers YouTube channel: fujixeroxtv NOTE: There is a 2 minute time-out to complete the connection procedure. - Page 2 Connecting to Wifi Setup the Wireless DocuPrint P275 dw http://onlinesupport.fujixerox.com/ Network Manual SSID Reset Wireless Network Use the [+] button to select Use the [+] button to select [ON], and then press [<New SSID>], and then <New SSID> Settings the [OK] button.


Need help?
Do you have a question about the DocuPrint P275 dw and is the answer not in the manual?
Questions and answers