Mitel 112 Installation Manual
Hide thumbs
Also See for 112:
- Planning and installation manual (68 pages) ,
- User manual (51 pages) ,
- Manual (11 pages)
Advertisement
Quick Links
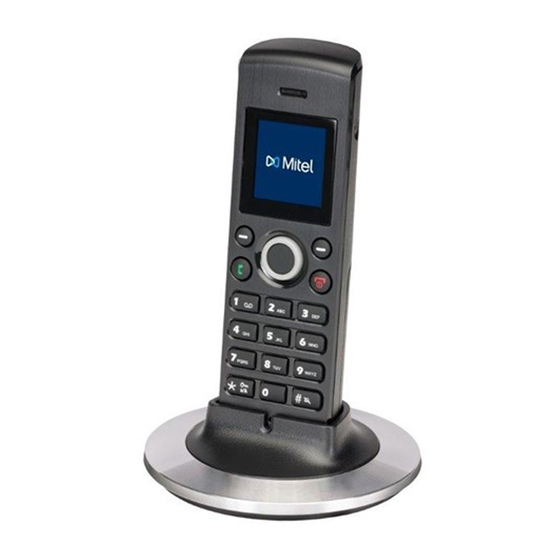
Mitel 112 DECT Installation Guide
Overview
In preparation to install the Mitel 112 DECT phone, you will the following information provided to
you by your Project Manager:
The extension number. This extension must be pre-built in the system with a 112 Dect
Service Plan (aka Bundle).
The SIP username.
The SIP password.
Private IP address for the UCCV controller
Private IP address for UCCV datacenter server (a.k.a MSL). This IP is one host
assignment in front of the UCCV controller.
The welcome email provides all of the needed information with the exception of the private IP
address of the controller for the base station to sync with (See figure 1). The IP will be in a
format of: 10.25.2xx.xxx.
Fig 1
The installation and configuration process works as follows:
1. Prepare the voice VLAN network.
2. Connect a laptop into the voice VLAN
3. Assemble and install the base station
4. Pair the DECT phone to the base station
5. Configure the base stations server to sync with the UCCV controller and to the DECT
phone.
Service Notes:
The base station can be synced to the teleworker gateway using an over-the-top (OTT) internet
connection. However to do so, the UCCV service will require a teleworker license be purchased.
For a complete set of Mitel guides, please access Mitel Online for the documents
Mitel FRP 12 System Guide
Mitel 112 Handset_User_Guide_R1.0
Mitel 112 DECT Install Guide
Ver: 3.1
1
Advertisement

Related Manuals for Mitel 112


Summary of Contents for Mitel 112
- Page 1 Mitel 112 DECT Installation Guide Overview In preparation to install the Mitel 112 DECT phone, you will the following information provided to you by your Project Manager: The extension number. This extension must be pre-built in the system with a 112 Dect Service Plan (aka Bundle).
- Page 2 Step 3: Assemble and Connect the Base Station to the Network Un-box, assemble, and plug the base station into the LAN. By default, it is set up for DHCP. Please refer to document 112 Base Station Install.pdf should you have additional questions about how to connect the cables etc.
- Page 3 Mitel 112 DECT Installation Guide Fig 2 Step 4A: Connect the Base Station to the Network 1. Click on the menu – Servers. 2. Click on Add Server. (See figure 3) Fig 3 Fill in the following fields in the form: 1.
- Page 4 Mitel 112 DECT Installation Guide Note: A public IP shown as an example below would be used in conjunction with sets/seats purchased with teleworker licenses. (see figure 4) Fig 4 Step 4b: Pair the DECT Handset to the Base Station 1.
- Page 5 Mitel 112 DECT Installation Guide Fig 6 Pair the DECT wireless set to the Extension (see figure 7) 1. Click on the Extensions menu 2. Click on Handset tab and then Click on Add Handset 3. Enter the IPEI into the form. Click Save Fig 7 4.
- Page 6 Mitel 112 DECT Installation Guide Step 4c: Start the SIP Registration. After configuring the server, building the extension and pairing the DECT set, the last step is to start the registration process between the DECT set and the synced base station. (see figure 9) 1.
- Page 7 Mitel 112 DECT Installation Guide Step 4d: Verify Settings With some installations, if the VLAN’s are not properly set up with the correct scope, the base station when syncing will pick up the wrong scopes and will attempt to configure itself using the wrong information.
- Page 8 Mitel 112 DECT Installation Guide End Result The end result should show the extension with the following state disposition as SIP registered. Optional: Screen Shots of a Standard Configuration Extensions Ver: 3.1...
- Page 9 Mitel 112 DECT Installation Guide Servers Network Time Ver: 3.1...
Need help?
Do you have a question about the 112 and is the answer not in the manual?
Questions and answers