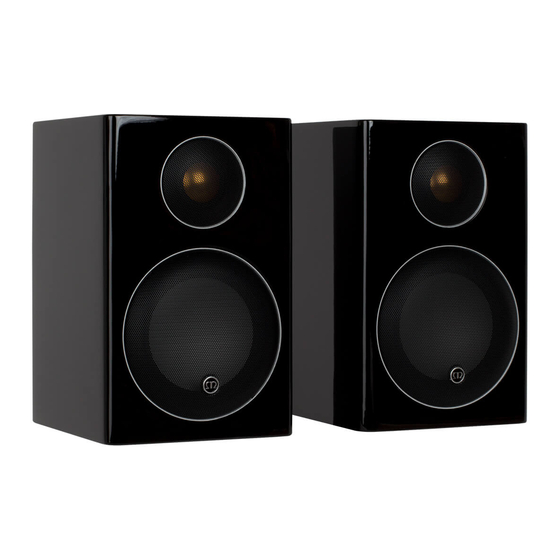
Monitor Audio Radius 45 Owner's Manual
Radius series
Hide thumbs
Also See for Radius 45:
- User manual (17 pages) ,
- Owner's manual (96 pages) ,
- Manual (16 pages)
Table of Contents
Advertisement
Quick Links
Advertisement
Table of Contents

Related Manuals for Monitor Audio Radius 45


Summary of Contents for Monitor Audio Radius 45
- Page 1 Radius series O w n e r s M a n u a l Radius series Radius adius...
-
Page 2: Table Of Contents
Contents Contents Introduction Set Up and Positioning Radius One Radius 200 Positioning - Front Speakers Positioning - Surround Speakers Optimum Speaker Placement Fixing the Radius 225/ Radius One to a Wall Radius 270 Feet and Spikes Specifications Owner Information monitoraudio.com... -
Page 3: Introduction
Radius One to a wall, please refer to page 5. The Radius One features fixings compatible with a Sanus Wall Bracket. NOTE: The Radius 45 and 90 can be fixed to a wall using our Universal Speaker Mount sold seperately. The Radius 200 is not designed to be wall mounted. -
Page 4: Positioning - Front Speakers
Positioning - Front Speakers The centre channel should be the first speaker positioned in a home theatre room, and such that the tweeter is directed towards the listener’s ear. The centre channel’s job is to anchor dialogue and other on-screen sounds to the screen. Typically, as much as 60% of a movie soundtrack comes through the centre channel. -
Page 5: Optimum Speaker Placement
Optimum Speaker Placement Left Right Centre 0° 22° 30° 90° Surround Surround 110° Left Right 135° 150° Rear Rear Surround Surround Right Left Radius Series... -
Page 6: Fixing The Radius 225/ Radius One To A Wall
Fixing the Radius 225/ Radius One to a Wall Additional Points to Remember • When using the wall fixing plate, the speaker will drop by 7.5mm due to the key hole fixing. • Templates are supplied with the products to aid fixing. •... -
Page 7: Radius 270 Feet And Spikes
Radius 270 Feet and Spikes The Radius 270 is supplied pre-installed with rubber feet for use on hard floors, or when spikes are inappropriate. If using spikes, first remove the rubber feet by simultaneously twisting and pulling them out, revealing the threaded inserts. Take the spikes and twist them in a clockwise direction in to the plinths. -
Page 8: Specifications
Specifications... -
Page 9: Owner Information
Owner Information Product Details Model ..............Product Serial No ..........Date of Purchase ..........Dealer Details Dealer Name ........................Address ......................................................e-mail address ........................Monitor Audio reserves the right to alter specifications without notice. Radius Series...
Need help?
Do you have a question about the Radius 45 and is the answer not in the manual?
Questions and answers