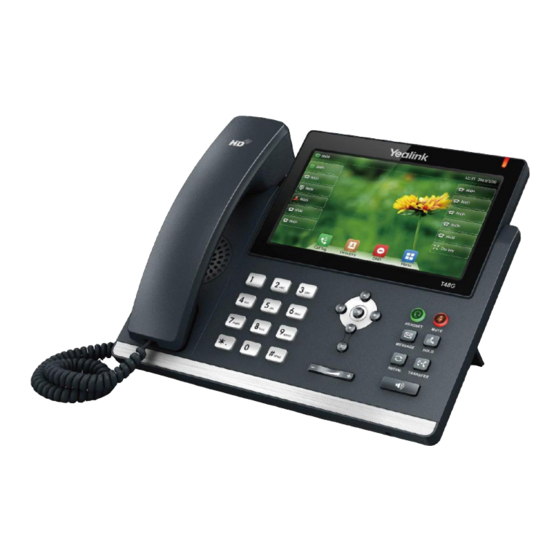
Yealink T48G Setup Manual
Maxotel phone
Hide thumbs
Also See for T48G:
- Manual (39 pages) ,
- Setup & user manual (24 pages) ,
- Quick start manual (17 pages)
Advertisement
Table of Contents
Yealink T48G Setup Guide
To configure the Yealink T48G to your MaxoTel account, first retrieve the IP Address so that you can log
into the 'Web Configuration' via your computer. To do this, the 'OK' button in the middle of the D-Pad.
The IP Address should show up in the Status Page. Enter The IP Address into your web browser.
Once you are on the Web Configuration page enter the username and password. By default the
username will be 'admin' and the Password will be 'admin'.
Once you have successfully logged in, click on the 'Account' tab across the top. Here you will place your
Extension information and the SIP Server (sip.maxo.com.au for Residential and Sip Trunk accounts, and
pbx.maxo.com.au for Hosted PBX accounts) as the bellow screenshot shows:
Hit the 'Confirm' Button at the bottom of the page to save the details. Once the page has reloaded, click
on advanced and type '50002' into the 'Voicemail' field. This is the voicemail number. Again hit 'Confirm'
to save the settings.
Advertisement
Table of Contents

Summary of Contents for Yealink T48G
- Page 1 Yealink T48G Setup Guide To configure the Yealink T48G to your MaxoTel account, first retrieve the IP Address so that you can log into the ‘Web Configuration’ via your computer. To do this, the ‘OK’ button in the middle of the D-Pad.
- Page 2 Next, click on the ‘DSSKey’ tab at the top. In here you will configure the multiple lines for the once extension, allowing you to make and receive multiple calls through your extension number. Feel free to also setup some Speed Dials for important numbers. If you would like to setup BLF (Busy Lamp Field) to see the status of the other extensions please refer to the BLF Guide for this phone model on the MaxoTel website.


Need help?
Do you have a question about the T48G and is the answer not in the manual?
Questions and answers