ResMed AirFit N20 User Manual
Nasal mask
Hide thumbs
Also See for AirFit N20:
- User manual ,
- Disinfection and sterilisation manual (8 pages) ,
- Manual (4 pages)
Advertisement
Table of Contents
Advertisement
Table of Contents

Related Manuals for ResMed AirFit N20


Summary of Contents for ResMed AirFit N20
- Page 1 Nasal mask User guide English...
- Page 2 Fitting / 配戴 /配戴...
- Page 3 Adjustment / 调整 / 調整 Removal / 取下面罩 / 取下面罩...
- Page 4 Disassembly / 拆卸 / 拆卸...
- Page 5 Reassembly / 重新组装 / 重新組裝...
- Page 6 Cleaning your mask at home / 家中清洁面罩须知 / 家中清潔面罩須知 30°C...
-
Page 7: Using This Guide
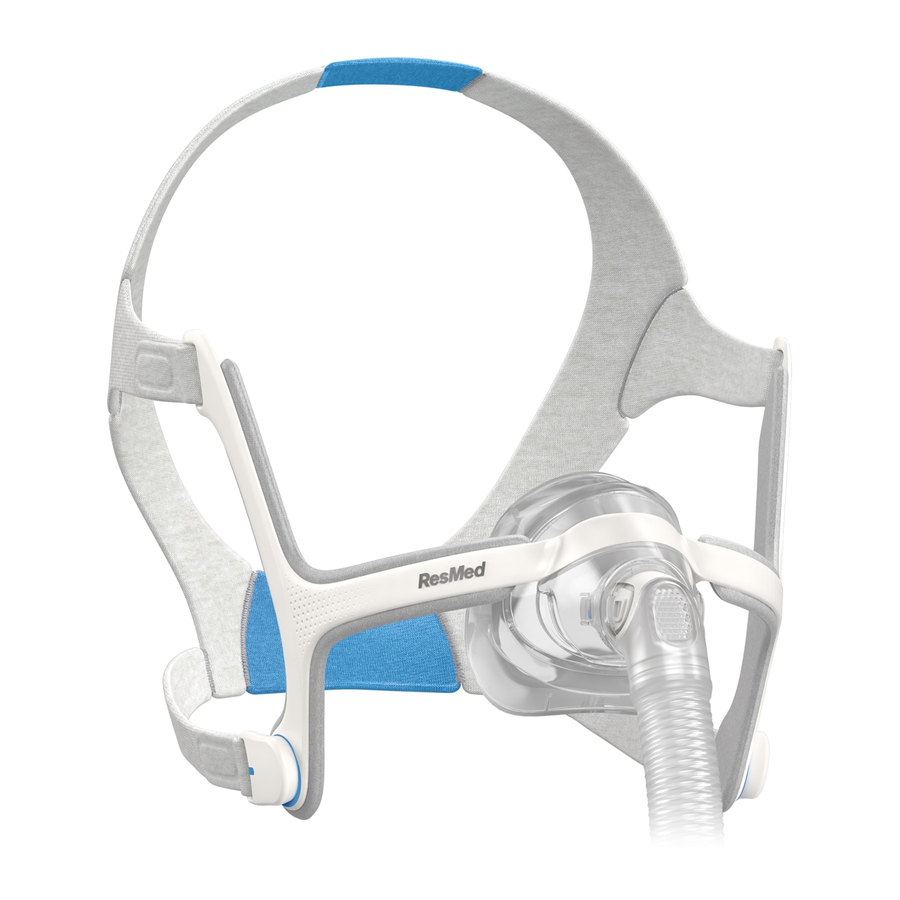
ENGLISH Nasal Mask Thank you for choosing the AirFit N20. This document provides the user instructions for the AirFit N20 and AirFit N20 for Her masks referred to collectively as AirFit N20 throughout this manual. Using this guide Please read the entire guide before use. When following instructions, refer to the images at the front of the guide. -
Page 8: General Warnings
Contraindications Use of masks with magnetic components is contraindicated in patients with the following pre-existing conditions: • a metallic hemostatic clip implanted in your head to repair an aneurysm • metallic splinters in one or both eyes following a penetrating eye injury. -
Page 9: Using Your Mask
The mask should not be worn if this safety feature is damaged or missing. Using your mask When using your mask with ResMed CPAP or bilevel devices that have mask setting options, refer to the Technical specifications section in this user guide for the correct setting. - Page 10 Headgear check: Ensure that the ResMed logo on the headgear is facing outwards and is upright when the headgear is put on. 3. Bring the lower straps below your ears, and attach the magnetic clip to the frame. 4. Undo the fastening tabs on the upper headgear straps. Adjust the straps evenly until the mask sits comfortably just over the nose.
-
Page 11: Cleaning Your Mask At Home
1. Push the cushion into the frame. The frame has a shape that allows you to insert the cushion only one way. 2. With the ResMed logo on the headgear facing outside and upright, thread the upper headgear straps into the frame slots from the inside. -
Page 12: Reprocessing The Mask Between Patients
4. Allow the components to dry out of direct sunlight before assembling. Reprocessing the mask between patients Reprocess this mask when using between patients. Cleaning, disinfection and sterilisation instructions are available on www.resmed.com/downloads/masks. If you do not have internet access, please contact your ResMed representative. Troubleshooting Problem/possible cause Solution Mask is too noisy. - Page 13 Problem/possible cause Solution Mask is leaking. Refit or reposition your mask. Readjust the headgear straps to bring the mask closer to the face and improve your seal. Check that your mask is assembled correctly. Mask leaks around face. Mask is not positioned correctly. Check that the mask size indicator is facing downward on the bottom of the cushion along the bottom of your nose.
-
Page 14: Technical Specifications
Technical specifications Pressure-flow The mask contains passive venting to protect against rebreathing. curve As a result of manufacturing variations, the vent flow rate may vary. Pressure Flow (cm H (L/min) Dead space Physical dead space is the empty volume of the mask to the end of information the swivel. - Page 15 Protection (ICNIRP) Service life The service life of the AirFit N20 mask system is dependent on the intensity of usage, maintenance, and environmental conditions to which the mask is used or stored. As this mask system and its components are modular in nature, it is recommended that the user...
- Page 16 Symbols The following symbols may appear on your product or packaging: Catalogue number Batch code Humidity limitation Temperature limitation Not made with natural rubber Fragile, handle with care latex European Authorised Manufacturer Representative Keep away from rain This way up Nasal mask Device setting - Pillows Size - small...
-
Page 17: Consumer Warranty
In addition to your rights and remedies under Australian Consumer Law (and any other applicable law), ResMed Ltd ABN 30 003 765 142 of 1 Elizabeth Macarthur Drive, Bella Vista NSW 2153 (ResMed) warrants that your ResMed product will be free from defects in material and workmanship from the date of purchase for the period specified below. - Page 18 (email: reception@resmed.com.au). All claims under this warranty must be accompanied by your original receipt. You will then need to deliver the ResMed product you claim is defective to the ResMed accredited outlet from which you purchased your ResMed product or your closest ResMed accredited outlet at your expense. A similar product will normally be lent to you by your ResMed accredited outlet while your product is assessed.
- Page 19 This warranty gives you specific legal rights. For further information on your warranty rights, contact your local ResMed dealer or ResMed office. If you are provided with a replacement or repaired product, the warranty continues to apply to the replacement or repaired device but does not continue beyond the original warranty period referred to above.
- Page 20 Mask Components / 面罩组件 / 面罩組件 AirFit N20 AirFit N20 for Her Elbow and short tube / 弯头和短管 / 63565 63565 彎頭和短管 Elbow / 弯头 / 彎頭 Side buttons / 侧按钮 / 側按鈕 Vent / 通气孔 / 通氣孔 Short tube / 侧按钮 / 側按鈕...
- Page 21 AirFit N20 AirFit N20 for Her A+B+C+D Complete system / 完整系统 / ANZ: ANZ: 63521 (M) 63520 (S) 完整系統 63522 (L) APAC: APAC: 63524 (M) 63523 (S) 63525 (L) CHINA: CHINA: 63529 (M) 63528 (S) 63530 (L) S: Small / 小号 / 小號...
- Page 22 1 Elizabeth Macarthur Drive, Bella Vista NSW 2153 Australia See ResMed.com for other ResMed locations worldwide. AirFit, AirSense and AirCurve are trademarks of the ResMed family of companies. For patent and other intellectual property information, see ResMed.com/ip. © 2017 ResMed Ltd. 638081/4 2017-07 ResMed.com...
Need help?
Do you have a question about the AirFit N20 and is the answer not in the manual?
Questions and answers