Sign In
Upload
Download
Table of Contents
Contents
Add to my manuals
Delete from my manuals
Share
URL of this page:
HTML Link:
Bookmark this page
Add
Manual will be automatically added to "My Manuals"
Print this page
×
Bookmark added
×
Added to my manuals
Manuals
Brands
OHAUS Manuals
Scales
TP200S
Instruction manual
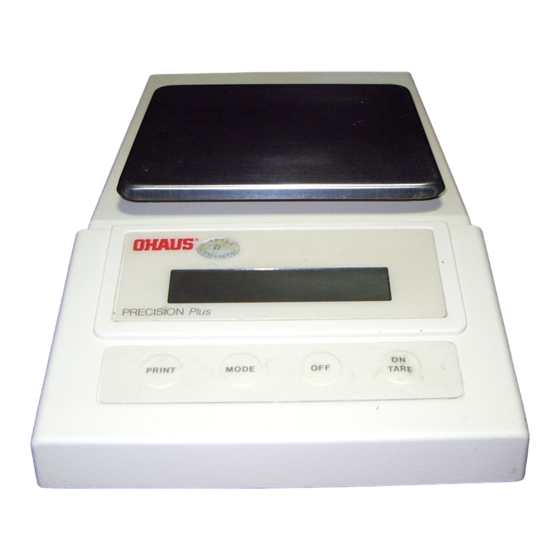
OHAUS TP200S Instruction Manual
Precision plus series electronic balances
Hide thumbs
1
2
3
4
5
6
7
8
9
10
11
12
13
14
15
16
17
18
19
20
21
22
23
24
25
26
27
28
29
30
31
32
33
34
35
36
37
38
39
40
41
42
43
44
45
46
47
48
49
50
51
52
53
54
55
Table Of Contents
56
57
58
59
60
61
62
63
64
65
66
67
68
69
70
71
72
73
74
75
76
77
78
79
80
81
82
83
84
85
86
87
88
89
90
91
92
93
94
95
96
97
98
99
100
101
102
103
104
105
106
107
108
109
110
111
112
113
114
115
116
page
of
116
Go
/
116
Contents
Table of Contents
Troubleshooting
Bookmarks
Table of Contents
Table of Contents
Introduction
Description
Unpacking
Installation
Environment
In-Service Cover
Leveling the Balance
Draft Shield (TP200 and TP400D)
Pan and Pan Support
Square Pan
Round Pan
Weigh below Hook
AC Adapter
Operation
Turning the Balance on
Stabilization
Auto Range Models (TP400D and TP4KD)
Checking Calibration
Selecting a Weighing Unit
Weighing
Taring
Parts Counting
Percent Weighing
Using Menus to Configure the Balance
Calibration Menu
Calibration Menu Protection
Calibration Weights
Span Calibration
Linearity Calibration
End
User Menu
User Menu Protection
Reset to Factory Defaults
Averaging Level
Stability Range
Auto-Zero
End
Setup Menu
Setup Menu Protection
Reset to Factory Defaults
Unit Selection
Taels
Custom Unit Conversion Factor
Parts Counting Error Level
Parts Counting Alternate Display
Percent Weighing Alternate Display
Lockswitch
List
End
Print Menu
Print Menu Protection
Reset to Factory Defaults
Baud Rate
Data Bits
Parity
Stop Bits
Auto Print Feature
Auto Print Time Interval and Non Printing Weight Values
Print Stable Data Only
Print Numeric Data Only
List
End
Menu Lock-Out Protection
Rs232 Interface
Hardware
Output Formats
RS232 Commands
Care and Maintenance
Troubleshooting
Error Codes
Service Information
Specifications
Parts Information
Replacement Parts
Accessories
Limited Warranty
Advertisement
Quick Links
1
Description
2
Checking Calibration
3
Calibration Menu
4
Error Codes
5
Specifications
Download this manual
Table of
Contents
Previous
Page
Next
Page
1
2
3
4
5
Advertisement
Table of Contents
Need help?
Do you have a question about the TP200S and is the answer not in the manual?
Ask a question
Questions and answers
Related Manuals for OHAUS TP200S
Scales OHAUS TP400D Instruction Manual
Precision plus series electronic balances (116 pages)
Scales OHAUS TP2KS Instruction Manual
Precision plus series electronic balances (116 pages)
Scales OHAUS Trooper Instruction Manual
(40 pages)
Scales OHAUS TROOPER Service Manual
(70 pages)
Scales OHAUS Trooper Count Instruction Manual
(106 pages)
Scales Ohaus Trooper Count Instruction Manual
(104 pages)
Scales OHAUS Traveler Instruction Manual
(68 pages)
Scales OHAUS Trooper Scale Instruction Manual
(104 pages)
Scales OHAUS Trooper Scale Instruction Manual
(112 pages)
Scales OHAUS Traveler TA152 Instruction Manual
(17 pages)
Scales OHAUS Traveler TA152 Instruction Manual
(65 pages)
Scales OHAUS Traveler TA152 User Manual
(29 pages)
Scales OHAUS Traveler TA152 Service Manual
(49 pages)
Scales OHAUS T51P Service Manual
5000 series t51 indicators (42 pages)
Scales OHAUS TS120S Instruction Manual
(79 pages)
Scales OHAUS TS4KD Instruction Manual
(79 pages)
This manual is also suitable for:
Tp400s
Tp4ks
Tp4kd
Tp400d
Tp600s
Tp2ks
Table of Contents
Print
Rename the bookmark
Delete bookmark?
Delete from my manuals?
Login
Sign In
OR
Sign in with Facebook
Sign in with Google
Upload manual
Upload from disk
Upload from URL


Need help?
Do you have a question about the TP200S and is the answer not in the manual?
Questions and answers