Advertisement
Table of Contents
- 1 New Integrated Operations to the Signo Barrier Operator
- 2 NEW UNIVERSAL CONTROL UNIT, Mod. SIA20/A
- 3 POSSIBILITY of SYNCHRONISING the OPERATIONS of TWO SIGNO TOGETHER (Master & Slave Operations)
- 4 New Signo Starting Signal Mode
- 5 New Automatic Diagnostics Function of the Operational Faults
- 6 New Procedure for the Personalisation of the Bar’s “Movement Deceleration”
- Download this manual
ENGLISH
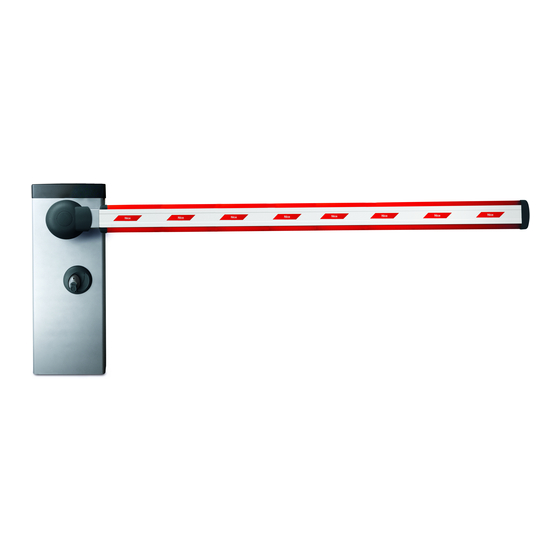
Signo
Automatic barrier
Addendum to the Instructions
manual for the installation and use
New integrated operations to the Signo
barrier operator
Warning! – The present instructions must be integrated to those in the
instructions manual of the automation system.
This addendum presents the new functions that have been recently
integrated to all SIGNO series barrier operator models. Below are the
functions that have been recently introduced:
• New universal control unit, mod. SIA20/A.
• Possibility of synchronising the operations of two Signo
together (Master & Slave operations).
• New procedure for the personalisation of the bar's "move-
ment deceleration".
• New Signo starting signal mode.
• New automatic diagnostics function of the operational
faults.
NEW UNIVERSAL CONTROL UNIT, mod. SIA20/A
The previous SIA20 control unit is replaced by the new SIA20/A control
unit that is standardized for all models of the Signo line. After installation,
by means of the Automatic detection of the mechanical stops, the con-
trol unit automatically detects and memorises the Signo model that has
been installed without performing additional programming operations.
POSSIBILITY OF SYNCHRONISING THE OPERA-
TIONS OF TWO SIGNO TOGETHER
(Master & Slave operations)
This new operational capability allows automating a thoroughfare using
two Signo positioned opposite one another and to synchronise the
movement of the two bars. Practically speaking, one of the two Signo is
programmed to operate as a Master (that which receives the user's
Control unit "MASTER" (dip-switch 12 in OFF)
command), while the other is programmed in the Slave mode (that
which receives the command from the Master-Control unit).
Proceed as follows to create a system of this type:
01. Install the two Signo following the instructions in their instructions
manuals. Important! – When fitting the electrical cables, also fit a
cable in order to connect the two control units (minimum cable sec-
tion: 0.75 mm
2
).
02. Connect the two control units together as illustrated in Fig. 1 and as
follows:
– connect the two terminals 9 (0 volt) of each control unit together.
– connect the two terminals 15 (sync) of each control unit together.
03. Then perform the other electrical connections referring to the
instructions in the instructions manuals of the two Signo. Also take
into account the following factors:
The following connections and adjustments can be made on
the MASTER-Control unit:
• Connection of a flashing light (for the entire system).
• Connection of an electric lock or suction cup (for Signo-Master
only).
• Connection of photocells for the entire system, with or without
"Phototest" control.
• Connection of LEDs to terminals 12 (Sca) and 13 (Cor) for the
entire system.
• Connection of a maintenance LED (for Signo-Master only).
• Connection of a safety device for the entire system, to terminal 16
(Stop). Note: if the terminal is not used it must be connected with
a jumper to terminal 11 (Common).
• Connection of one or more Photocells for the entire system, to
terminal 17 (Photo). Note: if the terminal is not used it must be
connected with a jumper to terminal 11 (Common.)
• Connection of control devices to terminals 18 (Step-by-Step), 19
(Open), 20 (Close), to open and close the two bars.
• Adjustment of the gearmotor power (for Signo-Master only).
• Adjustment of the pause time between the Opening and Closing
manoeuvres for the entire system.
The following connections and adjustments can be made on
the SLAVE-Control unit:
• Connection of a flashing light (for Signo-Slave only).
• Connection of an electric lock or suction cup (for Signo-Slave
only).
• Connection of LEDs to terminals 12 (Sca) and 13 (Cor) (for Signo-
Slave only).
• Connection of a maintenance LED (for Signo-Slave only).
• Connection of a safety device for the entire system, to terminal 16
(Stop). Note: if the terminal is not used it must be connected with
a jumper to terminal 11 (Common).
• Connection of control devices to terminals 18 (Step-by-Step), 19
(Open), 20 (Close), to open and close Signo-Slave only. Note:
The command is only performed once the Signo-Master bar is
closed.
The following operations can not be performed on the SLAVE-
Control unit:
• Use of terminals 8 (Phototest) and 17 (Photo).
The Photocells can be connected to the Master-Control unit only.
Terminal 17 (Photo) must be left free.
• Adjustment of the pause time of the operation in Automatic. This
adjustment must be made on the Master-Control unit.
Control unit "SLAVE" (dip-switch 12 in ON)
– 1 –
1
Advertisement
Table of Contents

Subscribe to Our Youtube Channel
Related Manuals for Nice Signo


Summary of Contents for Nice Signo
- Page 1 • New Signo starting signal mode. only). • New automatic diagnostics function of the operational • Connection of LEDs to terminals 12 (Sca) and 13 (Cor) (for Signo- faults. Slave only). • Connection of a maintenance LED (for Signo-Slave only).
- Page 2 12 in OFF (the Signo is assigned the “Master” function with this setting). This new signal occurs when Signo is started and signals that the con- 06. Complete the Signo-Slave installation by carrying out the “5 - Test- trol unit is on and operating correctly.
Need help?
Do you have a question about the Signo and is the answer not in the manual?
Questions and answers