Advertisement
Advertisement
Table of Contents

Subscribe to Our Youtube Channel
Related Manuals for Steamfast SF-727


Summary of Contents for Steamfast SF-727
- Page 1 H O M E & A W A Y S T E A M I R O N O W N E R ’ S G U I D E...
-
Page 2: Important Safety Instructions
IMPORTANT SAFETY INSTRUCTIONS READ ALL INSTRUCTIONS BEFORE USING WARNING • To reduce risk of burns, electrocution, fire, or injury to persons: Do not tamper with or modify this product in any way. The manufacturer assumes no responsibility for damage or injury caused by failure to follow these instructions, improper use, or unauthorized product modification. - Page 3 13. Unit is only meant to be used with recommended SF-727 accessories. Using other types of attachments may cause damage to unit or injury. 14. When filling Water Tank, only water should be used in unit - other cleaning agents could damage unit or cause injury.
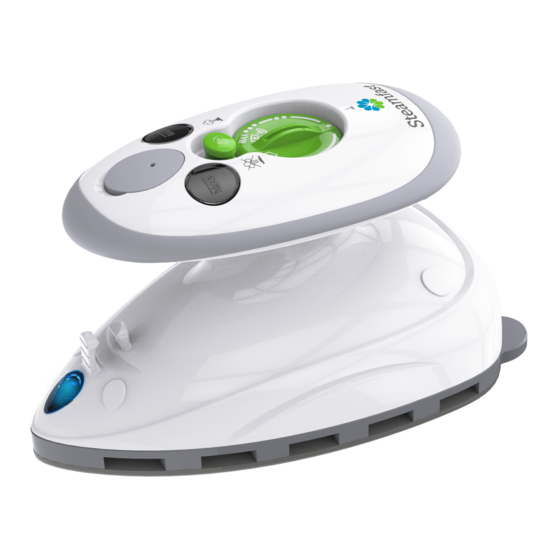
- Page 4 Product Information 8 9 10 UNIT FEATURES Ironing Plate Main Body Heating Indicator Light Power Cord Clip Water Tank Cap Water Tank Windows (2) Steam Button Temperature Control Dial Hand Grip Water Tank (internal) Stands (2) Measuring Cup 4 | ENGLISH...
- Page 5 • The Ironing Plate is the heated, non-stick surface that is used to press fabrics, remove wrinkles and create creases. • The Main Body contains the unit's internal heating components. • The Heating Indicator Light illuminates when the Temperature Control Dial is set to one of the three heat settings.
- Page 6 FILLING WATER TANK (FOR STEAM IRONING) 1. Turn off and unplug unit. 2. Place unit (Ironing Plate down) on a flat, heat-resistant surface. 3. Fill Measuring Cup with water up to (1.1 oz. / 32 ml.). NOTE: In order to extend the life of your unit and keep it functioning at it’s maximum potential, it is highly recommended that distilled or de-mineralized water be used in Water Tank.
-
Page 7: Dry Ironing
OPERATING UNIT ARROW DRY IRONING IMPORTANT: Make sure Steam Button is locked in lowered position (FIGURE 4-B) before dry ironing. This will prevent any water from accidentally dripping. 1. Plug power cord into a convenient electrical outlet. 2. Turn Temperature Control Dial clockwise so that small arrow ( on Hand Grip (FIGURE 3-A) points to one of three heat settings Synthetics, Silks on Dial (FIGURE 3-B). - Page 8 Storage & Care CLEANING & STORAGE 1. Turn Temperature Control Dial to "off" (O) position. Unplug power cord. 2. Prop unit upright on Stands and allow Ironing Plate to cool for 30 minutes. 3. Open Water Tank Cap and drain any remaining water into a sink or tub. Close Cap when finished.
- Page 9 (2) years from the date of purchase when used and maintained in accordance with the Owner’s Guide (the “Warranty Period”). In the event Buyer notifies Steamfast of a defect in the Product within the Warranty Period, Steamfast will replace the Product and/or defective component parts, as applicable and necessary.
- Page 10 All such fees and costs shall be the sole responsibility of Buyer. Please allow at least 1-2 weeks for return of the Product after it is received by Steamfast. For ease of recordkeeping, it is recommended that Buyer staple or attached the original sales receipt to this Owner’s Guide and record the Product serial number (located on the Product specifications...
- Page 11 Steamfast 415 East 13th Street, Andover, KS 67002 1-800-711-6617 steamfast.com consumerservice@steamfast.com T727-003 R-, V01...
Need help?
Do you have a question about the SF-727 and is the answer not in the manual?
Questions and answers