Advertisement
Advertisement
Table of Contents

Related Manuals for ResMed HumidAir


Summary of Contents for ResMed HumidAir
- Page 1 User guide English...
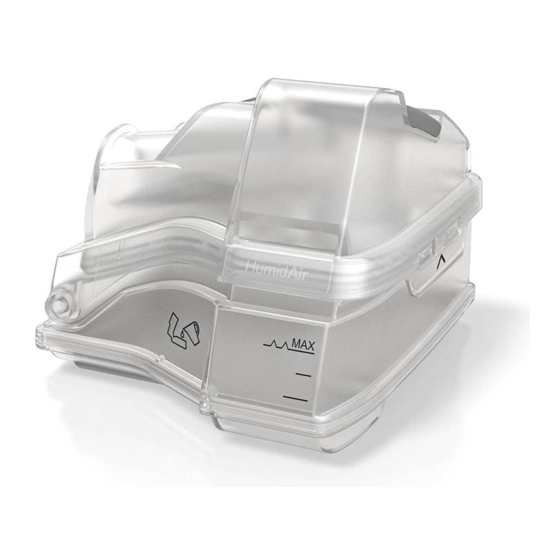
- Page 2 ENGLISH Welcome ™ HumidAir is a humidifier that provides heated humidification and is designed for use with your ™ ™ AirSense 10 or AirCurve 10 device. Read this guide together with your AirSense 10 or AirCurve 10 device user guide.
-
Page 3: Humidity Level
1. Place the device on a stable level surface. 2. Remove the side cover from the device by pressing the clip of the side cover and pulling it away from the device. 3. Open the humidifer and fill it with water up to the maximum water level mark. Do not fill the humidifier with hot water. - Page 4 To adjust the Humidity Level: 1. Enter My Options, turn the dial to highlight Humidity Level and then press the dial. 2. Turn the dial to adjust the humidity level and press the dial to save the change. If you continue to get a dry nose or mouth, or moisture in your mask, consider using ClimateLineAir heated air tubing.
- Page 5 2. Rinse the humidifier thoroughly and allow to dry out of direct sunlight and/or heat. 3. Before re-inserting the humidifier into the device, open the humidifier and fill it with water up to the maximum water level mark. Notes: ...
-
Page 6: General Troubleshooting
Troubleshooting If you have any problems, have a look at the following troubleshooting topics. If you are not able to fix the problem, contact your care provider or ResMed. Do not try to open the device. General troubleshooting Problem/possible cause... -
Page 7: Device Messages
Device messages Device message/possible cause Solution High leak detected, check your water tub, tub seal or side cover Humidifier may not be inserted properly. Make sure the humidifier is correctly inserted. Humidifier seal may not be inserted properly. Open the humidifier and make sure that the seal is correctly inserted. - Page 8 Reassembling parts Some parts of your device are designed to easily come off in order to avoid damage to the parts or the device. You can easily reassemble them as described below. To insert the humidifier seal: 1. Place the seal into the lid. 2.
-
Page 9: General Warnings And Cautions
1. Insert one side of the lid into the pivot hole of the base. 2. Slide the other side down the ridge until it clicks into place. General warnings and cautions WARNING Beware of electrocution. Do not immerse the device, power supply or power cord in water. -
Page 10: Technical Specifications
Technical specifications Units are expressed in cm H O and hPa. 1 cm H O is equal to 0.98 hPa. Environmental conditions Operating temperature: +5°C to +35°C Note: The air flow for breathing produced by this therapy device can be higher than the temperature of the room. Under extreme ambient temperature conditions (40°C) the device remains safe. -
Page 11: Limited Warranty
Humidifier performance The following settings have been tested at 71.6°F (22°C) ambient temperature: Mask Pressure RH output % Nominal system output AH , BTPS cm H O (hPa) Setting 4 Setting 8 Setting 4 Setting 8 >10 >10 >10 >10 >10 AH - Absolute Humidity in mg/L... - Page 12 See www.resmed.com for other ResMed locations worldwide. For patent information, see www.resmed.com/ip. AirSense, AirCurve, HumidAir, ClimateLine and SlimLine are trademarks of ResMed Ltd. AutoSet, SlimLine and ClimateLine are registered in U.S. Patent and Trademark Office. © 2018 ResMed Ltd. 378145/2 2018-03 ResMed.com...
Need help?
Do you have a question about the HumidAir and is the answer not in the manual?
Questions and answers