Table of Contents
Advertisement
Quick Links
Advertisement
Table of Contents

Related Manuals for Faber Torch framed


Summary of Contents for Faber Torch framed
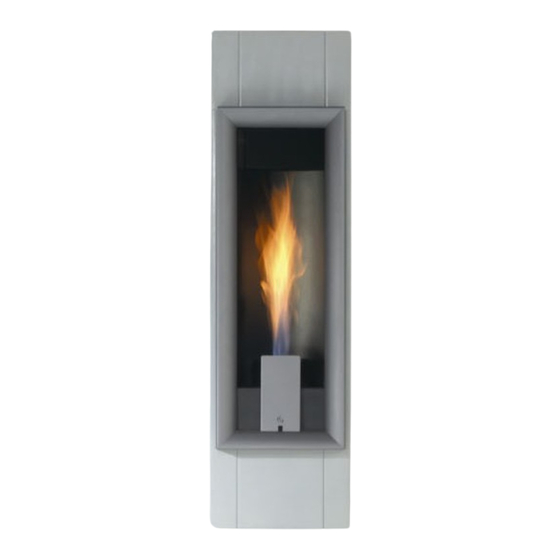
- Page 1 Torch framed Installation Guide...
- Page 2 1 < < < <...
- Page 3 > > > > 2...
-
Page 4: Table Of Contents
Content Introduction ..................1 Safety Instructions.................. 2 Installation requirements ................. 3 Rear surface construction ..............3 Dimensions of the appliance ............... 3 Installation-instructions ................4 Gas connection ................4 Installing the appliance ..............4 Commissioning (Functional checks).............. 5 Pilot ignition check ................5 Check functional burner and pilot burner.......... -
Page 5: Introduction
Note: these instructions should be read carefully and retained for future reference. Please leave these instructions with the user. This guide covers the following appliances: • Torch framed • Torch framed Propane (LPG) Special features: • Special patented “Torch” flame technology • Multi-vent appliance for wall connection only •... -
Page 6: Safety Instructions
2 Safety Instructions Before installation, ensure that the local distribution conditions (identification of the type of gas and pressure) and the adjustment of the appliance are compatible. This gas appliance is factory set and can not be adjusted. This appliance does not contain any component manufactured from asbestos or any asbestos related products. -
Page 7: Installation Requirements
3 Installation requirements Note: Since the appliance is a source of heat, circulation of air occurs. Therefore it is of importance that you do not use the appliance shortly after a renovation of the home. Because of the natural circulation of air, moist and volatile components from paint, building materials, carpet etc. -
Page 8: Installation-Instructions
4 Installation-instructions Gas connection • Installation pipes should be in accordance with BS 6891. Pipe work from the meter to the appliance must be of adequate size • The complete installation including the meter must be tested for soundness and purged as described in the above code •... -
Page 9: Commissioning (Functional Checks)
5 Commissioning (Functional checks) Always apply these tests before handing over: Pilot ignition check • Ignite the pilot light as described in the user manual • Check if the pilot burner stays alight • Extinguish the pilot burner Check functional burner and pilot burner The appliance is preset to give the correct heat input. -
Page 10: Servicing
6 Servicing To ensure safe and efficient operation of the appliance, it is necessary to carry out routine servicing at regular intervals. It is recommended, that the fire is inspected/serviced by a competent person at least once a year. Important: turn off the gas supply before commencing any servicing. Always test for gas soundness after refitting the appliance. -
Page 11: Combustion Test
6.1.3 Burner (dis)assembly • Turn off the gas supply to the control valve • Remove the glass and grid • Detach the gas connection • Unscrew the two screws under the burner assembly and remove it from the combustion chamber (see figure 7) •... -
Page 12: Appendix A: Spare Parts
Appendix A: Spare parts Description Natural gas Propane Glass 04510930 04510930 Burner Natural gas 20861096 Burner Propane 20532935 Remote assembly 20604500 20604500 Gasvalve 37003098 37003098 HT Lead 06017301 06017301 Spark electrode 06006500 06006500 Pilot Burner assembly NG 37001030 37001030 Thermocouple 37002041 37002041 >... -
Page 13: Apppendix B: Technical Data
Apppendix B: Technical data Country Categorie II2H3P II2H3P Appliance Torch framed Torch framed Appliance type Reference gas Input (Nett) [kW] Efficiency class Inlet pressure [mbar] Gasrate (15 C & 1013 bar) [m3/h] 0,260 [kg/h] 0,16 Injector size [mm] 1.20 Pilot assembly... - Page 14 – info@faber.nl Saturnus 8 NL - 8448 CC Heerenveen Postbus 219 NL - 8440 AE Heerenveen T. +31(0)513 656500 F. +31(0)513 656501 40010567 − 0602...
Need help?
Do you have a question about the Torch framed and is the answer not in the manual?
Questions and answers