Advertisement
Quick Links
720001214
Owner's Manual
& Assembly Guide
Gloves must be worn
at all times to reduce
risk of injury!
* See Inside for Detailed Safety Information.
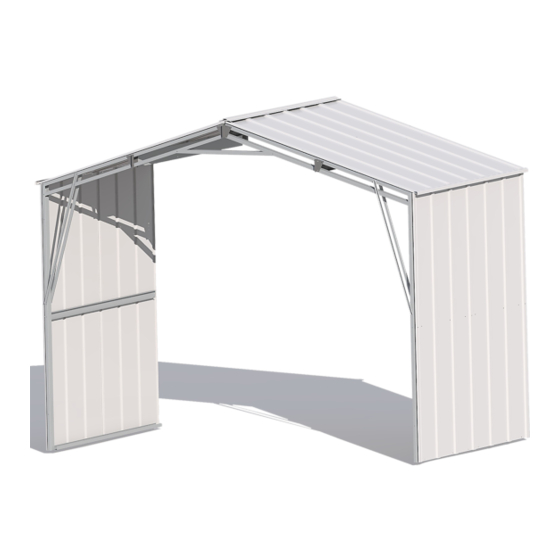
(Extension Module)
NOTE: These instructions are to be used to add an Extension Module to an existing Arrow
Commander™ or Mountaineer™ Shed. If you are assembling your shed for the fi rst time, use
the manual included in the main carton (C1GA-A).
Two to three people are required for assembly.
Follow all safety precautions in the Commander™/Mountaineer™ Series Assembly Manual.
Note: It may be helpful to refer to the primary Commander™/Mountaineer™ Series Assembly Manual you used when you fi rst assembled your building.
If you have misplaced your original Commander™/Mountaineer™ Series Assembly Manual, it is available online at www.arrowsheds.com or you may
request an additional copy from customer service: 1-800-851-1085.
COMMANDER
MOUNTAINEER
www.arrowsheds.com
SERIES
™
SERIES
™
Model No.
01AQ
GA5M-A
Advertisement

Summary of Contents for Arrow GA5M-A
- Page 1 GA5M-A (Extension Module) NOTE: These instructions are to be used to add an Extension Module to an existing Arrow Commander™ or Mountaineer™ Shed. If you are assembling your shed for the fi rst time, use the manual included in the main carton (C1GA-A).
-
Page 2: What You Need
BEFORE YOU BEGIN... Safety precautions MUST be followed at all times throughout the construction of your building! •Care must be taken when handling various pieces of your building since many contain sharp edges. Please wear work gloves, eye protection and long sleeves when assembling or performing any maintenance on your building. - Page 3 04AQ 05AQ Step 1 - Extend the existing base to accommodate the new length of your building. Holes must align in this direction. With the Upper and Lower Chord Trusses Extend the base by 57 1/2” (146,1 cm) for each positioned as shown below, attach Shear Extension Module you have purchased.
- Page 4 Step 3 - Partially disassemble the rear of the building. Remove four Bolts at end of Ridge Cap. Remove Screw at bottom of End Roof Remove Roof Trim. Panels before continuing. Place these parts in a safe place until they are needed later. You may also need to remove some Screws or Bolts in adjacent Panels in order to remove the Panels shown.
- Page 5 09AQ Step 4 - Remove the Rear Wall. Step 5 - Install all new Truss Sections. You will need the following parts for this step: IMPORTANT: TWO PEOPLE SHOULD BE SUPPORTING THE REAR WALL AS IT IS UNFASTENED ! Check that the width of the 10625 Side Wall Angle 10650 Roof Beam Truss is 118 1/4”...
- Page 6 10AQ Step 5 - Continued. Step 6 - Reinstall the Rear Wall. Overlap Wall Angles by 8 1/4” (21,0 cm) Each Module is installed identically to the existing Truss Sections: B) Install Roof Beams with Bolts and Nuts. Once all Truss Sections have been erected, you may reinstall the Rear Wall as follows: C) Install Side Wall Channel with Large Screws.
- Page 7 Step 7 - Install all Wall Panels. You will need the following parts for this step: Use washers on all fasteners used on painted parts. 7822 Wall Panel Whenever a crimped rib and an uncrimped rib meet, the crimped rib should be placed UNDER the uncrimped rib if possible.
- Page 8 Roof Assembly Chart Step 8 - Install Roof Panels and Trim. Use washers on all fasteners used on painted parts. You will need the following parts for this step: 7743 Roof Panel 10680 Mid Ridge Cap You will need to ‘roll’ the Panels 10’x10’...
- Page 9 Step 8 - Continued. With two Panels remaining: E) Attach the end of the rear Ridge Cap with two holes to the Mid Ridge Cap with two Bolts and Nuts. F) Install the last two Roof Panels. G) Seal the ridge of the building with Weather Stripping. H) Where Panels overlap under the Ridge Cap, secure with Bolts and Nuts and seal with a strip of tape (see page 14).


Need help?
Do you have a question about the GA5M-A and is the answer not in the manual?
Questions and answers