Advertisement
Quick Links
Download this manual
See also:
User Manual
Quick Installation Guide
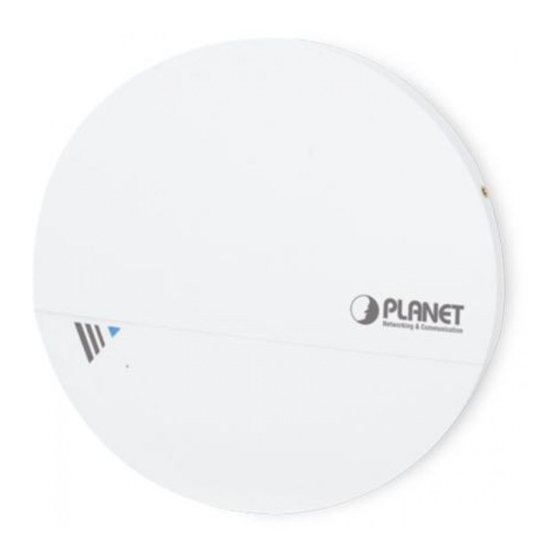
WDAP-C1750
1750Mbps 802.11ac Dual Band
Ceiling-mount Wireless Access Point
1. Package Contents
Thank you for choosing PLANET WDAP-C1750. Before installing the AP, please
verify the contents inside the package box.
"AP" is used as an alternative name of WDAP-C1750 in this Quick Installation
Guide. The following items should be contained in the package:
WDAP-C1750
Quick Guide
Ceiling Mounting Kit
Mounting Bracket with
Thumb Screw
Self-tapping screw x 4
Screw anchor x 4
3. Hardware Installation
IMPORTANT SAFETY PRECAUTIONS:
This device requires professional installation.
Ceiling
Step 1. Drill four holes in your ceiling using the mounting
Mount
bracket as a guide, and insert the four screw anchors.
Step 2. Align the mounting bracket with your screw anchors
and use the four self-tapping screws to fix it into
place.
Step 3. Attach the AP to the mounting bracket by aligning the
grooves in the AP.
Step 4. Secure the AP firmly in place using the thumb screw.
1
2
3
T-rail Mounting Kit
Plastic spacer x 2
Long T-rail clip x 2
Short T-rail clip x 2
Long screw x 2
Short screw x 2
– 1 –
4
– 3 –
If there is any item missing or damaged, please contact the
seller immediately.
Note
2. Physical Introduction
Hardware Description
Reset
LED
Reset: Press and hold the reset button on the access point for at least 10
seconds.
Micro USB
T-rail Mount
To mount the AP to a T-rail, you need to select a T-rail
clip whose size must go with the width of the T-rail.
Please follow the instructions below and refer to
Diagram 1 or 2.
Diagram 1: Tight-fit installation
Step 1. Attach the T-rail clips to the mounting bracket
using the included two short screws.
Step 2. Attach the AP to the mounting bracket by
aligning it with the grooves in the AP.
Step 3. Secure the AP firmly in place using the thumb
screw.
Step 4. Hang the AP onto the ceiling via T-rail with the
assembled mounting bracket.
Diagram 1
1
2
LAN/PoE
12V DC
– 2 –
T-rail
3
– 4 –
Advertisement

Summary of Contents for Planet WDAP-C1750
- Page 1 Thank you for choosing PLANET WDAP-C1750. Before installing the AP, please verify the contents inside the package box. "AP" is used as an alternative name of WDAP-C1750 in this Quick Installation Guide. The following items should be contained in the package:...
- Page 2 AP easily. Launch the Web browser and enter the default IP address -- http://192.168.1.253. Step 3: Enter the encryption key of the WDAP-C1750, if necessary. Step 2: After you enter into the Web User Interface, go to Wireless Settings to configure your wireless network.


Need help?
Do you have a question about the WDAP-C1750 and is the answer not in the manual?
Questions and answers