Advertisement
Installation INSTRUCTIONS
CARE AND MAINTENANCE
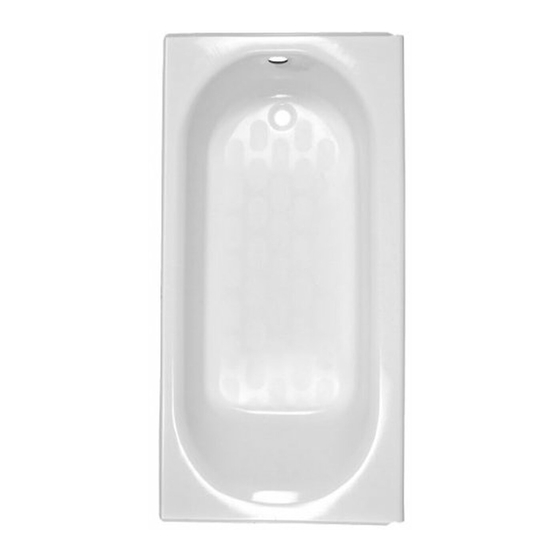
Princeton™ Bath w/Integral Overflow Models:
2394.202.ICH, 2395.202.ICH, 2396.202.ICH, 2397.202.ICH,
2394.202.IPB, 2395.202.IPB, 2396.202.IPB, 2397.202.IPB,
2394.202.IBS, 2395.202.IBS, 2396.202.IBS, 2397.202.IBS
Thank you for selecting American Standard - the benchmark of fine quality for over 100 years. To ensure this product is
installed properly, please read these instructions carefully before you begin. (Certain installations may require
professional help.) Also be sure your installation conforms to local codes.
Observe Local Plumbing and Building Codes
1
FRAMING INSTRUCTIONS
Note recess is 1527 x 864mm (60-1/8 x 34). Cut a 229 x 305mm (9 x 12) hole in sub floor for drain, centered 362mm (14-1/4)
as shown for below floor rough. Locate studs as required, then ensure rough opening dimensions are proper and supports
are plumb and square.
*
Install stringer as shown (346mm [13-5/8] for through the floor drain or 435mm [17-1/8] for above the floor drain.)
229 x 305mm
(9 X 12) FLOOR
CUTOUT FOR DRAIN
IMPORTANT
Product names listed herein are trademarks of AS America, Inc.
© AS America, Inc. 2009
864mm
(34)
*346mm
(13-5/8)
1527mm
(60-1/8)
The Drain Assembly is enclosed with tub models listed above.
Locate and retain for tub installation before discarding tub carton.
LEVELING STRINGER
51 x 102mm (2 X 4)
791175-400 Rev. M
Advertisement
Table of Contents

Related Manuals for American Standard Princeton 2394.202.ICH


Summary of Contents for American Standard Princeton 2394.202.ICH
- Page 1 2394.202.IPB, 2395.202.IPB, 2396.202.IPB, 2397.202.IPB, 2394.202.IBS, 2395.202.IBS, 2396.202.IBS, 2397.202.IBS Thank you for selecting American Standard - the benchmark of fine quality for over 100 years. To ensure this product is installed properly, please read these instructions carefully before you begin. (Certain installations may require professional help.) Also be sure your installation conforms to local codes.
- Page 2 DRAIN INSTALLATION Remove Lift and Turn Stopper and Tailpiece Assembly from box and check that all parts are included. Remove Lift and Turn Stopper Assembly from Tailpiece by setting Stopper to closed position, and turning Stopper Knob counter-clockwise. (Re-install Stopper after Drain installation is completed.) Apply plumbers putty around drain hole and pipe thread compound on threaded end of tailpiece.
- Page 3 INSTALLATION The tub is provided with an integral base for easier installation. Position the bath on the floor and slide into place until the tub is resting on the rear stringer. The base does not need to contact the floor for proper installation. The base on the 2396 and 2397 models is raised above the floor to facilitate drain installation.
- Page 4 This limited warranty is void if the Americast® brand product has been moved from its initial place of installation; if it has been subjected to faulty maintenance, abuse, misuse, accident or other damage; if it was not installed in accordance with American Standard’s instructions; or if it was modified in a manner inconsistent with the product as shipped by American Standard.
Need help?
Do you have a question about the Princeton 2394.202.ICH and is the answer not in the manual?
Questions and answers