Table of Contents
Advertisement
Quick Links
Advertisement
Table of Contents

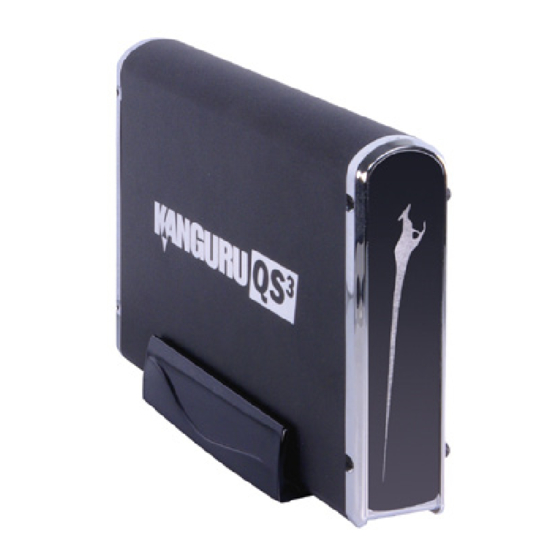
Summary of Contents for Kanguru QS3
- Page 1 Kanguru QS3 Hard Drive User Manual Copyright 2012, All Rights Reserved.
-
Page 2: Notices And Information
Microsoft Inc. All other brands or product names are trademarks of their respective companies or organizations. Kanguru Solutions will not be held responsible for any illegal use of this product nor any losses incurred while using this product. The user is solely responsible for the copyright laws, and is fully responsible for any illegal actions taken. -
Page 3: Table Of Contents
Introduction ..................4 Parts and Functions ................5 Specifications ..................5 Using Your Kanguru QS3 ..............6 Setting up Your Kanguru QS3 ..............6 Driver Installation ..................6 Disconnecting the Kanguru QS3 ............... 7 Partitioning and Formatting ............8 Technical Support ................9... -
Page 4: Introduction
The Kanguru QS3 features the latest in external hard drive technology with USB3.0 connectivity for the fastest throughput ever in an external hard drive. The QS3 can take on your most demanding data transfer tasks with ease! USB 3.0 takes 1.3 hours to backup 1TB compared to nearly 14 hours with USB 2.0 with no impact on your CPU system performance. -
Page 5: Parts And Functions
Specifications Parts and Functions USB3.0 Interface Power Input On/Off Switch Specifications Model Number QS3-3H USB3.0 5Gbps Interface (backwards compatible with USB2.0 and USB1.1) Capacity Various Rotational Speed Variable (5400-7200) Hard drive interface SATA II 3Gbps Max Read Speed 125 MB/s Max Write Speed 80 MB/s Access Time 8.5 - 11ms (Internal) -
Page 6: Using Your Kanguru Qs3
Windows Vista and Windows 7. These operating systems include a USB Mass Storage driver, which will support the Kanguru QS3 hard drive. Simply plug in the Kanguru QS3 and connect it to your PC through a USB port and Windows will automatically detect the new hardware and install the appropriate driver. -
Page 7: Disconnecting The Kanguru Qs3
Before disconnecting the Kanguru QS3 from your computer, you should always use the Windows ‘Safely Remove Hardware’ function to avoid damaging your drive. Warning! Never attempt to disconnect your Kanguru QS3 while it is transferring data. Doing so can result in loss of your data and/or damage to the drive. -
Page 8: Partitioning And Formatting
Locate the Kanguru QS3 in the bottom half of the Window. In order to partition the drive you will have to delete the current partition by right clicking on the status bar (see below) to the right of the disk and choosing Delete Partition. -
Page 9: Technical Support
1 year from the date of purchase. It guarantees the Hard Drive installed in the device for 1-year. This warranty does not apply if, in the judgment of Kanguru Solutions, the product fails due to damage from handling, accident, abuse, misuse, or if it has been used in a manner not conforming to the product’s instructions, has been modified in any way, or the warranty labels have been removed. - Page 10 Kanguru Solutions 1360 Main Street Millis, MA 02054 www.kanguru.com 01.02.12 V 1.1 © 2012 Kanguru Solutions Legal terms and conditions available at www.kanguru.com. Please review and agree before use. Thank you.


Need help?
Do you have a question about the QS3 and is the answer not in the manual?
Questions and answers