Table of Contents
Advertisement
Quick Links
Advertisement
Table of Contents

Subscribe to Our Youtube Channel
Related Manuals for Kanguru QSSD


Summary of Contents for Kanguru QSSD
-
Page 1: User Manual
Kanguru QSSD External SSD USB3.0 User Manual Copyright 2015, All Rights Reserved. -
Page 2: Notices And Information
Inc. All other brands or product names are trademarks of their respective companies or organizations. Kanguru Solutions will not be held responsible for any illegal use of this product nor any losses incurred while using this product. The user is solely responsible for the copyright laws, and is fully responsible for any illegal actions taken. -
Page 3: Table Of Contents
Table of Contents table of contents Introduction ..............4 Parts and Functions .............5 Specifications ..............5 Using Your Kanguru QSSD ........6 4.1 Connecting Your Kanguru QSSD ......6 4.2 Driver Installation ..........6 4.3 Disconnecting the Kanguru QSSD .......7 Maintenance and Care ..........8 Technical Support ............8... -
Page 4: Introduction
Thank you for purchasing the Kanguru QSSD External SSD USB3.0 from Kanguru Solutions! By combining solid state storage technology and USB3.0 speeds, the Kanguru QSSD can deliver the fastest transfer rates available in a portable, external drive. Designed for lightning fast read and write speeds and convenient portability, the Kanguru QSSD provides exceptional performance for the dollar. -
Page 5: Parts And Functions
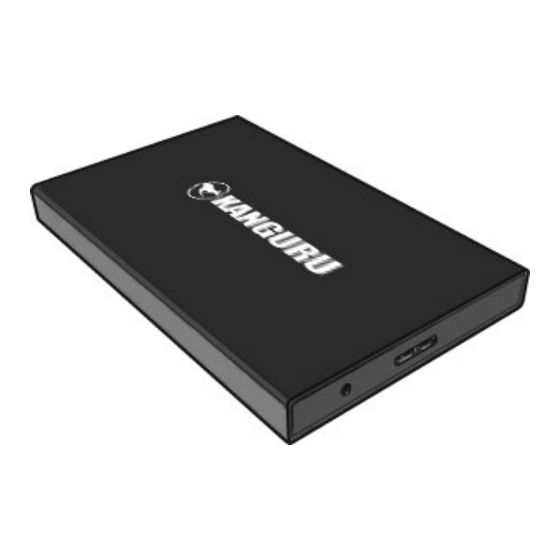
Parts and Functions / Specifications 2. Parts and functions USB 3.0 Port LED Activity Indicator 3. Specifications Model Number QSSD USB3.0 5Gbps interface (backwards compatible with USB2.0 and USB1.1) Housing material Aluminum SSD interface SATA II 3Gbps 350 MB/s (USB3.0) Max read Speed 30MB/s (USB2.0) -
Page 6: Using Your Kanguru Qssd
Vista, Windows 7 or Mac OSX 10.4 or later. These operating systems include a USB Mass Storage driver, which will support the Kanguru QSSD. Simply plug in the Kanguru QSSD and connect it to your computer through a USB port and the operating system will automatically detect the new hardware and install the appropriate driver. -
Page 7: Disconnecting The Kanguru Qssd
Using Your Kanguru QSSD 4.3 Disconnecting the Kanguru QSSD Windows Users To properly disconnect the drive from your computer, click on the Safely Remove Hardware icon located in the taskbar. This will allow you to select any removable devices that you have connected to your computer. -
Page 8: Maintenance And Care
1 year from the date of purchase. It guarantees the Solid State Drive installed in the device for 1-year. This warranty does not apply if, in the judgment of Kanguru Solutions, the product fails due to damage from handling, accident, abuse, misuse, or if it has been used in a manner not conforming to the product’s instructions, has been modified in any way, or the warranty labels have... - Page 9 Secure. Anytime. Anywhere. Kanguru Solutions 1360 Main Street Millis, MA 02054 www.kanguru.com 09.16.15 V 3.0 © 2015 Kanguru Solutions Legal terms and conditions available at www.kanguru.com. Please review and agree before use. Thank you.
Need help?
Do you have a question about the QSSD and is the answer not in the manual?
Questions and answers