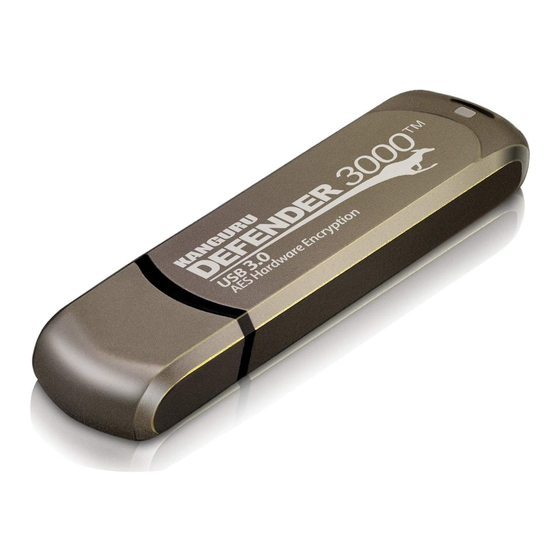
Summary of Contents for Kanguru defender
-
Page 1: Quick Start Guide
Kanguru Defender Secure USB Flash Drive Quick Start Guide For Defender Models: • Defender 2000 • Defender 3000 • Defender Elite30 • Defender Elite200 • Defender Elite300 Copyright 2016, All Rights Reserved... -
Page 2: Package Contents
Introduction 1. Introduction The Kanguru Defender flash drive is a hardware encrypted, tamper proof USB flash drive. The Defender flash drive contains two partitions: a CD-ROM partition and a secure, encrypted partition. The CD-ROM partition contains the login application that will allow you to access the secured partition. The secure partition is where your actual data will be stored. -
Page 3: Kanguru Defender Manager
USB port. The KDM application should start automatically if Autorun is enabled. If KDM does not start automatically: 1. Open an explorer window and open the Defender’s CD-ROM partition. The drive letter (e.g. D:, E:, F:) will depend on your computer. - Page 4 2.1.2 Running KDM on Mac OS X To run KDM from Mac OS X, connect your Defender flash drive to your computer through a USB port. A CD icon named ‘KDM’ will appear on the desktop. Double click on the KDM icon to open it.
- Page 5 The Login Window on page 13). Caution! The KDM file needs to remain on your Defender’s CD-ROM partition at all times. Always run the application from the Defender’s CD-ROM partition. Do not try to copy KDM or run KDM from your computer’s hard drive.
- Page 6 Note: You must have Super User or Root privileges in order to run KDM on Red Hat Enterprise Linux 5. To run KDM from the Red Hat Enterprise Linux 5 operating system, connect your Defender flash drive to your computer through a USB port. A CD icon named ‘KDM’ will appear on the desktop. If the KDM window doesn’t open automatically, double click on the KDM icon to open it.
-
Page 7: The Setup Wizard
Wizard instructions to create a security password for your Defender’s secure, encrypted partition. Caution! Once the Setup Wizard has started, you should not disconnect your Defender flash drive without either first completing the Setup Wizard or closing the Setup Wizard. - Page 8 Enterprise Edition users. Antivirus for Enterprise Edition is activated through Kanguru Remote Management Console (KRMC). Enterprise Edition users, please contact your administrator. Note: Your Defender flash drive will need to be connected to a computer with internet access in order to register for on-board antivirus protection.
- Page 9 Note: If you have not purchased a KRMC Cloud license and do not have a KRMC Cloud Account ID then please contact Kanguru Sales to purchase a KRMC Cloud license. If you have a KRMC Cloud account but do not remember your KRMC Cloud Account ID, please contact Kanguru Technical Support.
- Page 10 Running Kanguru Defender Manager 2.2.3 Contact Info If you chose to manage your drive using KRMC Cloud, then the information entered in the Contact Info window will automatically be imported to the KRMC Cloud server when you register your drive. If you did not enable KRMC Cloud then you can skip this step.
- Page 11 Running Kanguru Defender Manager 2.2.4 Setting a Password From the Set Password screen: 1. Enter your password in the ‘Password’ field. You can enter your password using KDM’s Virtual Keyboard by clicking the VK button. Note: For security reasons, it is recommended that you incorporate letters, numbers and symbols to achieve maximum security.
- Page 12 If you do not have KRMC Cloud or a SSPM license key, either contact Kanguru to purchase a SSPM or KRMC Cloud license, or select the Disable Service option and then click on the Apply button.
- Page 13 Cancel button. Unplugging and then reinserting your Defender flash drive or manually restarting KDM.exe will bring the login window back. Once you have successfully logged in to KDM, the Defender’s secure partition will be accessible through My Computer or Windows Explorer. For more information on accessing the secure partition.
- Page 14 2.3.1 Encrypting Files and Folders A key feature of the Defender flash drive is drag & drop encryption; allowing you to simply drag files that you want encrypt directly onto the drive. The Defender flash drive automatically encrypts these files as they are transferred to the secure partition, ensuring that your data stays safe and private.
-
Page 15: Unmounting Your Defender
‘Unmount Kanguru Defender’. Note: Linux users must right-click on the KDM icon in the task bar. The KDM icon in the task bar will disappear and the Defender’s secure partition will no longer be accessible. Caution! Do not disconnect the Kanguru Defender flash drive without first properly unmounting your... -
Page 16: Warranty Information
Warranty and Tech Support 3. Warranty Information All Defender flash drive products carry a 3-year warranty from the date of purchase. Kanguru Solutions is not responsible for any damages incurred in the shipping process. Any claims for loss or damage must be made to the carrier directly. - Page 17 Kanguru Solutions 1360 Main Street Millis, MA 02054 www.kanguru.com 11.07.16 v1.1 © 2016 Kanguru Solutions Legal terms and conditions available at www.kanguru.com. Please review and agree before use. Thank you.


Need help?
Do you have a question about the defender and is the answer not in the manual?
Questions and answers