Table of Contents
Advertisement
Advertisement
Table of Contents

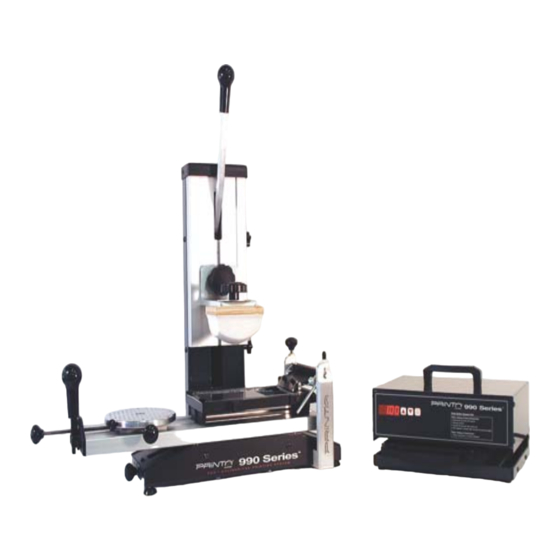
Summary of Contents for Printa Systems 990 series
- Page 1 990 PAD PRINTING SYSTEM QUICK GUIDE...
-
Page 2: Table Of Contents
990 Pad Printing System Quick Guide Table of Contents INITIAL SET UP :Product / Artwork /Pads........Page 3 INITIAL SET UP: Ink Carriage Assembly...........Page 4 FIXTURE PUTTY AND MOLD MAKING..........Page 5 PLATE MAKING PROCESS..............Page 6 INK MIXING....................Page 7 FINAL SET UP OF 990 SYSTEM............Page 8 PRINTING....................Page 9 &10 CLEANING....................Page 11 INK INFORMATION.................Page 12... -
Page 3: Initial Set Up :Product / Artwork /Pads
If it does not, then a pretreatment or different type of ink will need to be used. Contact your Printa Systems representative for more infor- mation. If your product is glass or metal, then simply wipe with rubbing alcohol before printing to prep surface. -
Page 4: Initial Set Up: Ink Carriage Assembly
990 Pad Printing System Quick Guide Ink Carriage Assembly Step 1: Familiarize yourself with Step 2: Install doctor blade into the blade the ink carriage assembly. Take a keeper. Make note that grounded edge of moment or two to install and doctor blade is out and down. -
Page 5: Fixture Putty And Mold Making
990 Pad Printing System Quick Guide Fixture putty and mold making. Step 1: Since many products are Step 2: Get appropriate amount of unique in shape, included with the putty to be used. Generally you 990 System is fixture putty so you can want to get an amount a little larger secure your product to print. -
Page 6: Plate Making Process
990 Pad Printing System Quick Guide Plate making process Step 1: Print out art- Step 2: Remove Step 3: Remove Step 4: Close work onto laser film. plate from package. cassette from expo- glass: lock down Make sure artwork is Plates are light sure unit. -
Page 7: Ink Mixing
Remember to test your plastics before committing to a print run to see if the ink with adhere to the surface! There are other inks available for different plastics, please call your Printa Systems representa- tive for more information. Step 1: You will need your Step 2: Place cup and stick Step 3: Pour ink into cup. -
Page 8: Final Set Up Of 990 System
990 Pad Printing System Quick Guide Step 1: Install pad onto pad Step 2: Install ink tray. Slide Step 3: Place plate on top of mount. Leave pad loose in under plate keeper on far tray liner. Slide under plate mount so you can adjust pad left of ink tray. -
Page 9: Printing
990 Pad Printing System Quick Guide Printing Step 1: Place packing tape Step 2: Slide bed-slide to Step 3: Plate should be over product so you can right, flooding plate. completely covered. safely print without marking on it. Step 5: Plate should be Step 6: If plate is not cleaned Step 4: Pull bed slide to left: cleaned off evenly like... -
Page 10: Printing...................................................................................................
990 Pad Printing System Quick Guide Printing Step 10: Look at print on Step 11: If it is not, loosen Step 12: Use the X & Y Axis product to see if it is aligned the turntable lock stud so adjusters to move the turn- properly. -
Page 11: Cleaning
990 Pad Printing System Quick Guide Cleaning Step 2: Gently remove ink Step 1: Clean off pad using Step 3: Wipe down roller carriage. There will be a lot packing tape. with cloth. You may need a of ink on the roller. Use a lint few drops of medium thin- free cloth to catch ink. -
Page 12: Ink Information
Some products require a different series of ink for superior adhesion. The chart below is the major inks that are sold through Printa Systems and should cover almost every application. There are other series available for more specific applications. Please contact your Printa Systems Representative for more infor- mation on these and other products. -
Page 13: Ink Curing Information
990 Pad Printing System Quick Guide Ink Curing Information Most products that are pad printed require a heat curing afterwards to promote the bonding properties of the inks. Some products such as solvent sensitive plastics, wood and paper may not require heat curing. Most of your harder goods will require heat curing for the proper bonding.
Need help?
Do you have a question about the 990 series and is the answer not in the manual?
Questions and answers