Sign In
Upload
Download
Table of Contents
Contents
Add to my manuals
Delete from my manuals
Share
URL of this page:
HTML Link:
Bookmark this page
Add
Manual will be automatically added to "My Manuals"
Print this page
×
Bookmark added
×
Added to my manuals
Manuals
Brands
Tektronix Manuals
Portable Generator
AFG310
Instruction manual
Tektronix AFG310 Instruction Manual
Rackmount kit
Hide thumbs
1
2
Table Of Contents
3
4
5
6
7
8
9
10
11
12
13
14
15
16
17
18
19
20
21
22
page
of
22
Go
/
22
Contents
Table of Contents
Bookmarks
Table of Contents
Table of Contents
Kit Description
Minimum Tool and Equipment List
Kit Parts List
Installation Instructions
Preparing the Instrument
Figure 1 : Location of Slit Where Minus Driver May be Inserted
Figure 2: Construction of the Handle Retainer (Cross Section)
Figure 3: Construction of the Handle Retainer (Cross Section)
Figure 4: Feet and Rear Cover Removal
Installing the Instrument into the Rack Adapter
Figure 5: Attaching Bracket and Panel
Figure 6: Attaching Bracket to Two Instruments
Figure 7: Attaching Panel
Installation into a Equipment Rack
Figure 8: Installation into the Equipment Rack
Figure 9 : Cooling for Rackmounted Instruments
Exploded View and Dimensional Drawing
Figure 10: Rack Adapter Exploded View
Figure 11: Dimensional Drawing of Rack Adapter
Advertisement
Quick Links
Download this manual
Instructions Manual
016–1674–50
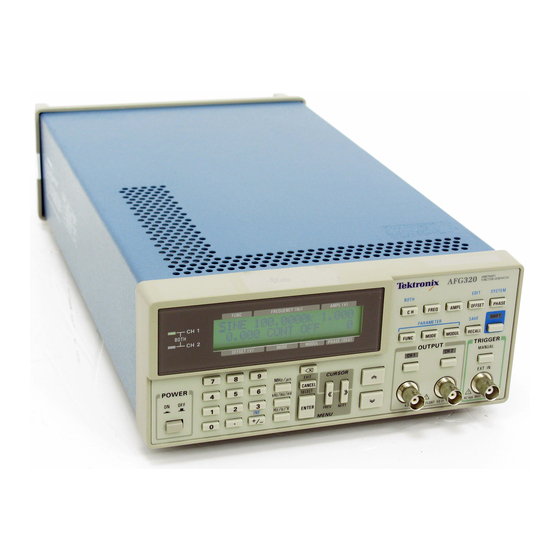
AFG310 & AFG320 Rackmount Kit
075-0288-50
www.tektronix.com
075028850
Table of
Contents
Previous
Page
Next
Page
1
2
3
4
5
Advertisement
Table of Contents
Need help?
Do you have a question about the AFG310 and is the answer not in the manual?
Ask a question
Questions and answers
Related Manuals for Tektronix AFG310
Portable Generator Tektronix AFG3000 Series Programmer's Manual
Arbitrary/function generators (232 pages)
Portable Generator Tektronix AFG3000 Series Quick Start User Manual
Arbitrary/function generators (108 pages)
Portable Generator Tektronix AFG3000 Series Reference Manual
Arbitrary/function generators (230 pages)
Portable Generator Tektronix AFG3000 Series Quick Start User Manual
Arbitrary/function generators (86 pages)
Portable Generator Tektronix AFG3000 Series Service Manual
Arbitrary/function (164 pages)
Portable Generator Tektronix AFG3000 Series Technical Reference
Arbitrary function generators specifications and performance verification (75 pages)
Portable Generator Tektronix AFG3000C Series Technical Reference
Arbitrary function generators (77 pages)
Portable Generator Tektronix AFG3000 Series Manual
(19 pages)
Portable Generator Tektronix AFG2000 Service Manual
Arbitrary function generators afg2000 series (87 pages)
Portable Generator Tektronix AFG2000 Instruction
Arbitary function generators (14 pages)
Portable Generator Tektronix AFG320 Instruction Manual
Rackmount kit (22 pages)
Portable Generator Tektronix AFG31000 Series Service Manual
Arbitrary function generator (85 pages)
Portable Generator Tektronix SONY AFG2020 User Manual
Synthesized arbitrary function generator (370 pages)
Portable Generator Tektronix AFG2021-BR Instructions
Arbitrary function generator compliance and safety (4 pages)
Portable Generator Tektronix AFG 5101 Instruction Manual
Programmable arbitrary/function generator (110 pages)
Portable Generator Tektronix AFG 5101 Instruction Manual
Programmable arbitrary/function generator (110 pages)
This manual is also suitable for:
Afg320
Table of Contents
Print
Rename the bookmark
Delete bookmark?
Delete from my manuals?
Login
Sign In
OR
Sign in with Facebook
Sign in with Google
Upload manual
Upload from disk
Upload from URL


Need help?
Do you have a question about the AFG310 and is the answer not in the manual?
Questions and answers