Getac X500 Replacement Instructions Manual
Hide thumbs
Also See for X500:
- Quick start manual ,
- User manual (152 pages) ,
- Operation manual (41 pages)
Table of Contents
Advertisement
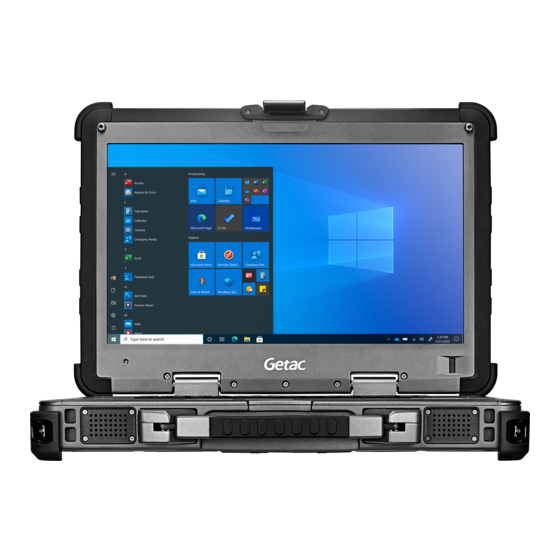
X500 Parts Replacement Instructions
This document is intended for service personnel. It provides information not
found in the user manual. For information such as replacing the battery pack,
hard disk drive kit, and media bay device, see the user manual of the product.
HDD door (P/N 340128000011) ....................................................... 2
Media bay door (P/N 340128000012) ............................................. 2
RS232 door (P/N 340128000032) ..................................................... 3
VGA door (P/N 340128000034) ....................................................... 3
RJ45 door (P/N 340128000035) ....................................................... 4
USB door (P/N 340128000036) ........................................................ 4
PCMCIA door (P/N 340128000037) .................................................. 5
DC door (P/N 340128000038) .......................................................... 5
Audio door (P/N 340128000039) ..................................................... 5
Battery door (P/N 340128000042) ................................................... 6
HDD in the HDD kit (P/N 523212840001) ....................................... 6
ODD in the ODD kit (P/N 523487680053) ....................................... 7
Keyboard (P/N 531012840005) ........................................................ 8
Advertisement
Table of Contents

Related Manuals for Getac X500


Summary of Contents for Getac X500
-
Page 1: Table Of Contents
X500 Parts Replacement Instructions This document is intended for service personnel. It provides information not found in the user manual. For information such as replacing the battery pack, hard disk drive kit, and media bay device, see the user manual of the product. -
Page 2: Hdd Door (P/N 340128000011)
HDD door (P/N 340128000011) To remove: 1. Remove the two screws that secure the door to X500. 2. Detach the door from X500. To install: Reverse the removal procedure to install the new part. Media bay door (P/N 340128000012) To remove: 1. -
Page 3: Rs232 Door (P/N 340128000032)
RS232 door (P/N 340128000032) To remove: 1. Remove the two screws that secure each door to X500. 2. Detach the door from X500. To install: Reverse the removal procedure to install the new part. ESATA/HDMI/USB door (P/N 340128000033 / 340128000060) To remove: 1. -
Page 4: Rj45 Door (P/N 340128000035)
RJ45 door (P/N 340128000035) To remove: 1. Remove the two screws that secure the door to X500. 2. Detach the door from X500. To install: Reverse the removal procedure to install the new part. USB door (P/N 340128000036) To remove: 1. -
Page 5: Pcmcia Door (P/N 340128000037)
PCMCIA door (P/N 340128000037) To remove: 1. Remove the two screws that secure the door to X500. 2. Detach the door from X500. To install: Reverse the removal procedure to install the new part. DC door (P/N 340128000038) To remove: 1. -
Page 6: Battery Door (P/N 340128000042)
Battery door (P/N 340128000042) To remove: 1. Remove the two screws that secure the door to X500. 2. Detach the door from X500. To install: Reverse the removal procedure to install the new part. HDD in the HDD kit (P/N 523212840001) To remove: 1. -
Page 7: Odd In The Odd Kit (P/N 523487680053)
3. Slide the HDD out of the plastic box. 4. Disconnect the data cable () and detach the connector adapter (). To install: Reverse the removal procedure to install the new part. ODD in the ODD kit (P/N 523487680053) To remove: 1. -
Page 8: Keyboard (P/N 531012840005)
To remove: 1. Remove the battery pack. 2. Remove two screws from the rear of X500. Screw P/N: 371102040620 (size: M2 x L6; torque: 2.0∼2.5 kgf·cm) 3. Remove five screws from above the keyboard. Then lift the two hinges to detach the keyboard/hinge cover from X500. - Page 9 5. Flip the keyboard over and put it aside. Be careful not to pull the FPCs of the keyboard. 6. Detach the cable holder by unfastening four screws. Screw P/N: 371102040610 (size: M2 x L6; torque: 2.0∼2.5 kgf·cm) 7. Remove seven screws and open the VGA cover. Screw P/N: 371102540510 (size: M2.5 x L5;...
- Page 10 8. Using a tool such as tweezers or a small flat-head screwdriver, gently pry up both sides of each connector to release the FPCs. To install: Reverse the removal procedure to install the new part.
Need help?
Do you have a question about the X500 and is the answer not in the manual?
Questions and answers