Getac X500 Manual
Also See for X500:
- User manual (152 pages) ,
- Operation manual (41 pages) ,
- Quick start manual (12 pages)
Advertisement
Table of Contents
Contents
Getac X500 Manual
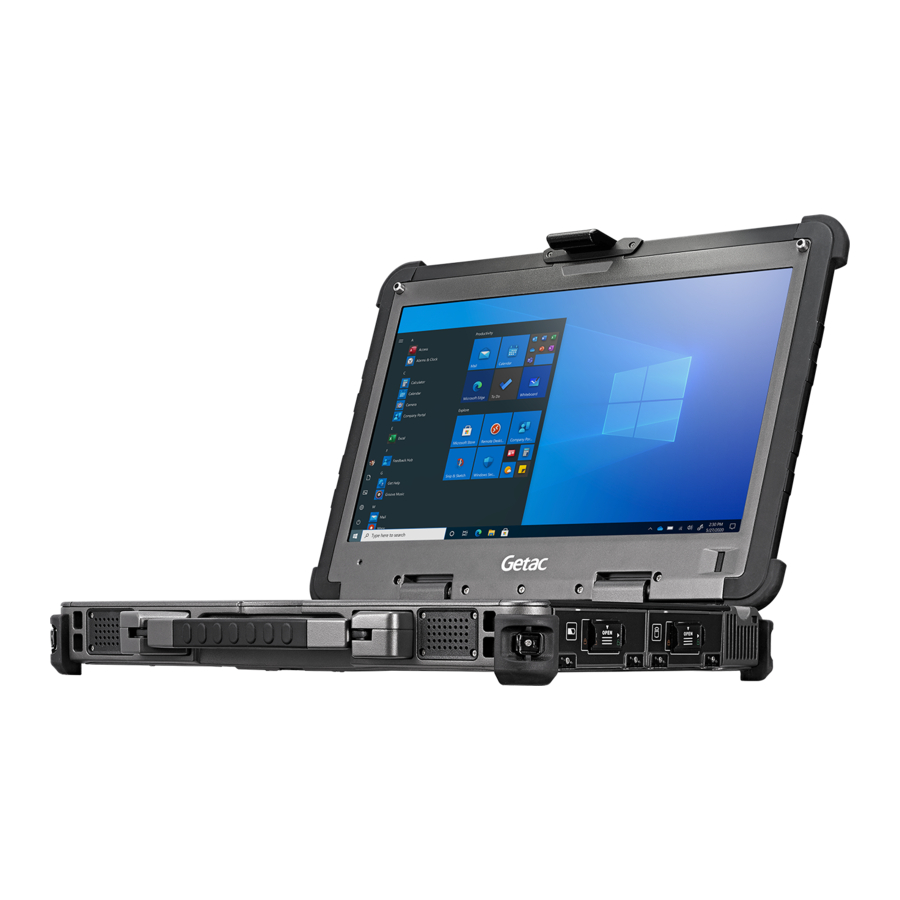
Overview

The Expansion Unit provides two PCI or PCI-E slots (depending on your purchase) for your X500. The Expansion Unit features:
- Two PCI Revision 2.0 slots
- or -
Two PCI Express 1.0a slots - Slot 1 accommodates a full length card (Size ≤ 315mm x 107mm x 17mm) or 3/4 length card (Size ≤ 210mm x 100mm x 17mm)
Slot 2 accommodates a 3/4 length card - 10W power for each slot
 Note the following when using an add-on card:
- Before using an add-on card, it is suggested that you send the card to Getac for compatibility test.
- PCI Expansion Unit does not support "ATA 66" add-on cards.
Note the following during the installation process:
- The installation instructions in this document cover both PCI and PCI-E Expansion Units though the illustrations only show PCI Expansion Unit.
- After removing screws, be sure to keep the screws and remember where they were removed. All screws are required for later use.
Attaching to X500
Skip this section if your X500 model originally comes with the Expansion Unit at the bottom.
If you have purchased the Expansion Unit separately, follow the instructions in this section to attach the Expansion Unit to your X500.
- Place X500 upside down. Unfasten two screws to temporarily remove one of the corner bumpers (the one as indicated below).

- Unfasten 26 screws (see arrows below) and detach the bottom cover from X500.

- Replace the corner bumper and two screws.
- Only for X500 models with 3G module:
Locate the SIM card board. Unfasten two screws and unplug the board from the motherboard.

- Only for X500 models with 3G module:
Find the FPC (Flexible Printed Circuit). Align the corresponding end of the FPC to where the SIM card board was and plug the connector.
Secure with two screws (the screws from the previous step).

- Place the Expansion Unit upside down. Unfasten 26 screws (see arrows below) and detach the bottom cover from the Expansion Unit.

- Unfasten 4 screws and detach the two brackets.

- Align and attach the Expansion Unit to X500.
Only for X500 models with 3G module:
Insert the FPC through the opening of the Expansion Unit.

- Only for X500 models with 3G module:
Fit the other end of the FPC in place and secure with one screw (see![]() below). Then, plug the SIM card board and secure the board with two screws (see
below). Then, plug the SIM card board and secure the board with two screws (see ![]() below).
below).

- Secure the Expansion Unit with 26 screws (the ones from step 2) (see arrows below).
Plug the cable connector to the motherboard.

- If you have add-on card(s) to install now, proceed to step 4 in the next section.


 below). Then, plug the SIM card board and secure the board with two screws (see
  below).

Installing an Add-on Card
- Detach the bottom cover from the Expansion Unit. (Refer to step 6 in the previous section.)
- Depending on which slot you want to use, remove its bracket by unfastening two screws. For a full length card, use Slot 1 (the upper slot). (Refer to step 7 in the previous section.)
- Align and attach the bracket to the add-on card's bracket and tighten one screw.

- Only for PCI Expansion Unit:
Each PCI slot comes with a rail/screw assembly that helps holding the PCI card in place. Before inserting a PCI card, make sure the screw on the rail (indicated in the next figure) is not in a position that hinders the installation. If it is, loosen the screw and slide it farther away from the slot. - Align the add-on card's connector with the slot and press firmly until the connector is engaged. Secure the bracket with two screws (the screws from step 2).
Only for PCI Expansion Unit:
Slide the screw on the rail toward the card until the groove around the screw head holds the card edge. Then tighten the screw.

- Replace the bottom cover and secure with 26 screws (the screws from step 1).
- To use the I/O connectors of your add-on card, open the access cover by loosening two screws with your fingers or a flathead screwdriver.


Documents / ResourcesDownload manual
Here you can download full pdf version of manual, it may contain additional safety instructions, warranty information, FCC rules, etc.
Advertisement


Need help?
Do you have a question about the X500 and is the answer not in the manual?
Questions and answers