Table of Contents
Advertisement
Quick Links
Advertisement
Table of Contents

Subscribe to Our Youtube Channel
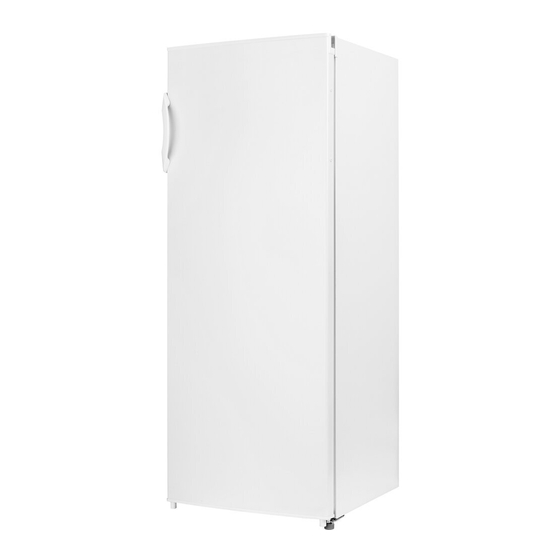
Summary of Contents for Philco PTL 2352
- Page 1 REFRIGERATOR USER’S MANUAL PTL 2352...
- Page 2 Dear customer, Thank you for buying a PHILCO brand product. So that your appliance serves you well, please read all the instructions in this user‘s manual.
-
Page 3: Table Of Contents
CONTENTS PART 1: SAFETY WARNINGS ..........................2 PART 2: PRODUCT OVERVIEW ......................... 3 PART 3: INSTALLATION ............................ 4 Location ......................................4 Reversing the door swing ................................4 Door space requirements ................................8 Levelling the unit ....................................8 Cleaning before use ..................................8 ... -
Page 4: Part 1: Safety Warnings
PART 1: SAFETY WARNINGS 1) WARNING—Keep ventilation openings, in the appliance enclosure or in the built-in structure, clear of obstruction. 2) WARNING—Do not use mechanical devices or other means to accelerate the defrosting process, other than those recommended by the manufacturer. 3) WARNING—Do not damage the refrigerant circuit. -
Page 5: Part 2: Product Overview
PART 2: PRODUCT OVERVIEW temperature control box assembly R glass shelf assembly small tray large fray vegetable basket shelf glass vegetable basket adjustable foot *All images in this instruction manual are for indication only; please refer to your individual unit fordetails. EN - 3 Copyright ©... -
Page 6: Part 3: Installation
PART 3: INSTALLATION Location When selecting a position for your unit you should make sure the fl oor is fl at and fi rm, and the room is well ventilated. Avoid locating your unit near a heat source, e.g. cooker, boiler or radiator. Also avoid direct sunlight as it may increase the electrical consumption. - Page 7 3) Remove the hinge shaft sleeve and the door block to the other side. hinge shaft sleeve door block A. Remove the nut with sleeve. Take off the washer then remove the axes to the other side and fi xed. EN - 5 Copyright ©...
- Page 8 4) Disassemble the screws fi xed in the bottom hinge assembly with cross slot screwdriver and remove the adjustable foot adjustable foot bottom hinge assembly NOTE: The refrigerator incline angle less 45°. 5) Replace the bottom hinge to the other side then fi x it with screws. bottom hinge assembly adjustable foot 6) Install the two screws on the right and Remove the left top hinge cover...
- Page 9 7) Install the left top hinge cover on the right and Remove the two screws two screws left top hinge cover 8) Install the top-hinge. set the top door right position, fi x the top-hinge and the cover. 9) Install the left top hinge cover on the left right top hinge cover EN - 7 Copyright ©...
-
Page 10: Door Space Requirements
Door space requirements The unit’s door must be able to open fully as shown. W×D≥902×1052mm Levelling the unit To do this adjusts the two levelling feet at the front of the unit. If the unit is not level, the door and magnetic seal alignments will not be covered properly. Make sure that the foot touches the ground before use. -
Page 11: Interior Accessories
• Before Plugging in You must check that you have a socket which is compatible with the plug supplied with the unit. • Before Turning On! Do not turn on until two hours after moving the unit. Interior accessories Various glass or plastic storage shelves are included with your appliance - diff erent models have diff erent combinations. -
Page 12: Part 4: Operation
PART 4: OPERATION Switching on your unit • The temperature selector knob is located on the right hand sidewall of the refrigerator interior Setting “Min”: Less Cool Temperature Setting “Med”: Normal Operation (adequate for most situations) Setting “Max”: Coolest Temperature •... -
Page 13: Part 5: Cleaning
PART 5: CLEANING Defrosting NOTE THIS UNIT DOES NOT HAVE AN AUTO DEFROST SYSTEM For Defrost refer to following instructions: Defrost the refrigerator whenever the layer of frost on the surface of the evaporator reaches 3 or 4 mm. When defrosting, remove all food and the ice cube tray and set the thermostat to the “OFF”... -
Page 14: Part 6: Maintenance
PART 6: MAINTENANCE Care when handling / moving your unit Hold the unit around its sides or base when moving it. Under no circumstances should it be lifted by holding the edges of the top surface. Servicing The unit should be serviced by an authorized engineer and only genuine spare parts should be used. Under no circumstances should you attempt to repair the unit yourself. -
Page 15: Part 7: Trouble Shooting
PART 7: TROUBLE SHOOTING The following simple issues can be handled by the user. Please call the after-sale service department if the issues are not settled. Inoperation Whether the refrigerator is plugged and connected to power; Low voltage; Failure power or tripping circuit Odor Odorous foods should closely wrapped;... -
Page 16: Part 8: Tips For Energy Saving
PART 8: TIPS FOR ENERGY SAVING Try not to open the door too often, especially when the weather is wet and hot. Once you open the door, close it as soon as possible. Every now and then check if the appliance is suffi ciently ventilated (adequate air circulation behind the appliance). -
Page 17: Part 9: Information Sheet
PART 9: INFORMATION SHEET INFORMATION SHEET: Philco Philco brand: Brand Philco Model identifi cation PTL 2352 Type of appliance 3) Energy effi ciency class (A... low electricity consumption to G high electricity consumption) Electricity consumption per 365 days 1) kWh... - Page 18 Changes to the text, design and technical specifi cations may occur without prior notice and we reserve the right to make these changes. Czech is the original version. Manufacturer address: PHILCO, Praha 10, Černokostelecká 2111, CZ-10000; CZECH REPUBLIC EN - 16 Copyright © 2016, Fast ČR, a. s.


Need help?
Do you have a question about the PTL 2352 and is the answer not in the manual?
Questions and answers