Advertisement
Quick Links
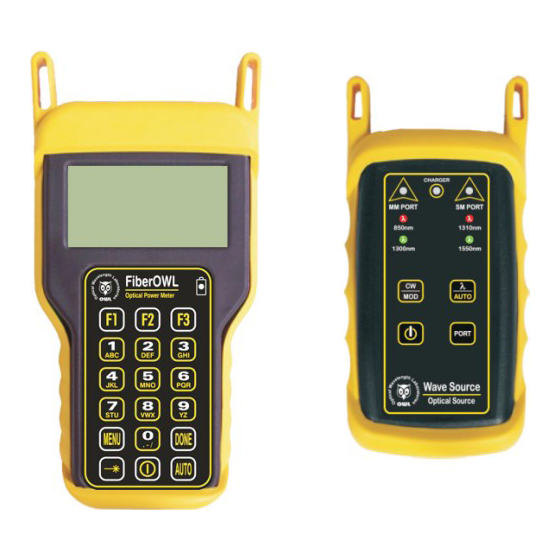
Fiber OWL 4 BOLT Series Test Kits
Certification Testing
Quick Reference Guide
For part numbers:
KIT-FO4B-WSMDst
KIT-FO4B-WSMDsc
OWL
Optical Wavelength Laboratories
Quick Reference Guide
Revision 1.1
Optical Wavelength Laboratories (OWL)
Fiber OWL 4 BOLT Series
25909
N9623 West US Hwy 12
Firmware Version 4.65
Whitewater, WI 53190
Phone: 262-473-0643
Internet: OWL-INC.COM
Advertisement

Related Manuals for OWL KIT-FO4B-WSMDst


Summary of Contents for OWL KIT-FO4B-WSMDst
- Page 1 Fiber OWL 4 BOLT Series Test Kits Certification Testing Quick Reference Guide For part numbers: KIT-FO4B-WSMDst KIT-FO4B-WSMDsc Optical Wavelength Laboratories Quick Reference Guide Revision 1.1 Optical Wavelength Laboratories (OWL) Fiber OWL 4 BOLT Series 25909 N9623 West US Hwy 12 Firmware Version 4.65...
-
Page 2: Getting Started
GETTING STARTED Thank you for your purchase of this OWL certification test kit. Included in this kit is a Fiber OWL 4 BOLT optical power meter and a WaveSource multimode fiber optic light source. This quick reference guide will assist you in setting up your test kit for a standards-based certification test. -
Page 3: Required Accessories
– DO NOT INSERT ANGLED PHYSICAL CONTACT (APC) CONNECTOR FIGURE 3 Connection for Straight Patch Cables STEP 2 Power on the light source. STEP 3 Power on the Fiber OWL 4 BOLT. STEP 4 From the OPERATING MODE menu, select SIMPLE METER. - Page 4 STEP 5 Compare the reading on the Fiber OWL 4 BOLT display to Table 1 for acceptable power levels. Acceptable Power Level Replace at Core Size 62.5/125 µM -19.0 to -22.0 dBm -22.00 dBm 50/125 µM -22.0 to -25.0 dBm -25.00 dBm...
- Page 5 <1> USE THE METER TO MEASURE LENGTH <2> ENTER LENGTH MANUALLY CONNECT STEP 21 Connect the Fiber OWL 4 BOLT to your fiber link as shown in Figure 5. FIBER A FIBER B (FIBER PAIR REQUIRED) PATCH FIBER A TO Press <F1> to continue.
- Page 6 RUN LINK WIZARD, cont. STEP 24 Enter the number of connections (i.e. patch panels) in the link under test. Typical fiber INLINE CONNECTIONS? (A CONNECTION IS WHEN TWO FIBER CONNECTORS networks will have 2 connections – one for a patch panel located at each end of the link. MATE USUALLY A PATCH PANEL) XXXXXXXXXXXXXXX...
-
Page 7: Take Readings
TAKE READINGS STEP 34 If testing two wavelengths, press the <AUTO> button to set the Fiber OWL 4 BOLT into AUTO mode, then press and hold the /AUTO button on the WaveSource. You will begin to see the WaveSource indicator LED...
Need help?
Do you have a question about the KIT-FO4B-WSMDst and is the answer not in the manual?
Questions and answers