Table of Contents
Advertisement
Quick Links
• READ ALL INSTRUCTIONS BEFORE ASSEMBLY AND USE OF GATE.
• KEEP INSTRUCTIONS FOR FUTURE USE.
www.regalo-baby.com
Regalo International, LLC.
3200 Corporate Center Drive, Suite 100 / Burnsville, MN 55306, USA
866.272.5274 (U.S. only) or 952.435.1080
Made in China
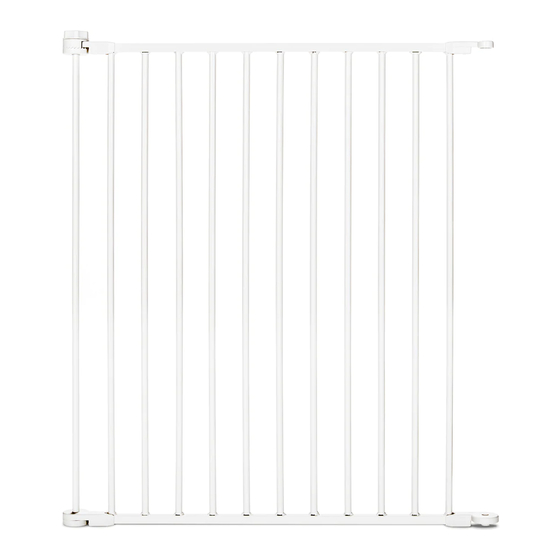
4-in-1 Play Yard
Safety Gate
OWNER'S MANUAL MODEL:
1350, 1350B
Advertisement
Table of Contents

Summary of Contents for Regalo 1350B
- Page 1 4-in-1 Play Yard Safety Gate 1350, 1350B OWNER’S MANUAL MODEL: • READ ALL INSTRUCTIONS BEFORE ASSEMBLY AND USE OF GATE. • KEEP INSTRUCTIONS FOR FUTURE USE. www.regalo-baby.com Regalo International, LLC. 3200 Corporate Center Drive, Suite 100 / Burnsville, MN 55306, USA 866.272.5274 (U.S.
- Page 3 Before Using Product Read and follow all instructions carefully to ensure that your gate and extensions are properly installed. Improper installation could result in the gate becoming unstable or dislodged from the doorway. Always make sure the extension is securely attached to the gate before using.
- Page 4 WARNING • Install according to manufacturer's instructions. • Children have died or been seriously injured when gates are not securely installed. ALWAYS install and use gate as directed using all required parts. • STOP using when a child can climb over or dislodge the gate.
- Page 5 Before Assembly PLEASE CHECK TO MAKE SURE YOU HAVE THE FOLLOWING PARTS: Play Yard Gate Frame (8 Panels) Plastic Mounting Brackets (4 – Attached to Gate Frame) 1" Wall Mounting Screws (8) (requires a Phillips/cross-head screwdriver) English...
- Page 6 Option A: Installing Your Gate Between Two Walls STEP 1 Unfold the gate frame by turning the locking knobs counter clockwise at each pivoting joint. Loosen the knobs enough to allow the gate to swing open freely without fully removing the knobs. LOCKING KNOB STEP 2 Use a Phillips/crosshead screwdriver to fix the wall mounting bracket to the...
- Page 7 STEP 3 Arrange the panels to your desired configuration, then tighten all of the locking knobs. NOTE: This gate is designed to fit minimum width openings 51.5 inches wide. 51-1/2" Minimum Width English...
- Page 8 Option B: Installing Your Gate as a Freestanding Enclosure STEP 1 Unfold the gate frame by turning the locking knobs counter clockwise at each pivoting joint. Loosen the knobs enough to allow the gate to swing open freely without fully removing the knobs. STEP 2 Release the vertical metal pivot bars at each end of the play yard by removing the following parts from the assembly:...
- Page 9 STEP 3 Position the play yard into your desired configuration (e.g. octagon, square), then join the free ends of the play yard together at the plastic joints. STEP 4 Insert one of the previously removed metal pivot bars between the upper plastic joints and the lower plastic joints.
- Page 10 STEP 5 Tighten the locking knob on the metal pivot bar by turning it counterclockwise. STEP 6 Tighten each of the remaining locking knobs by turning them clockwise, fixing the play yard into the configuration you have chosen. To position the play yard into a new configuration or shape, simply loosen each of the locking knobs, adjust...
- Page 11 Operating the Door Latch STEP 1 Pull both sides of the slide lock sideways away from the metal lift latch while simultaneously pivoting the metal lift latch upward from the gate’s door frame. METAL LIFT LATCH SLIDE LOCK STEP 2 To relock the gate, close the door completely and drop the metal lift latch back into place.
- Page 12 Regalo International, LLC, will replace or repair it at Regalo’s option. PROOF OF PURCHASE REQUIRED.
- Page 13 Replacement Parts Door Frame Toothed Hinge Door Frame Bottom Hinge White = #300776-001 White = #300306-001 Black = #300776-002 Black = #300306-002 Top Hinge Bottom Hinge – Male White = #300779-001 White = #300322-001 Black = #300779-002 Black = #300322-002 Toothed Hinge Wall Mount Bottom Cap –...
- Page 16 Regalo International, LLC. 3200 Corporate Center Drive, Suite 100 Burnsville, MN 55306, USA 866.272.5274 (U.S. only) or 952.435.1080 20170622EF...


Need help?
Do you have a question about the 1350B and is the answer not in the manual?
Questions and answers