Table of Contents
Advertisement
Available languages
Available languages
Quick Links
• READ ALL INSTRUCTIONS BEFORE ASSEMBLY AND USE OF GATE.
KEEP INSTRUCTIONS FOR FUTURE USE.
• LIRE TOUTES LES INSTRUCTIONS AVANT D'ASSEMBLER ET D'UTILISER LA BARRIÈRE.
CONSERVER CES INSTRUCTIONS POUR UNE UTILISATION ULTÉRIEURE.
• LEA TODAS LAS INSTRUCCIONES ANTES DE MONTAR Y USAR LA REJA.
GUÁRDELAS PARA UTILIZARLAS COMO REFERENCIA.
www.regalo-baby.com
Regalo International, LLC.
3200 Corporate Center Drive, Suite 100 / Burnsville, MN 55306, USA / , É.-U. / , EE. UU.
866.272.5274 (U.S. only / aux États-Unis seulement / solo en EE. UU.) or / ou / o 952.435.1080
Made in China / Fabriqué en Chine / Hecha en China
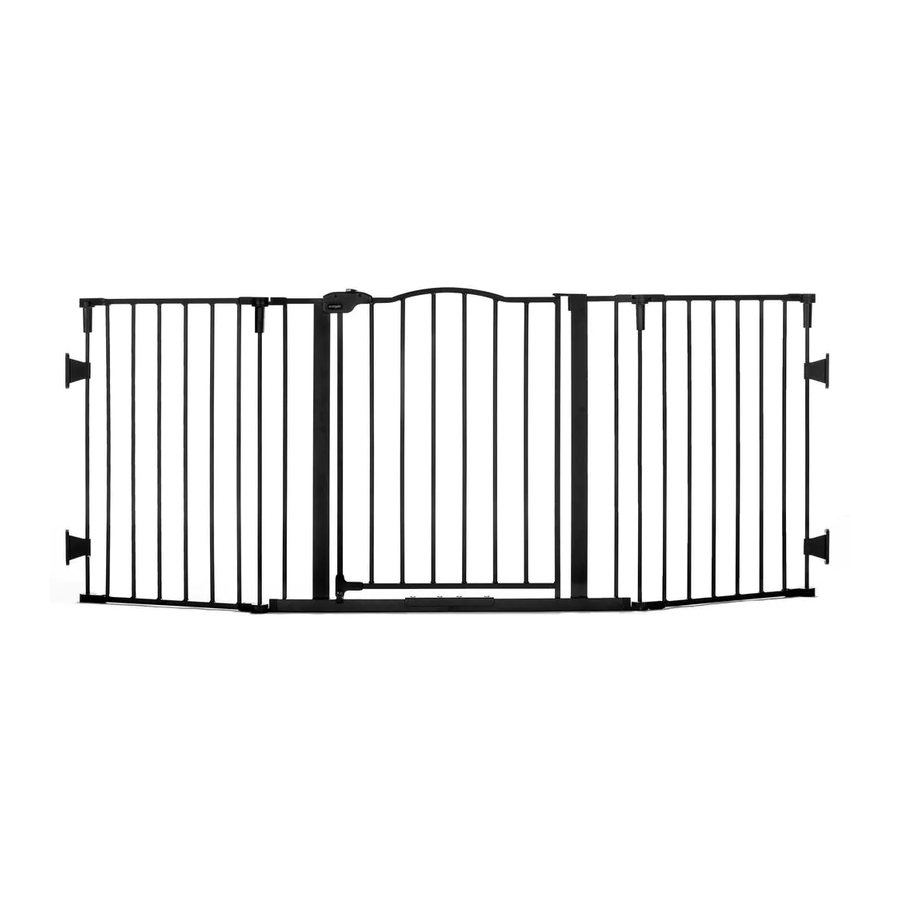
Home Accents Widespan Safety Gate
Home Accents Widespan Barrière de Sécurité
Home Accents Widespan Puerta de Seguridad
Model / Modèle / Modelo: 1176 B, 1176 B DS
Advertisement
Table of Contents

Related Manuals for Regalo Home Accents Widespan 1176 B


Summary of Contents for Regalo Home Accents Widespan 1176 B
- Page 1 GUÁRDELAS PARA UTILIZARLAS COMO REFERENCIA. www.regalo-baby.com Regalo International, LLC. 3200 Corporate Center Drive, Suite 100 / Burnsville, MN 55306, USA / , É.-U. / , EE. UU. 866.272.5274 (U.S. only / aux États-Unis seulement / solo en EE. UU.) or / ou / o 952.435.1080...
-
Page 2: Before Assembly
English Before Assembly PLEASE CHECK TO MAKE SURE YOU HAVE THE FOLLOWING PARTS: Main Gate Assembly (2) Upper Door Hinge Pin (1) Pan Head Screw (4) Door Frame U-bracket (1) Wood screw (8) Door Frame Assembly (1) Allen Wrench (1) Cap Hinge Cover (1) BEFORE USING PRODUCT MANUFACTURER RECOMMENDATIONS:... -
Page 3: Gate Assembly
Gate Assembly STEP 1 STEP 2 STEP 3 Start with the main gate assemblies (A). Slide the two gate assemblies together. Place Set the door frame assembly (G) into the gate. the door frame u-bracket (F) over the lower Loosen the hinge knob in the clockwise Set the pin of the door into the receiver hole on frame lining over the four (4) holes. -
Page 4: Gate Operation
Removing Extension Gate STEP 1 STEP 2 STEP 3 If the standard gate is too long for your opening Remove the hinge cover cap. Hinge cover cap Place the tube hinge, wall mounts, hinge knob, you must remove either the right or left (H) is on the bottom of the hinge with the wall and cap hinge cover into the lower door frame. -
Page 5: Replacement Parts
finish and assembly, Regalo International, LLC, will replace or repair it at Regalo’s option. PROOF OF PURCHASE REQUIRED. -
Page 6: Avant Le Montage
French Avant le montage VÉRIFIEZ QUE VOUS DISPOSEZ BIEN DES PIÈCES SUIVANTES : Ensemble de barrière principale (2) Fiche supérieure de la charnière de la porte (1) Vis à tête cylindrique bombée (4) Support en U de cadre de porte (1) Vis à... -
Page 7: Montage De La Barrière
Montage de la barrière ÉTAPE 1 ÉTAPE 3 ÉTAPE 2 Commencez par les ensembles de barrière Réunissez les deux ensembles de barrière en les Placez l’ensemble de cadre de porte (G) dans la glissant. Placez le support en U du cadre de porte principaux (A). - Page 8 Retirer la barrière de rallonge ÉTAPE 2 ÉTAPE 1 ÉTAPE 1 ÉTAPE 3 Si la barrière standard est trop longue pour Retirez le couvre-charnière. Le couvre-charnière Placez la charnière-tube, les montants muraux, le bouton de charnière et le couvre-charnière dans votre ouverture, vous devez déposer soit la (H) se trouve au bas de la charnière, sur les barrière de rallonge droite ou gauche.
-
Page 9: Pièces De Rechange
finition ou du montage, Regalo International, LLC, le remplacera ou le réparera à la discrétion de Regalo. PREUVE D'ACHAT... - Page 10 Spanish Antes de ensamblar ASEGÚRESE DE CONTAR CON LAS SIGUIENTES PARTES: Ensamble principal de la puerta (2) Clavija de la bisagra superior de la puerta (1) Tornillos de cabeza plana (4) Abrazadera en U del marco de la puerta (1) Tornillos para madera (8) Ensamble del marco de la puerta (1) Llave Allen (1)
- Page 11 Ensamble de la puerta PASO 1 PASO 2 PASO 3 Coloque en la puerta el ensamble del marco de la Comience con los conjuntos principales de la Una los dos conjuntos principales de la puerta. Coloque la abrazadera en U del marco de la puerta (A).
- Page 12 Cómo remover la puerta de extensión PASO 1 PASO 2 PASO 3 Quite la cubierta de la bisagra de coronamiento Coloque la bisagra de tubo, los montajes para Si la puerta estándar es demasiado larga para la pared, la perilla de la bisagra y la cubierta de la apertura, deberá...
-
Page 13: Garantía Limitada De 90 Días
Regalo International, LLC lo reemplazará o reparará, a criterio de Regalo. SE REQUIERE COMPROBANTE DE COMPRA. - Page 14 WARNING MISE EN GARDE ADVERTENCIA ENGLISH • Install according to manufacturer's instructions. • To prevent serious injury or death, securely install gate or enclosure and use according to manufacturer's instructions. • Children have died or been seriously injured when gates are not securely installed. ALWAYS install and use as directed using all required parts.
Need help?
Do you have a question about the Home Accents Widespan 1176 B and is the answer not in the manual?
Questions and answers