Kaba simplex 7106 series Installation Instructions Manual
Hide thumbs
Also See for simplex 7106 series:
- Instructions (4 pages) ,
- Installation instructions manual (24 pages)

Subscribe to Our Youtube Channel
Related Manuals for Kaba simplex 7106 series


Summary of Contents for Kaba simplex 7106 series
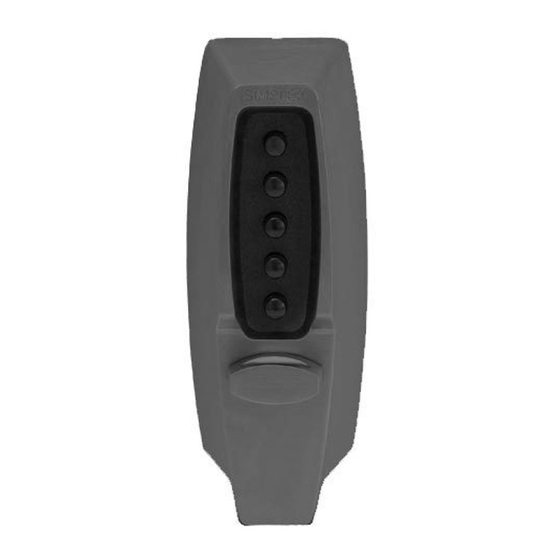
- Page 1 Installation Instructions 7 1 0 6 SERIES Kaba Access Control 2941 Indiana Avenue Winston-Salem, NC 27105 USA Tel: (800) 849-8324 (336) 725-1331 Fax: (800) 346-9640 (336) 725-3269 www.kabaaccess.com PK 2389 0307...
- Page 2 Installing the Lock ............5 ensure that the recommended procedures will not cause damage. KABA is not Reversing the Latch .
-
Page 3: Checklist
CHECKLIST A. DETERMINING THE LOCK 4" (102 mm) LOCATION Use this checklist to make sure that everything has been included. J Install the lock with exterior thumbturn hole at least 7" (18 cm) above your primary lockset so it is A –... -
Page 4: C. Drilling Holes In The Door
C. DRILLING HOLES IN THE DOOR D-2 While holding the lockset firmly against the outside of the door, (See Figure 4-1) mark tailpiece Y at the point where it extends ⁄ " - ⁄ " beyond CAUTION: Positioning and drilling must be done straight to ensure trouble the interior surface of the door. -
Page 5: F. Reversing The Latch
E-2 While holding the lock firmly against the out- F-5 While holding the auxiliary latch as instructed side of the door, use two round head thru- in step 4, place the latch in the case with the bolts (D) to secure the inside reinforcement bevel in the same direction as the auxiliary plate (C). - Page 6 (6 mm) ty, whether in tort or in contract, under this warranty is to repair or replace products that are returned to Kaba Access Control within the one (1) year war- ranty period. This warranty is in lieu of and not in addition to any other warranty or condi- tion, express or implied, including without limitation merchantability, fitness for purpose or absence of latent defects.
- Page 7 " dia. CAUTION (19 mm) Apply template and drill from the inside but " dia. " dia. (6 mm) (6 mm) compensate for door bevel if any " (32 mm) 8" (60 mm) NOTE: Lock will accomodate doors IMPORTANT " (35 mm) to 2 "...
- Page 8 CAUTION Apply template and drill from the inside but compensate for door bevel if any 8" (60 mm) NOTE: Lock will accomodate doors " (35 mm) to 2 " (57 mm) thick. Suitable reinforcement shall be provided by the hollow metal door manufacturer to prevent collapsing of door.
- Page 9 Notes...
-
Page 10: H. Verifying The Combination Change Assembly
G-3 Turn the outside thumbturn to the right H. VERIFYING THE COMBINATION CHANGE (clockwise) until it stops (See Figure 7-3); the ASSEMBLY latch should retract fully. If the latch does not H-1 Insert the tip of a Phillips-head screwdriver into the central piece of the retract, turn the thumbturn to the left coun- combination change assembly (See Figure 8-1). -
Page 11: J. Setting A New Combination
J-6 Select a new combination and write it down d. Place the strike back into this cutout and trace the outline of the strike tongue (See (some or all of the buttons may be used for Figure 9-3). your new code, pressed individually or simulta- Door frame Door neously). -
Page 12: K. Instructions For Resetting Unknown Combination
Remove the combination chamber, held by 2 screws, from the lock. should not be at the shear line (open position) (See Figure 11-3). To remove the 3-sided dust cover marked "Kaba Simplex," place the Reinstallation: Replace the 3-sided dust cover marked “Kaba Simplex.” Make combination chamber in the position below.
Need help?
Do you have a question about the simplex 7106 series and is the answer not in the manual?
Questions and answers