Advertisement
ROUTER SET UP GUIDE: Technicolor TG588v
A STEP-BY-STEP GUIDE TO SETTING
UP YOUR NEW
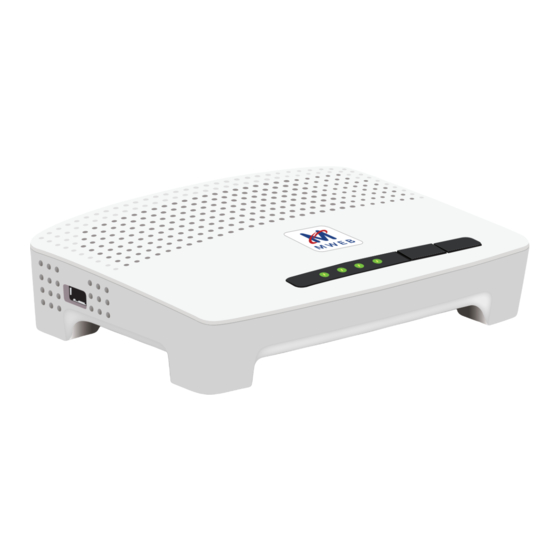
The Technicolor TG588v is MWEB's multipurpose entry-level router. It can used for both
Fibre and ADSL products. For ADSL products the router auto-provisions, which means
that all you have to do is plug the router into the power source, turn on and the system
does the rest.
ADSL
WIFI ROUTER
Advertisement
Table of Contents

Related Manuals for Technicolor TG588v


Summary of Contents for Technicolor TG588v
- Page 1 ADSL WIFI ROUTER The Technicolor TG588v is MWEB's multipurpose entry-level router. It can used for both Fibre and ADSL products. For ADSL products the router auto-provisions, which means that all you have to do is plug the router into the power source, turn on and the system...
- Page 2 CONNECTING TO THE LANDLINE ADSL LAN 1 ROUTER POTS FILTER WALL OUTLET PHONE HANDSET Plug the short telephone cable , that came with the router, into the port on the back of the router marked ADSL. Plug the opposite end of this cable into the POTS filter. Connect the POTS filter to your telephone outlet point (wall outlet) .
- Page 3 WHICH CABLES TO USE? Reset AUS/EIN Power Reset AUS/EIN Power ADSL LAN 1 LAN 2 LAN 3 FIBRE Reset AUS/EIN Power Power ADSL LAN 1-3 Ethernet WAN Connect up the cables at the back of your router according to this diagram. The cables that you will need to plug in include the power cable and the ADSL line.
- Page 4 AUTO-PROVISIONING Reset AUS/EIN Power This router is designed to auto – provision, which means that all you need to do is: Ensure the router is plugged into the power source and POTS filter (as per the image on page 2) and is switched on. The lights on the router will start to flash, which indicates auto- provisioning is taking place.
- Page 5 MANUAL SET UP TO GETTING STARTED 192.168.1.1 Once you have plugged all cables into the router and your desktop / laptop, switch on your computer. Open your browser (the one you use to access the Internet). You will see the above screen.
- Page 6 LOG IN TO THE ROUTER’S ADMIN INTERFACE Chrome File Edit View Hostory Bookmarks People Window Help Tue 11 Oct 1:01 AM 192.168.1.1 192.168.1.1 Once you have clicked on the “OK button” in step 2, you will be prompted to log into the routers admin.
- Page 7 The above screen is the start of the manual set up. Click next to proceed.
- Page 8 SELECTING YOUR SERVICE SELECT 1: Router PPP Click next to proceed...
- Page 9 Enter your login details and click next These are your MWEB details, which were SMS’d to you when you signed up. If you have not received these, please contact MWEB sales to assist.
- Page 10 When prompted, you can choose to set up a new admin password for your router. This is a more secure approach, but if you lose the new password you will not be able to access your router to change settings without doing a factory re-set. If you choose not to change the password given, then click next to proceed...
- Page 11 Once you have completed the password, the above screen will appear. Click Start...
- Page 12 SETUP The above screen will be displayed as the manual set up completes.
- Page 13 SETUP When the process has completed, click Finish. Set up has been completed. Exit this screen, log onto your Internet browser (the one you use to access the Internet) and you should be connected to the Internet. Still having problems? Repeat the steps or contact MWEB Tech Support.
Need help?
Do you have a question about the TG588v and is the answer not in the manual?
Questions and answers