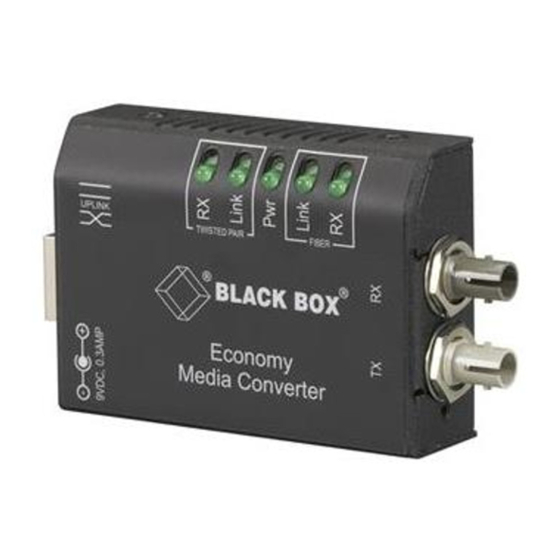
Black Box ACS1009A series Setup Manual
Dvi-d-catx/fiber-kvm-extender single and dualhead
Hide thumbs
Also See for ACS1009A series:
- Owner's manual (38 pages) ,
- Specifications (3 pages) ,
- Quick setup (2 pages)
Subscribe to Our Youtube Channel
Summary of Contents for Black Box ACS1009A series
- Page 1 ACS1009A ACS1009A-xx ACS2209A ACS2209A-xx ACS4001A ACS4001A-xx ACS4201A ACS4201A-xx DVI-D-CatX/Fiber-KVM-Extender Single and DualHead Service Setup Guide http://www.blackbox.com...
-
Page 2: Service Setup
SERVICE SETUP DVI-D EXTENDER Service Setup For most applications, you shouldn't need not to make any adjustments to set up your DVXi/LC KVM-Extender. Under some special circumstances it could be necessary to setup configuration specials. For some applications, you may need to open the Local Unit and/or the Remote Unit. Unscrew the Philips-type screws at both sides at the bottom of the device. -
Page 3: Setup At The Local Unit
SERVICE SETUP DVI-D EXTENDER Setup at the Local Unit After unscrewing and opening the upper shell, please place the device in this orientation: with the CATx/fiber connectors to the right and the electrical connectors to the left. The main PCB then will look like this: JP1, JP2, JP3 Use the diagram to locate jumpers. - Page 4 SERVICE SETUP DVI-D EXTENDER Loading the DDC Information from the Remote Monitor into the internal DDC Table To load the DDC Information from the Remote Monitor into the internal DDC Table, please proceed the following steps: Switch off the Local Unit and the Remote Unit, unplug the Video-Cable to the Remote •...
- Page 5 SERVICE SETUP DVI-D EXTENDER Reset of the internal DDC Table to Default-Values If you have loaded several DDC Configurations and got no satisfying result, you can restore the original (default) DDC Table. To do this, please proceed the followin steps: Switch off the Local Unit •...
-
Page 6: Setup At The Remote Unit
SERVICE SETUP DVI-D EXTENDER Setup at the Remote Unit After unscrewing and opening the upper shell, please place the device in this orientation: with the CATx connectors to the right and the electrical connectors to the left. The main PCB then will look like this: JP1, JP2, JP3 Use the diagram to locate jumpers.


Need help?
Do you have a question about the ACS1009A series and is the answer not in the manual?
Questions and answers