Advertisement
Quick Links
P r o g r a m m i n g Q u i c k G u i d e
- i C R 6 3 0 7 A B Q / i C R 6 3 0 7 A B M
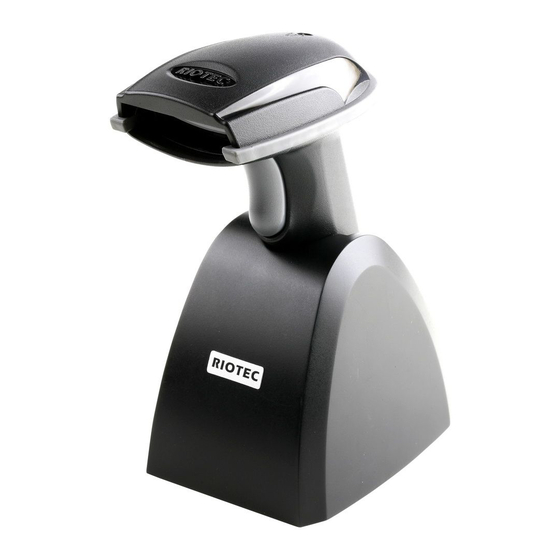
Connecting the Scanner
Be sure that PC is turned OFF, before Connect scanner cable to
the PC USB port on the PC as below described, Ensure that all
connections are ready, and turn on your PC.
1. Please switch ON and charge scanner for 4~5 hours at first time
before use. Scanner switch shown on Fig. 2.
2. After switch ON, the Orange LED will flash following with 3
beep-sounds. The RED LED will be OFF while it links to cradle
within 2.4GHz radio range.
3. If RED LED is continual ON, please re-plug USB cable, then, scan
the 3 barcodes on the bottom of cradle sequentially. (Shown on
Fig. 3 From 1 to 3).
4. Charging issue: Cradle works as charger when putting scanner on
it. Even if the scanner's battery is full, the cradle will continue to
supply power to the scanner. We suggest you to remove scanner
from cradle when scanner is charged fully
* Note: Please install PL-2303 driver for iCR6307ABM
LED Indicator Information
Orange LED ON
Full charged
Orange LED Flashing
Charging / Low battery
Red LED ON
Offline / out of service
Green LED ON
Good read
Orange LED ON
Good read (Batch mode)
Remark:
* When the battery power is too low, the Orange LED will flash and beep once.
Scanner should be charged immediately.
* If scanner shuts down it is recommended to charge it fully before turning it
back on.
* Under power-saving mode, there will not be LED indication when charging.
Reset Configuration to Defaults
(scan from A1 to A8 for iCR6307ABQ or B1 to B8 for iCR6307ABM)
iCR6307ABQ
A1
A2
A3
A4
A5
A6
A7
A8
* Note: Please install PL-2303 driver for iCR6307ABM
1
There are two operating modes on the scanner
It is a necessary to scan "clean memory data" when
switching between these two modes.
Within 2.4GHz radio range
Data
Transmit data to PC/terminal
read
directly
Green/ Orange LED flashes
LED
followed by 3 beeps.
iCR6307ABM
B1
It is a necessary to scan "clean memory data" when switching
between these two modes.
Save data directly to scanner's memory, It will transmit the data to PC/
B2
Data
terminal after you scan the Transmit memory data code. To delete
read
data please scan the Clean memory data code.
LED Green/Orange LED flashes followed by 3 beeps.
B3
Always Clean memory data before switching to Data Transmission
Mode.
Otherwise Red/ Orange LED will flash with one long beep and will not
switch modes.
B4
Under Data storage Mode
The data can be keep or delete by option after transmit
B5
Keep the data
(Default)
B6
Transmit memory data
Green/Orange LED Flashes followed by 3 beeps
B7
Clean memory data
Green/Orange LED flashes followed by 3 beeps
B8
The barcode data which is stored in the memory will be deleted.
1.Data Transmission mode (Default)
Beyond 2.4GHz radio range
Save data into scanner's memory,
scanner will transmit data to PC/
terminal automatically when back to
2.4GHz radio range.
Enter Data Storage mode
2.Data Storage mode (Batch Mode)
Enter Data Transmission mode
Delete the data
Advertisement

Related Manuals for RIOTEC iCR6307ABM


Summary of Contents for RIOTEC iCR6307ABM
-
Page 1: Connecting The Scanner
Enter Data Storage mode Reset Configuration to Defaults Green/ Orange LED flashes followed by 3 beeps. (scan from A1 to A8 for iCR6307ABQ or B1 to B8 for iCR6307ABM) iCR6307ABQ iCR6307ABM 2.Data Storage mode (Batch Mode) 1. Please switch ON and charge scanner for 4~5 hours at first time It is a necessary to scan “clean memory data"... -
Page 2: Trigger Mode
Keyboard Country(For USB HID only) How to append a “prefix” or a “suffix” to the Scan the appropriate country code as below to program the keyboard barcode data Trigger Mode layout for your country or language. As a general rule, the following characters are supported, but need special care for countries other Trigger always than the United States: @ | $ # { } [ ] = / ‘... - Page 3 Barcode Configuration Method: Prefix & Suffix TABLE (Flow chart for setup procedure :) 1D Symbologies – 2 (SPP) (SPP) CTRL A CTRL Y SPACE CODE 93 (SOH) (EM) ENABLE DISABLE CTRL B CTRL (STX) Z(SUB) CTRL C " (ETX) (ESC) CTRL D CTRL \ CODE 11...
- Page 4 Barcode Configuration Method: (Flow chart for setup procedure :) Start Configuration Configuration 1D Symbologies – 3 GS1-Databar (RSS) ENABLE DISABLE GS1-Databar (RSS-Limited) ENABLE DISABLE GS1-Databar (RSS-Expand) ENABLE DISABLE ENABLE DISABLE CODABAR ENABLE DISABLE Quick guide is subject to change without notice. R_151116_01 4 ...
Need help?
Do you have a question about the iCR6307ABM and is the answer not in the manual?
Questions and answers